

 Español
 Català
 Deutsch
 Français
 Português
 Italiano
 Nederlands
 Polski
Before you press it: where the button is and when you see it
- Go to the menu
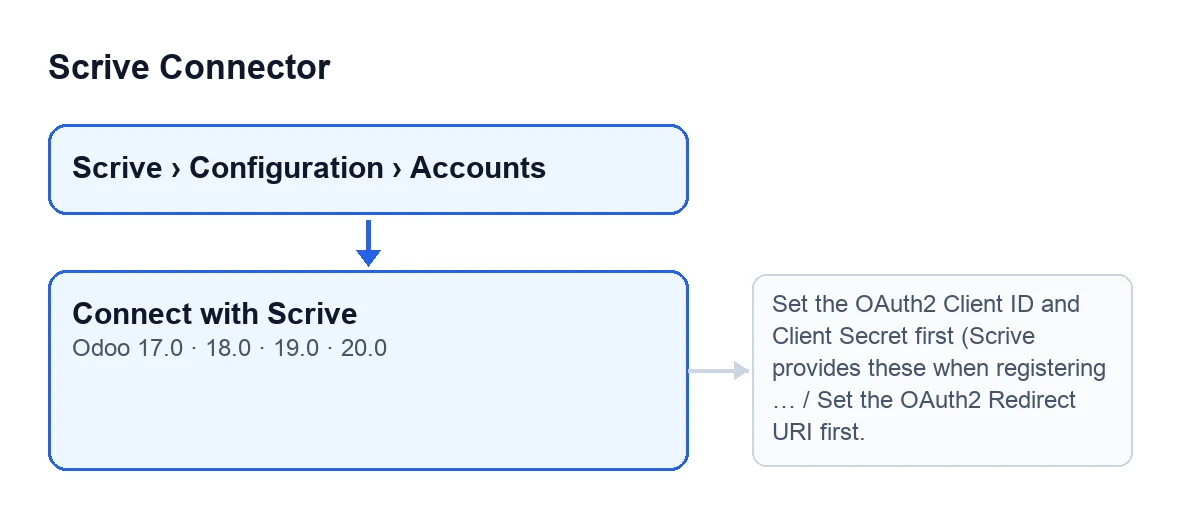
Scrive › Configuration › Accounts. TheConfigurationsection needs theManagerpermission and theScrivesection needsUser; if you lack the permission for a section, that section is not shown. - Open the
Scrive Accountsscreen. TheConnect with Scrivebutton is there, in all published versions of the module: Odoo 17, 18, 19 and 20. - If you cannot see the button, check its view condition, which is the same in Odoo 17, 18, 19 and 20: it is hidden when
Authentication Modeis not set to OAuth2, and also whenOAuth2 Connectedis switched on.
With Odoo in English the button is called Connect with Scrive. This is how its text reads in other languages:
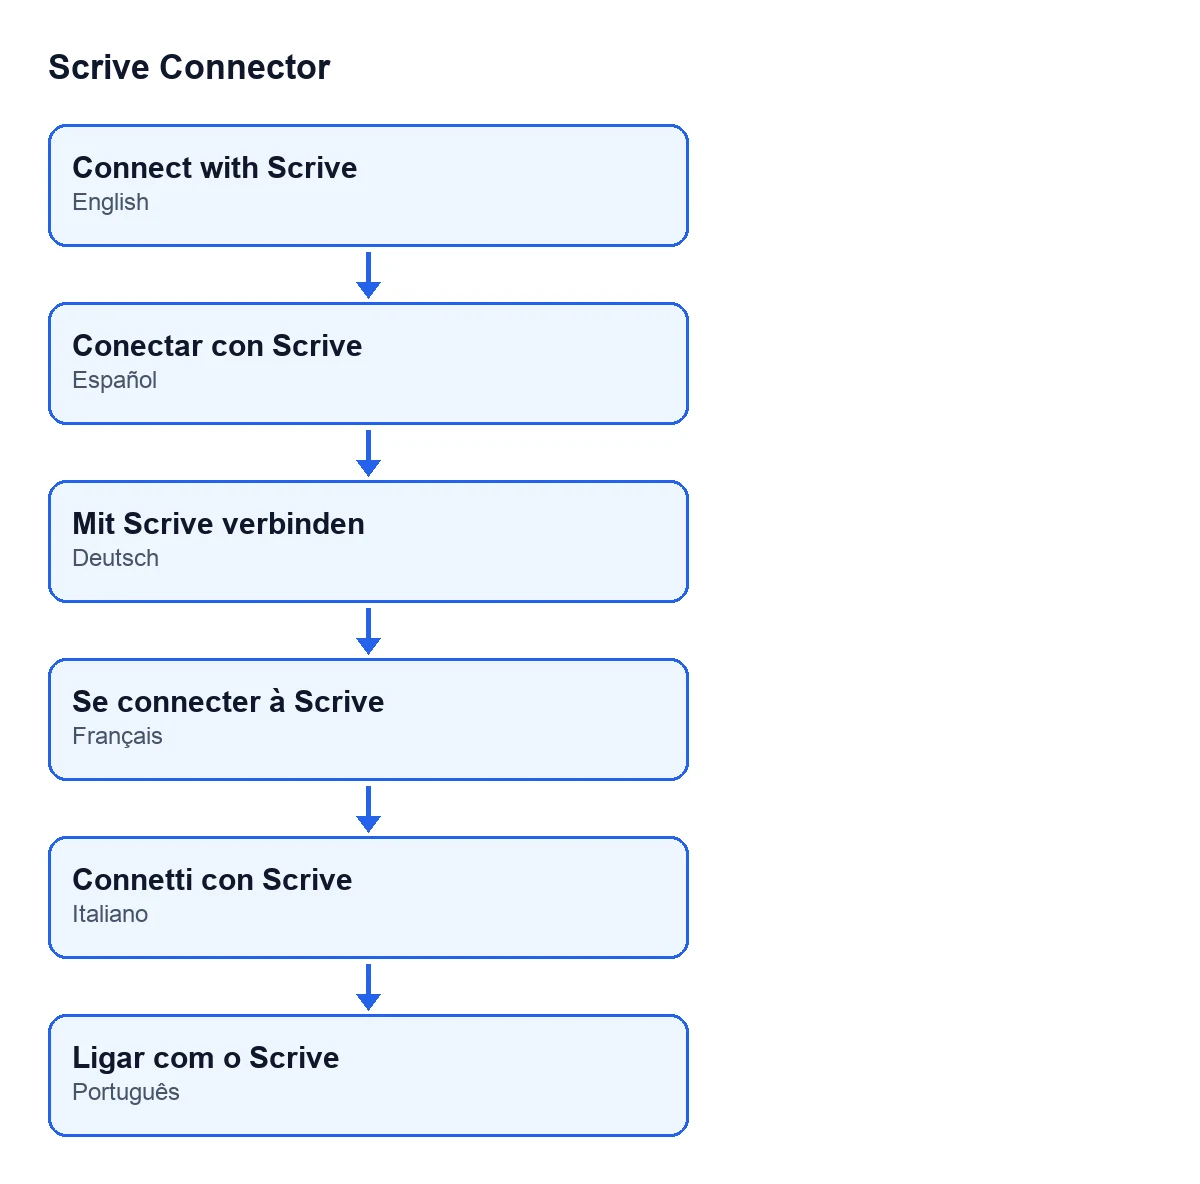
Conectar con Scrive; in German, Mit Scrive verbinden; in French, Se connecter à Scrive; in Italian, Connetti con Scrive; in Portuguese, Ligar com o Scrive.
What you need before pressing it
- Have the FlexigoTech Cloud subscription (Connector plan) active. The module is a one-off purchase per version, but the connection goes through FlexigoTech Cloud: the service stores the credentials encrypted, monitors synchronisation and emails you if it fails. Without a subscription, or with the service suspended, whatever the subscription provides stops; your data stays in your Odoo.
- Have the OAuth2 Client ID and Client Secret to hand: the button's own message says Scrive provides them when you register an OAuth2 client.
- Have the account's OAuth2 redirect URI decided.
- If you have not set the OAuth2 permission scope, the request to Scrive asks for
doc:create doc:check doc:send.
The Connector plan costs €49/month or €490/year excluding VAT (the Pro plan, €98/month or €980/year), with up to 3 accounts on the platform (Pro: 10). The module is published on Odoo Apps for Odoo 17, 18, 19 and 20. If you buy it on flexigotech.com and have the subscription, the module for newer Odoo versions is included; on the Odoo App Store, each Odoo version is bought there.
What the button does when pressed, in order
- First it asks for the FlexigoTech Cloud service for this module. The code explains why: the exchange that follows runs on FlexigoTech Cloud and, without the service, the round trip through Scrive's login would end in a refusal.
- Next it checks that there is a Client ID and that the credentials have been saved. If the Client ID is empty or there is no record that they were saved, it stops with the Client ID and Client Secret message shown in the next section.
- It checks that there is an OAuth2 redirect URI. If it is empty, it stops with the redirect URI message.
- With everything in place, it generates a fresh random state code and stores it on the account. It is used to validate the reply when it comes back.
- It builds the authorisation address: the account's OAuth2 server address, followed by
/oauth2/authand these details: the Client ID, the redirect URI, the response typecode, the permission scope and the state code. - Finally it opens that address in a new window. According to the code, this is Scrive's login or sign-up page, where you authorise this Odoo instance or create a free trial account.
If the button stops with a message
These messages appear when you press Connect with Scrive. The checks that give them come before the state code is generated, so if the button stops, nothing it was about to change is saved.
Set the OAuth2 Client ID and Client Secret first (Scrive provides these when registering an OAuth2 client).It appears when the Client ID is empty or there is no record that the credentials were saved. What to do: set those OAuth2 details with what Scrive gave you and press again.Set the OAuth2 Redirect URI first.It appears when there is no redirect URI. What to do: set it and press again.
After pressing it
- Complete the login or sign-up in the new window that Scrive opens.
- If you press the button again, the code generates another state code and stores it on the account: each press that gets all the way through prepares a new authorisation.
- Once
OAuth2 Connectedis switched on, the button is no longer shown on that account.
See also: the «Send» button.
How FlexigoTech can help
FlexigoTech implements Odoo 17, 18, 19 and 20 and builds custom connectors and integrations. If you want to set up the Scrive connection on your instance, there is the Odoo Apps listing and the module page.
Keep reading
Checked in the connector's source code (version 20.0) and the linked sources
Sources
- Module source code: flexigobe_scrive_connector 20.0 (21b3b940): views/scrive_account_views.xml
- Module source code: flexigobe_scrive_connector 20.0 (21b3b940): models/scrive_account.py
- apps.odoo.com/apps/modules/20.0/flexigobe_scrive_connector
- flexigotech.com/en/services.html
- flexigotech.com/precios.html
- Module source code: flexigobe_scrive_connector 20.0 (21b3b940): __manifest__.py
- Module source code: flexigobe_scrive_connector 20.0 (21b3b940): wizard/scrive_send_wizard.py