

 Español
 Català
 Deutsch
 Français
 Português
 Italiano
 Nederlands
 Polski
What the message means
It is a range check on the Days field, which is a whole-number field. It only applies when the Mode field is set to Prolong expiry: the value must be from 1 to 365, and both ends are accepted. Zero, a negative number or anything above 365 fails. With the default values the check passes: Days starts at 30 and Mode starts at Prolong expiry. The message is in the published code of Odoo 17, 18, 19 and 20.
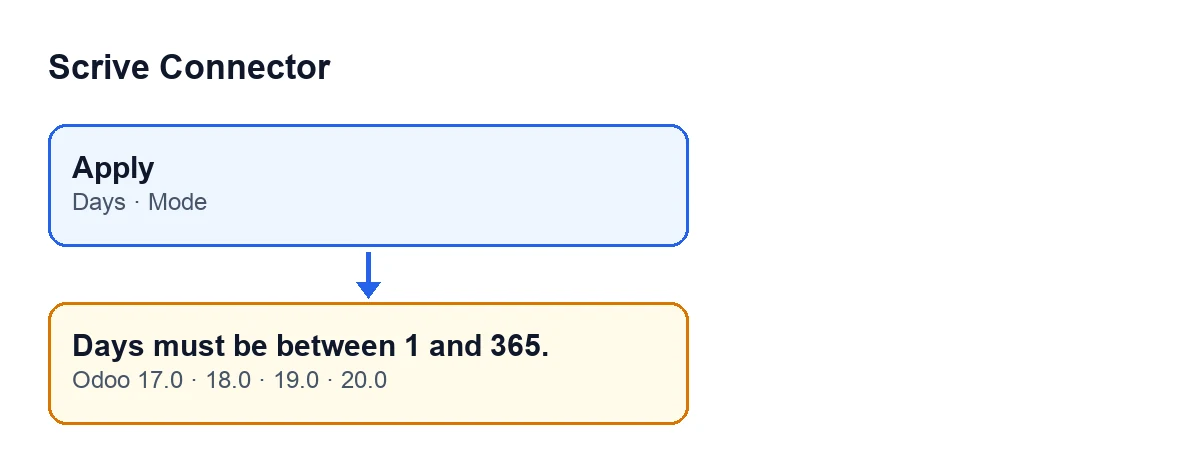
Mode offers Prolong expiry and Set auto-reminder, and it is hidden when the screen is opened with a mode already fixed in advance.
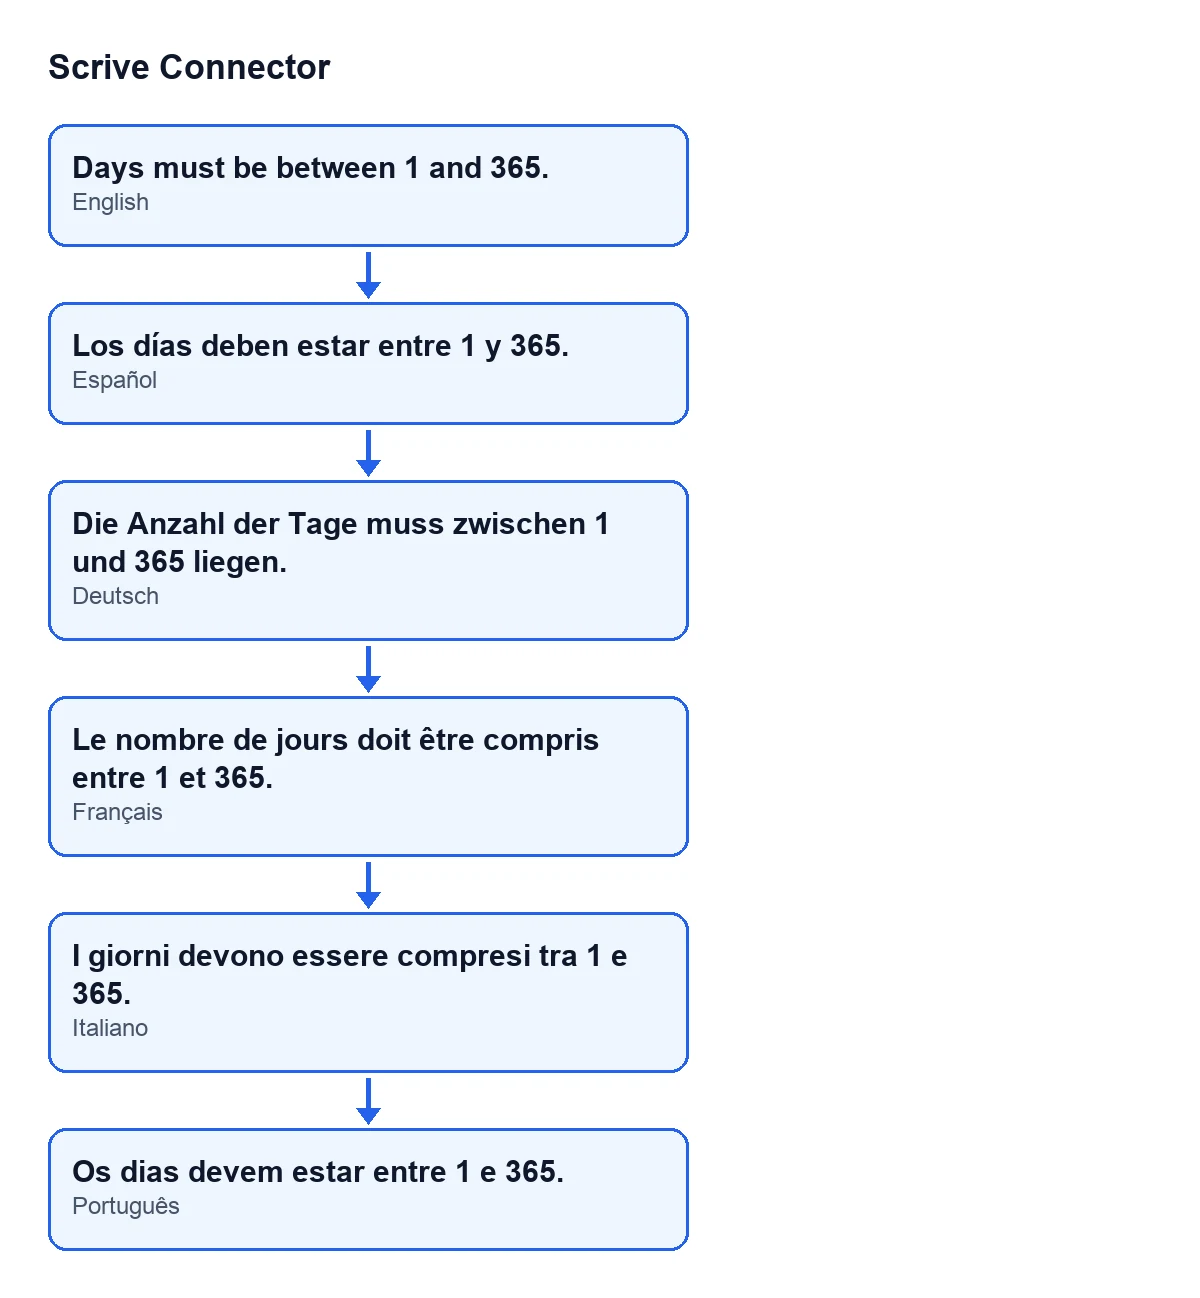
Days must be between 1 and 365.
Exactly when it appears
The message appears when you press Apply. The button has no view condition: it is visible in Odoo 17, 18, 19 and 20. This is what the Odoo 20 code does when you press it, in this order:
- It looks at the mode. If it is
Prolong expiry, it checks the days before doing anything else. - If the days are not between 1 and 365, it raises the message. The action stops and nothing it was going to change is saved; the document's prolongation is never reached.
- If the days fit the range, the module carries on with prolonging the document and, if that goes well, leaves a note reading
Signing period prolonged by … day(s).. That part has its own checks on the document, which are no longer this message. - If the mode is
Set auto-reminder, this message does not appear: the code goes through a different check on the days, with its own range and its own notice.
Case: the prolongation Marta cannot apply
Example Illustrative case: the company and its figures are made up to explain the flow.
Mercería Levante, a company invented for this case, has sent a contract for signature through Scrive and the customer asks for more time. Marta, in administration, opens the prolongation screen and leaves Mode on Prolong expiry. In Days she types the number of days in a year and a half, a value above 365, and presses Apply. Days must be between 1 and 365. appears and the action stops without prolonging anything.
Marta then tries zero. Same message: in prolongation mode the range starts at 1. Finally she enters a value inside the range and presses Apply; this time the check passes and the module carries on with the prolongation.
Pablo, her colleague, wanted something else: an automatic reminder. He left Mode on Prolong expiry, typed a value outside 1 to 365 in Days and got the same message, because that mode checks that range. He changed Mode to Set auto-reminder and pressed Apply; in that mode the code no longer applies this range but a different check on the days, with its own notice.
What the case shows: the message is not about dates or reminders, only about the number in Days when the mode is prolongation. Before changing anything, look at what Mode says and which number is in Days.
How to fix it
- Look at the
Modefield. If you want to extend the signing period, it must be onProlong expiry. If you cannot see it, the screen has been opened with a mode already fixed in advance. - In
Days, enter a whole number from 1 to 365. Both 1 and 365 are accepted. - Press
Applyagain. - If you wanted a reminder, change
ModetoSet auto-reminderand pressApply. - If you need more than 365 days, bear in mind that in prolongation mode the code does not accept more.
What to check afterwards
If the prolongation goes ahead, the module leaves a note on the document reading Signing period prolonged by … day(s)., with the number of days you applied. If the message appears again, the value in Days is still outside the range, or the mode is not the one you thought.
Keep in mind too that the starting value in Days, 30, is inside the range: if the message appears, the number in Days is not that one, or it changed before you pressed Apply.
If you have not sent the document yet, it helps to see how sending works step by step before prolonging anything.
How FlexigoTech can help
Scrive Connector is published on Odoo Apps for versions 17.0, 18.0, 19.0 and 20.0; you can see the Odoo Apps listing and the module page on flexigotech.com. FlexigoTech implements Odoo 17, 18, 19 and 20 and builds custom connectors and integrations, so if your signing workflow needs more, we can look at it with you.
Keep reading
Checked in the connector's source code (version 20.0) and the linked sources
Sources
- Module source code: flexigobe_scrive_connector 20.0 (21b3b940): wizard/scrive_send_wizard.py
- Module source code: flexigobe_scrive_connector 20.0 (21b3b940): wizard/scrive_send_wizard_views.xml
- apps.odoo.com/apps/modules/20.0/flexigobe_scrive_connector
- flexigotech.com/en/services.html