

 Español
 Català
 Deutsch
 Français
 Português
 Italiano
 Nederlands
 Polski
Where the button is and when you see it
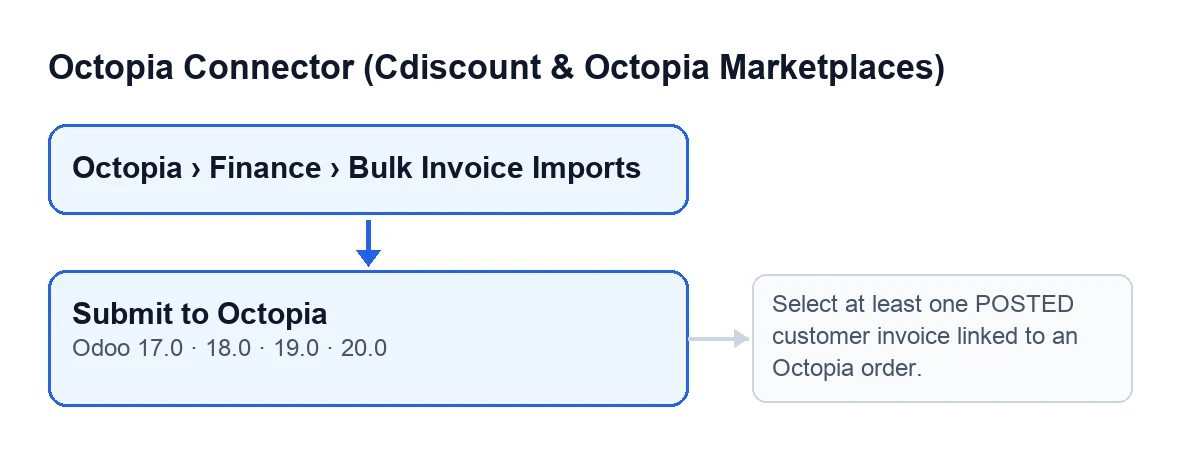
Bulk invoice imports open from Octopia › Finance › Bulk Invoice Imports. The first part of the menu, Octopia, needs the Octopia User permission: without it you do not see that part of the menu.
The Submit to Octopia button sits on the import form and exists in Odoo 17, 18, 19 and 20.
The button label depends on the language of your Odoo, as this other diagram shows.
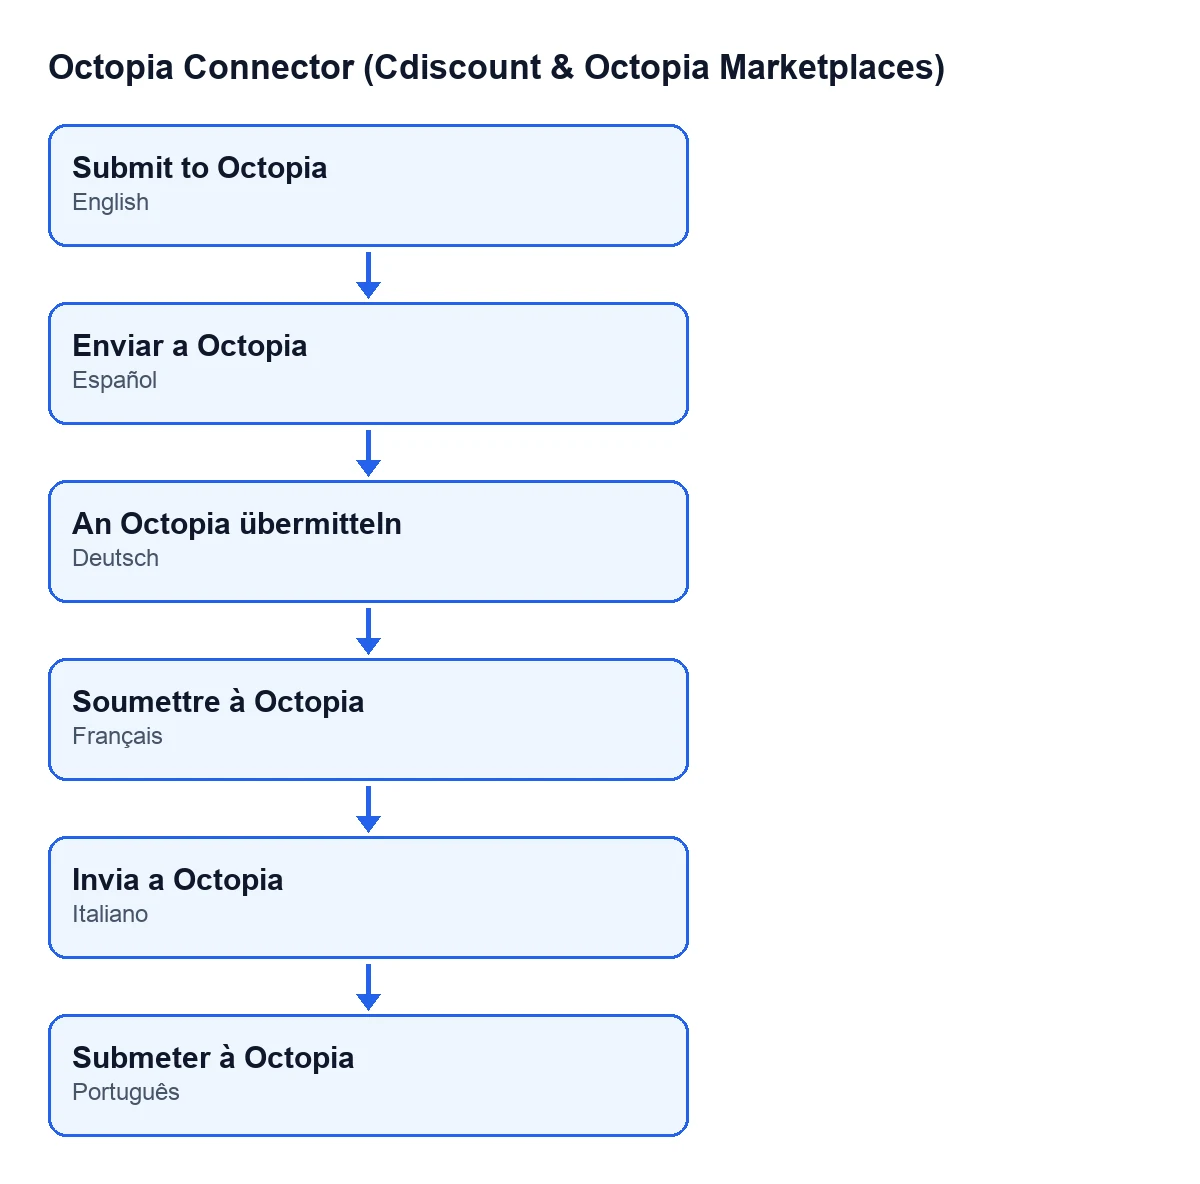
Push to Octopia; in German, An Octopia übermitteln; in French, Soumettre à Octopia; in Italian, Invia a Octopia; in Portuguese, Submeter à Octopia.Three fields on the form matter for this button:
Account: shown on the form and in the list of imports.Invoices: shown on the form.Import ID: shown on the form and in the list, read-only. You do not type it: the button fills it in.
The visibility rule is short: the button is hidden when Import ID has a value. With the field empty, the button shows.
Step by step: what happens when you press it
In Odoo 20.0, when you press it, the button does the following.
- Open the import. Go through the menu above and open the form. Look at
AccountandInvoices: the button works with the invoices in that field and with the account on the form. - Check that the button is there. If
Import IDalready has a value, the button does not appear. And if the action is run on an import that already has one, the code skips it without touching it. - Press
Submit to Octopia. From the invoices inInvoices, the button keeps only those that are posted, are customer invoices and are linked to an Octopia order. Invoices failing any of the three conditions are left out of the submission without a warning, as long as at least one does qualify. If none is left, the action stops with the message in the next section and nothing it was about to change is saved. - One PDF is generated per invoice. Each file is named after the invoice, with the slash
/replaced by an underscore and the.pdfextension. If the invoice has no name, the file is calledinvoice.pdf. - Everything goes to Octopia in a single request. The PDFs are attached as files, using the connection of the
Accounton the form. - The reference is saved. What follows is written after the request has been made. If Octopia's response carries an import identifier, it is stored in
Import ID; if not, the field stays empty. The import is marked as running and the date and time of the submission are recorded. - Invoices and orders are marked. Each submitted invoice is marked as sent to Octopia, with date and time, and each Octopia order linked to those invoices is marked as having its invoice sent, also with date and time.
- The submission is recorded. The module adds an entry to the account's sync log, with the import reference (a question mark if there is none) and the number of invoices submitted.
The message it can raise
When you press Submit to Octopia, the button can stop with this message:
Select at least one POSTED customer invoice linked to an Octopia order.
It appears when, among the Invoices on the form, none meets all three conditions at once: being posted, being a customer invoice and being linked to an Octopia order. When it fires, nothing is sent and nothing is changed: not Import ID, not the marks on invoices and orders, nor the log entry.
What to do:
- Open the
Invoiceslist on the form and check one by one that they are posted rather than draft. - Check that they are customer invoices.
- Check that at least one is linked to an Octopia order.
- Press the button again once at least one meets all three.
What to check afterwards
Import IDhas a value and the button has disappeared from the form. That is the sign that the import has been submitted.- If
Import IDstayed empty, according to the code Octopia's response carried no identifier. Since the button is only hidden when that field has a value, it will still be visible; before pressing it again, bear in mind that the invoices and orders were already marked as sent on that press.
If you want other buttons of the module explained the same way, there is Import and Create vendor bill.
How it fits with the subscription and with FlexigoTech
The module is a one-off purchase per Odoo version (published for 17, 18, 19 and 20, on its Odoo Apps page) and needs the FlexigoTech Cloud subscription, Connector plan: €49 a month or €490 a year, excluding VAT. The connection to Octopia goes through FlexigoTech Cloud, which stores the credentials encrypted and emails you if the sync fails.
If you are implementing Odoo and want the invoice flow with Octopia set up properly, or you need a custom integration, FlexigoTech implements Odoo 17, 18, 19 and 20 and builds connectors and custom integrations.
Keep reading
Checked in the connector's source code (version 20.0) and the linked sources
Sources
- Module source code: flexigobe_octopia_connector 20.0 (4848da6a): views/octopia_completeness_views.xml
- Module source code: flexigobe_octopia_connector 20.0 (4848da6a): models/octopia_seller_extras.py
- apps.odoo.com/apps/modules/20.0/flexigobe_octopia_connector
- flexigotech.com/precios.html
- flexigotech.com/en/services.html