

 Español
 Català
 Deutsch
 Français
 Português
 Italiano
 Nederlands
 Polski
Before you open the screen
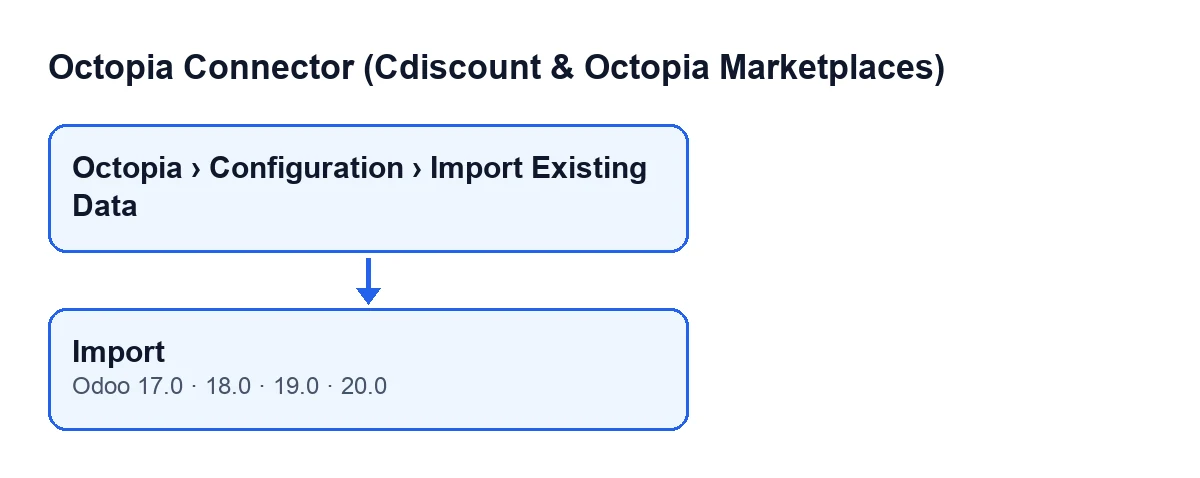
The button is present in Odoo 17, 18, 19 and 20.
- Check your permission. You need
Octopia Manager: theConfigurationandImport Existing Dataparts of the menu ask for it, and without it you do not see that part. TheOctopiapart asks forOctopia User. - Open
Octopia › Configuration › Import Existing Data. TheImport Existing Octopia Datascreen opens.
- Find the
Importbutton. According to its view condition, it is always visible on that screen, in all four versions.
What to tick before you press it
The form on that screen has these fields:
Account: the Octopia account the import runs on.Import Products: ticked by default. If you untick it, the button skips the products part.Create Missing Odoo Products: ticked by default, and only visible whileImport Productsis ticked. Its help reads: «Create the Odoo product (barcode = GTIN, internal reference = seller reference) when no match exists. When off, unmatched catalog entries are skipped and counted.»Import Offers: ticked by default. If you untick it, the button skips the offers part.Sales Channel: only visible whileImport Offersis ticked; it is the sales channel the offers are imported for. If you leave it empty, the account's default sales channel is used.
What the button does when you press it, in order
- In Odoo 20, products first. If
Import Productsis ticked, the button starts the import of the account's products, withCreate Missing Odoo Productsas you left it. It addsProducts: … created, … updated, … skippedto the summary. - Offers next. If
Import Offersis ticked, it starts the import of the account's offers for a sales channel: the one inSales Channelor, if that is empty, the account's default sales channel. It addsOffers: … created, … updated, … skippedto the summary. What each offer field means is covered in the Octopia Offer fields. - Then the summary. It joins the texts with « | ». If no import was ticked, the summary is
Nothing selected. - Then the log. It creates an entry in the account's sync log: of referential type, with a successful result and the text
Adoption import: …followed by the summary. It creates it even when the summary isNothing selected. - Finally the notice. It shows
Octopia import finished, a success-type notice set as sticky, with the summary as its message.
How to read the result
- Read the summary in the notice. With both imports ticked, you will see the two texts joined, products first and offers second, separated by « | ».
- Check the
skippedcount for products. WithCreate Missing Odoo Productsunticked, unmatched catalog entries are skipped and counted, so part of that count may come from there. If you want them created, tick the box before pressing the button. - If you see
Nothing selected., you pressed the button with both import boxes unticked. Open the screen again and tick what you want to bring in.
What to check afterwards in the log
The button's entry is not the only one written to that log, so it helps to tell them apart by their text.
- Look for the
Adoption import: …entry for your account: it is the button's and carries the same summary as the notice. - If you see
Referential refresh incomplete: …with an error result, it comes from the scheduled taskOctopia: refresh referentials (categories, brands, carriers, typologies), which runs every seven days and is active on install. It leaves that entry when one of its steps fails, and it shares its type with the button's entry. - If you see
Discussion queue pull: … ToTreat thread(s), it comes from the taskOctopia: pull discussions (ToTreat queue), which runs every fifteen minutes and is active on install.
Subscription and versions
The module is a one-off payment per Odoo version and needs the FlexigoTech Cloud subscription on the Connector plan: €49 a month or €490 a year, excluding VAT, with up to three platform accounts. The connection goes through FlexigoTech Cloud, which stores the credentials encrypted. Without a subscription, or with the service suspended, whatever the subscription provides stops; your data stays in your Odoo. The module is published on Odoo Apps for 17, 18, 19 and 20, and the button exists in all four.
How FlexigoTech can help
If you are implementing Odoo and want the connector ready, FlexigoTech implements Odoo 17, 18, 19 and 20 and builds custom connectors and integrations. For other buttons of the module, see the rest of the Octopia Connector articles.
Keep reading
Checked in the connector's source code (version 20.0) and the linked sources
Sources
- Module source code: flexigobe_octopia_connector 20.0 (4848da6a): views/octopia_completeness_views.xml
- Module source code: flexigobe_octopia_connector 20.0 (4848da6a): wizard/octopia_import_wizard.py
- Module source code: flexigobe_octopia_connector 20.0 (4848da6a): models/octopia_referential.py
- apps.odoo.com/apps/modules/20.0/flexigobe_octopia_connector
- flexigotech.com/precios.html
- flexigotech.com/en/services.html