

 Español
 Català
 Deutsch
 Français
 Português
 Italiano
 Nederlands
 Polski
Where these fields are
You fill these fields in the Custom Fields table: one row for each extra field you want the signatory to see. What follows corresponds to the Odoo 20.0 code; the module is published on Odoo Apps for 17.0, 18.0, 19.0 and 20.0.
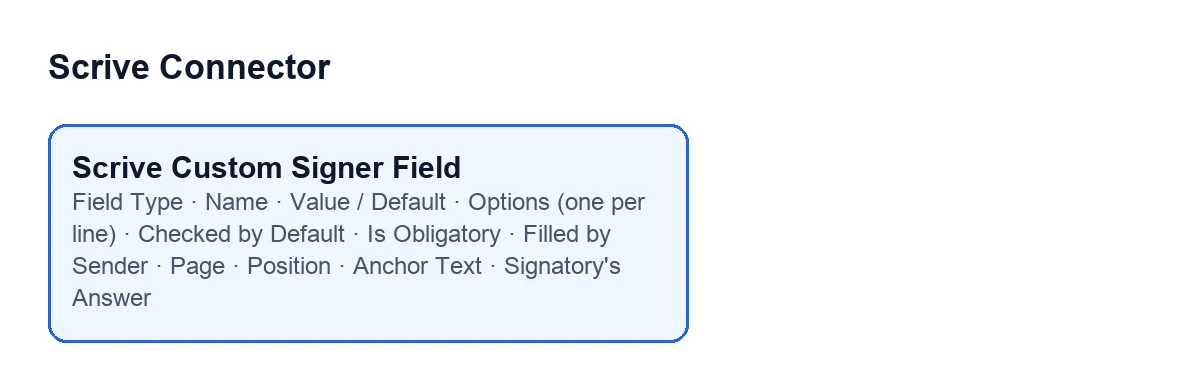
Not every field is always visible: it depends on the Field Type, which can be Custom Text, Checkbox or Radio Group. This table sums up which ones appear for each type.
| Field | Custom Text | Checkbox | Radio Group |
|---|---|---|---|
Value / Default | Yes | No | Yes |
Options (one per line) | No | No | Yes |
Checked by Default | No | Yes | No |
Anchor Text | Yes | Yes | No |
With the default values (type Custom Text) you see the value and the anchor text, but not the options or the checked-by-default box. If you cannot find a field, change the type first.
Glossary of the fields
What the field is and what it holds
Field Type- Decides what kind of field the signatory sees. Values:
Checkbox,Radio GroupandCustom Text; the default isCustom Text. The help reminds you that Scrive has no native date field: for a date, useCustom Textand, if you like, name the expected format in the label.
Name- The label shown to the signatory for this field. It is what the person reads when signing, so it is worth making it clear without further explanation. For a date as text, this is where the help suggests naming the format.
Value / Default- Its meaning depends on the type, according to its help. In
Custom Text, it is a pre-filled value that the signatory can edit unless you turn onFilled by Sender. InRadio Group, it says which option from the list of options is selected by default. InCheckboxit is ignored (and the field is hidden): that is whatChecked by Defaultis for.
Options (one per line)- For
Radio Grouponly: the choices offered to the signatory. Each line must be different from the others, so write one option per line and do not repeat any. It only shows when the type isRadio Group.
Checked by Default- For
Checkboxonly. It only appears when the type isCheckbox; with the other types you will not see it.
Who fills it in and what happens on signing
Is Obligatory- The signatory must interact with the field (check it, fill it in or pick an option) before they can sign. It is on by default, so if a field is optional you have to turn it off yourself.
Filled by Sender- If you turn it on, you fix the value and the signatory cannot edit it. Otherwise the signatory fills it in themselves before signing. The help of
Value / Defaultties in with this: without the box ticked, a text value is only a pre-filled value.
Signatory's Answer- What the signatory entered in this field when they signed, as Scrive reported it. It is empty until they sign.
Where it goes in the PDF
Page- The page for the field. The default is 0, which keeps it next to its party's signature box: on that box's page when it has one; otherwise on the signature page added at the end of the PDF, or at the bottom of the last page when the Scrive account adds no signature page.
Position- The column the field goes in when it has a page of its own and its party has no signature box on that page; otherwise it follows its party's box. Values:
Bottom left,Bottom centerandBottom right; the default isBottom left. It has no effect on the signature page.
Anchor Text- Optional: places the field next to the first occurrence of that text in the PDF, instead of using fixed coordinates. It is not available for
Radio Group, because each option needs its own spot.
What to put, depending on what you need
- A date: type
Custom Textand, if you like, the expected format inName. - A piece of data you set yourself: type it in
Value / Defaultand turn onFilled by Sender. - A question with closed answers: type
Radio Group, one option per line, all different. - A checkbox: type
Checkbox; useChecked by Defaultif you want it to come ticked, and leaveIs Obligatoryon if the signatory must interact with it before signing. - A field next to a specific phrase in the document:
Anchor Text, except in aRadio Group.
If you need help setting it up
FlexigoTech implements Odoo 17, 18, 19 and 20 and builds custom connectors and integrations. You can see Scrive Connector on its Odoo Apps page or on the module page. To see how the document goes out for signing, read about how the document is sent to Scrive.
Keep reading
Checked in the connector's source code (version 20.0) and the linked sources
Sources
- Module source code: flexigobe_scrive_connector 20.0 (21b3b940): models/scrive_party_field.py
- apps.odoo.com/apps/modules/20.0/flexigobe_scrive_connector
- flexigotech.com/en/services.html
- Module source code: flexigobe_scrive_connector 20.0 (21b3b940): __manifest__.py
- Module source code: flexigobe_scrive_connector 20.0 (21b3b940): wizard/scrive_send_wizard.py