

 Español
 Català
 Deutsch
 Français
 Português
 Italiano
 Nederlands
 Polski
Where it is and when it shows
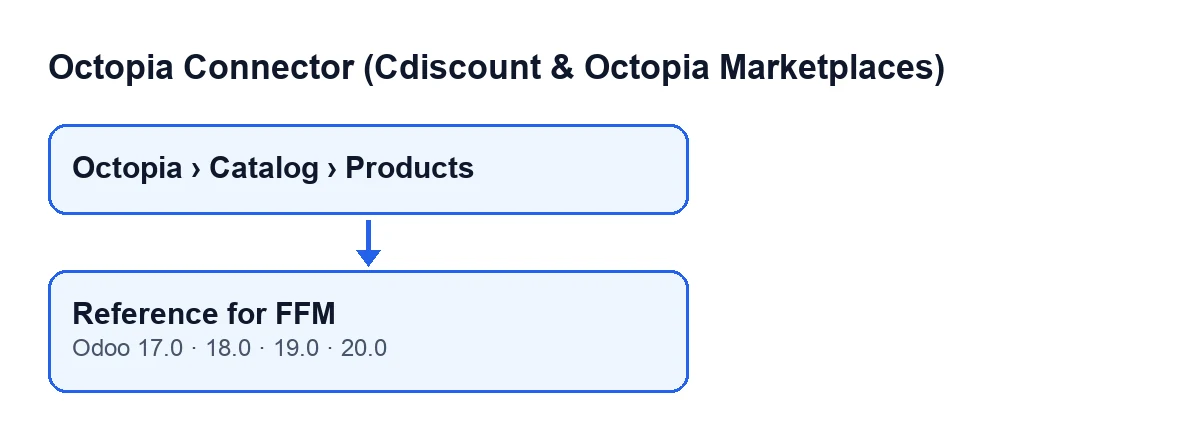
The button sits on the Octopia Products screen. You open that screen from the menu Octopia › Catalog › Products. The Octopia part of the menu requires the Octopia User permission: without it, you do not see that part.
The button has no view condition: it is always visible on that screen. It is present in all the published branches of the module: Odoo 17, 18, 19 and 20.
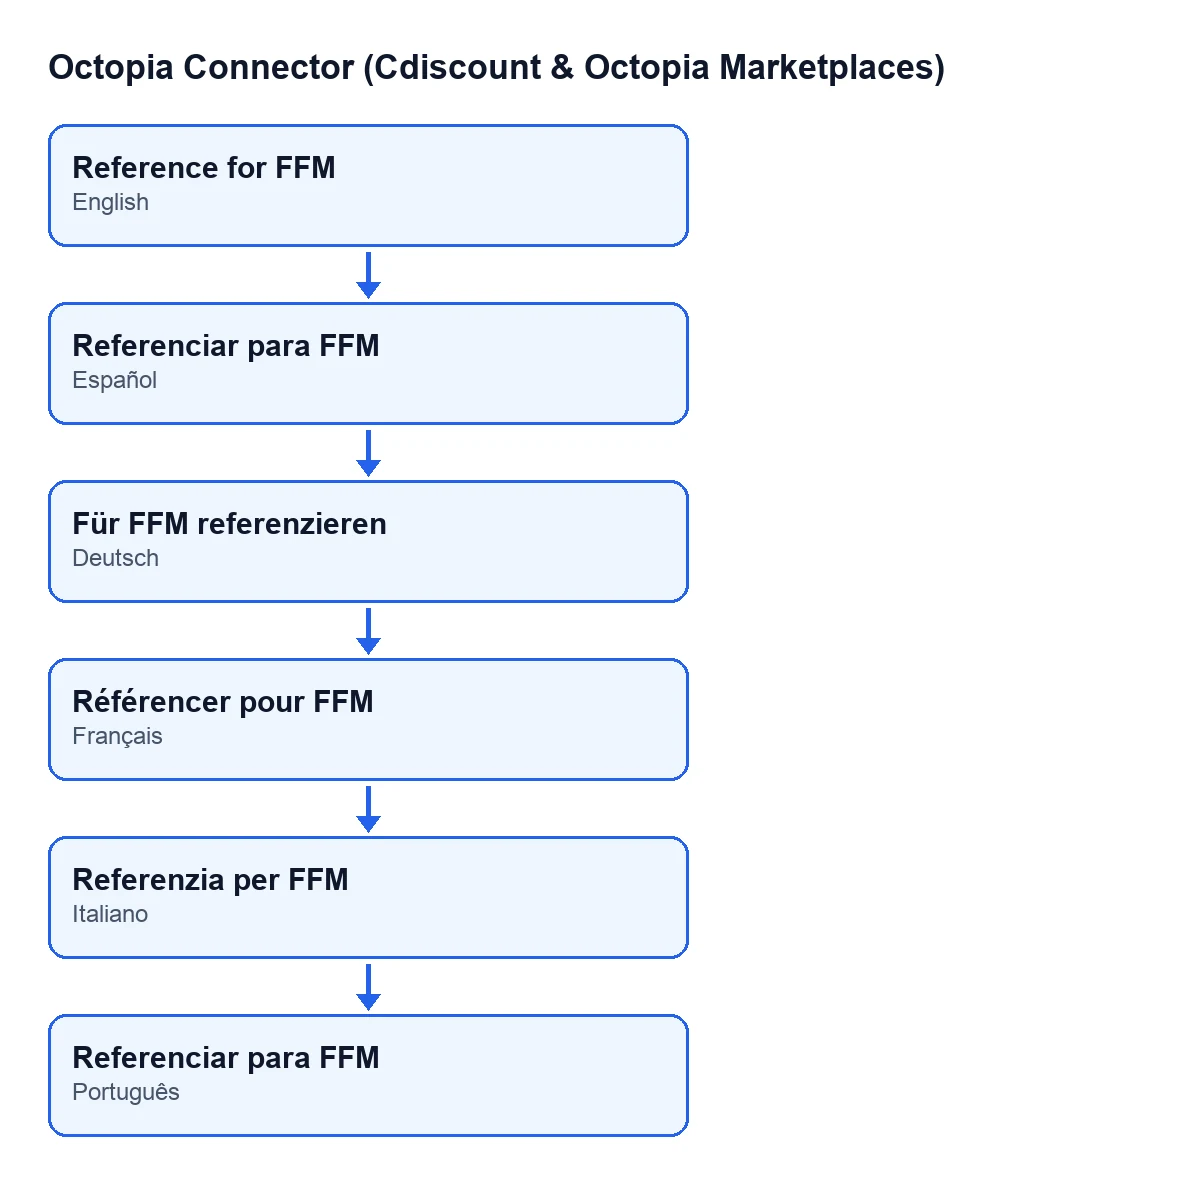
Depending on the language of your Odoo, the button is called:
| Language | Button label |
|---|---|
| English | Reference for FFM |
| Spanish | Reference for FFM |
| German | Für FFM referenzieren |
| French | Référencer pour FFM |
| Italian | Referenzia per FFM |
| Portuguese | Reference for FFM |
Step by step: what happens when you press it
- Open
Octopia › Catalog › Products. This is theOctopia Productsscreen, where the button lives. - Look at the two fields the button is going to use. In the list and on the form (group
Identity) you will seeAccountandOdoo Product. The account is copied as it is to the new record; from the linked Odoo product only the weight is taken. - Select the Octopia products you want to act on. The button works on the selection and goes through the products one by one.
- Press
Reference for FFM. - For each product, the button first checks whether an FFM referencing record already exists for that Octopia product with the condition
New. If one exists, it skips the product and moves on to the next. - If none exists, it creates a new FFM referencing record with this data: the same
Accountas the Octopia product, the Octopia product itself (the record is linked to it) and the weight of its linked Odoo product. If that Odoo product has no weight, the record is created with a weight of zero. - When it finishes, the button opens the
FFM Referencingwindow, with list and form views, filtered to the Octopia products you had selected.
What happens to products that already have a referencing record with the condition New
Step five is the only check made before anything is created: whether a referencing record for the same product with the condition New already exists. It has several practical consequences:
- If you press the button again on the same products, a second record is not created for those that already have one with the condition
New. - If you select several products and some already have a referencing record with the condition
New, you do not need to separate them first: the button skips those one by one and creates the record for the rest. - The check looks only at the condition
New. An earlier referencing record for the same product with a different condition does not make the button skip it. - The window that opens at the end is filtered by the Octopia products you selected, not by the records just created. So it shows the FFM referencing records of those products, both those the button has just created and those that already existed.
The account works in a similar way: each new record takes the Account of its own Octopia product, so a selection with products from different accounts gives records carrying the account that belongs to each one.
What to review afterwards
When FFM Referencing opens, you have in front of you the result of the action. Check in that window that every product you selected has its record, whether freshly created or one that already existed with the condition New.
The button takes the weight from the linked Odoo Product and copies it at the moment it creates the record. If that product has no weight, the record is created with a weight of zero. So if the starting weight is not right, the data to look at is on the Odoo product shown under Odoo Product, in the list or on the form of Octopia Products.
It is also worth glancing at the Account: it is the one the Octopia product had when you pressed the button, and it is the one the new record carries.
What you need to use it
Octopia Connector is a one-off purchase per Odoo version, published on Odoo Apps for 17, 18, 19 and 20, and it needs the FlexigoTech Cloud subscription on the Connector plan: €49 a month or €490 a year, excluding VAT. On the Odoo App Store, each Odoo version is bought there. The connection goes through FlexigoTech Cloud, which stores the credentials encrypted, watches the synchronisation and emails you if it fails.
How FlexigoTech can help
FlexigoTech implements Odoo 17, 18, 19 and 20 and builds custom connectors and integrations. If you are setting up the Octopia catalogue in your Odoo and want to check how it fits your products, we can go through it with you. And if you want other buttons of the module explained in the same detail, there is Submit to Octopia.
Keep reading
Checked in the connector's source code (version 20.0) and the linked sources
Sources
- Module source code: flexigobe_octopia_connector 20.0 (4848da6a): views/octopia_completeness2_views.xml
- Module source code: flexigobe_octopia_connector 20.0 (4848da6a): models/octopia_ffm_setup.py
- Module source code: flexigobe_octopia_connector 20.0 (4848da6a): models/octopia_product.py
- apps.odoo.com/apps/modules/20.0/flexigobe_octopia_connector
- flexigotech.com/en/services.html
- flexigotech.com/precios.html