

 Español
 Català
 Deutsch
 Français
 Português
 Italiano
 Nederlands
 Polski
Where the button is and when it shows
Where is the Create Inbound Shipment button?
It is on the Send Stock to FFM screen, which opens from the menu Octopia › Fulfillment › Send Stock to FFM. Permissions are asked for by menu level: the Octopia level needs Octopia User and the Send Stock to FFM level needs Octopia Manager. If you lack either permission, you do not see that level.
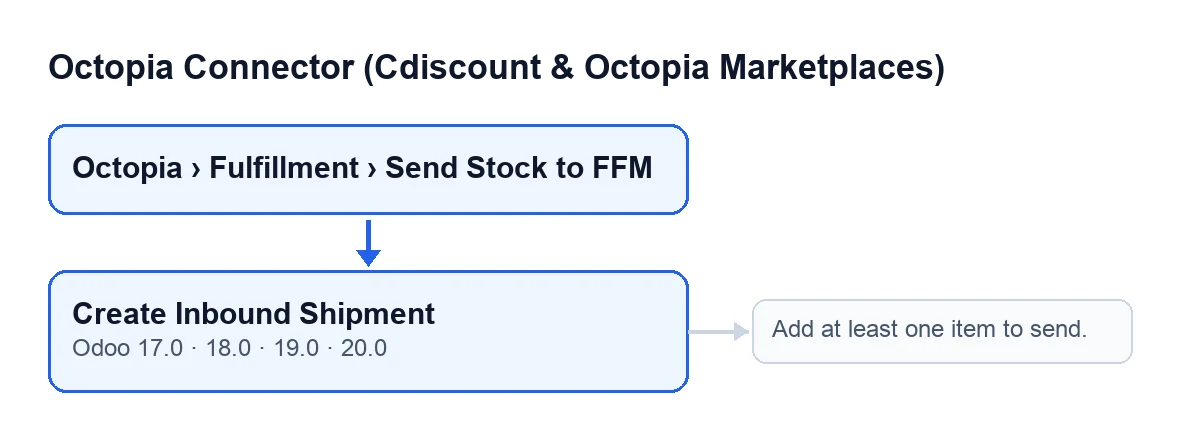
Create Inbound Shipment button (Odoo 17, 18, 19 and 20) and the message that can stop it.When does the button appear?
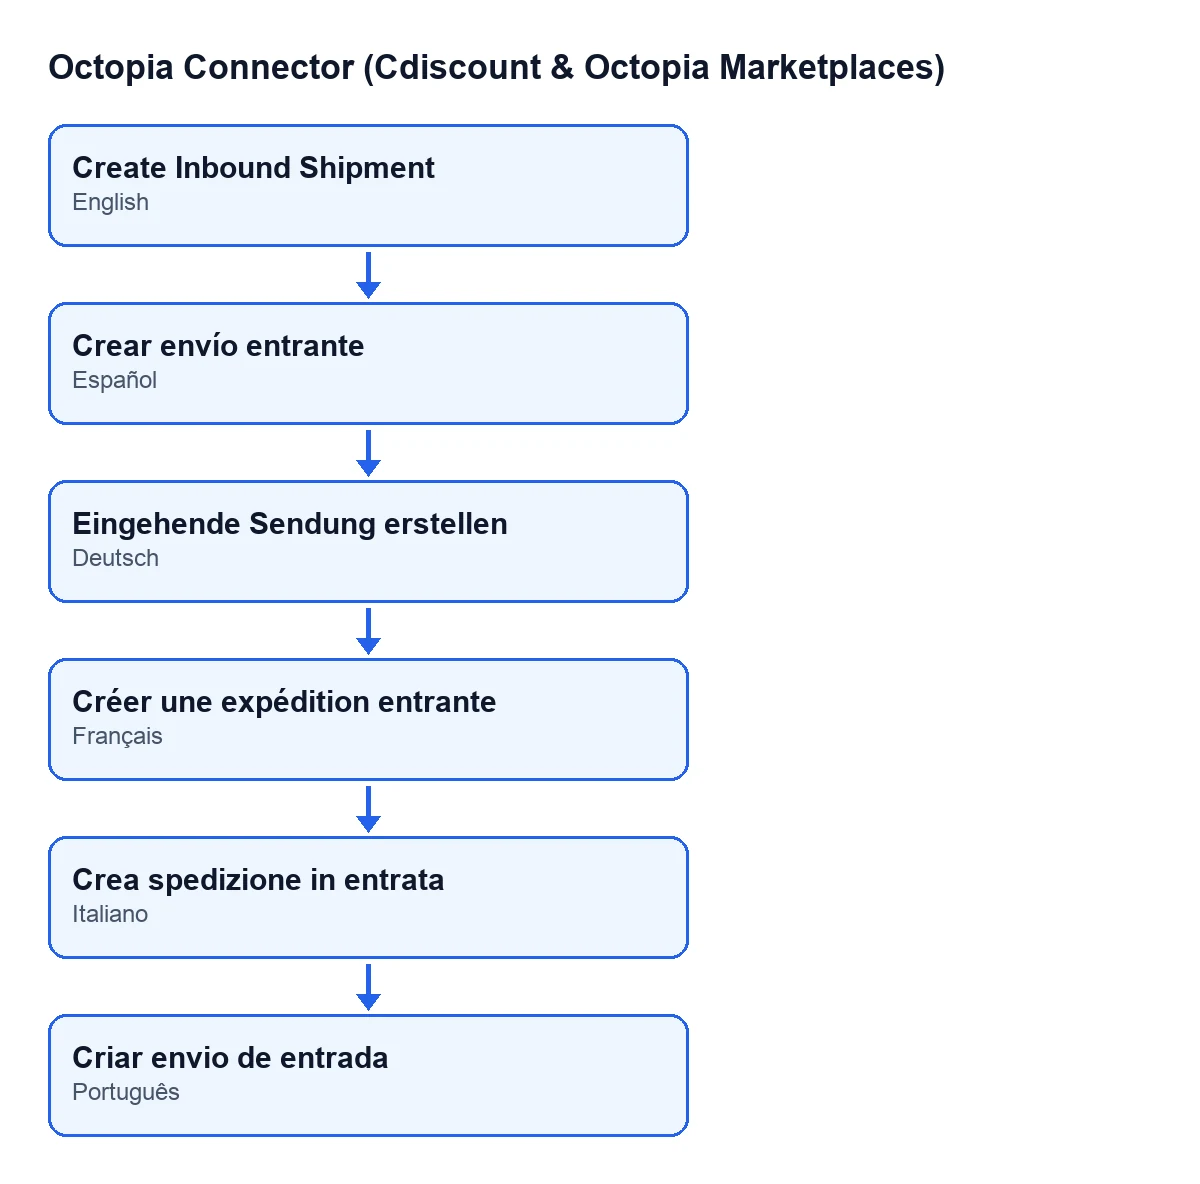
Once the screen is open, it is visible with no condition: the view puts none on it in Odoo 17, 18, 19 and 20, so it does not depend on any status or checkbox. What decides whether you reach it is the menu and its permissions, as above. With Odoo in English the label is Create Inbound Shipment; in Spanish, Crear envío entrante; in German, Eingehende Sendung erstellen; in French, Créer une expédition entrante; in Italian, Crea spedizione in entrata; and in Portuguese, Criar envio de entrada.
What do I fill in before pressing it?
The Send Stock to FFM form has four fields that matter here:
Account: the Octopia account the shipment is created from.Reference: the code suggests a reference containing today's date.Storage Country:Franceby default; you can also chooseSpain,Morocco,PortugalandUnited Kingdom.Items: the lines you are going to send. You need at least one.
What it does when you press it, in order
What follows describes the code published for Odoo 20; the button exists in branches 17, 18, 19 and 20.
What does it check as soon as you press it?
First it looks at whether the Items list has any line. If it is empty, the button stops with the message Add at least one item to send.. When it stops there, Octopia is not called and nothing is saved in Odoo. To fix it, add a line to Items and press Create Inbound Shipment again.
What data does it send to Octopia?
Once the lines are checked, the button prepares a request with this data:
- The
Reference(empty if you have not typed one) and theStorage Country. - The supply mode and the seller identifier of the account. To read the latter, the code checks that you have read permission on that account.
- For each line in
Items: the GTIN of the product linked to the line, its condition and the quantity.
It then sends the request to Octopia through the connection of the account chosen in Account.
What changes in Odoo when it works?
When Octopia's reply arrives, the button does three things, in this order:
- It creates an inbound shipment record tied to the account, with the reference, a created status, the creation date and time and a copy of the data that was sent. As the external identifier it stores the one in the reply; if the reply carries none, it stores a provisional one starting with
PENDING-. - It adds a success entry to the synchronisation log, including the shipment identifier, the number of items and the storage country.
- It closes the window.
In the code, the shipment record and the log entry are created after Octopia's reply is received.
Errors, requirements and help
Which message can the button give, and how do I fix it?
On pressing Create Inbound Shipment, the button can stop with Add at least one item to send. if Items has no lines. The fix is to add at least one line and press again.
Can it stop for anything besides an empty list?
There can be other stops. To read the seller identifier, the code checks that you have read permission on the account chosen in Account, and that check can also stop the button before anything is sent. If it happens with one particular account, go over your permissions on it with whoever administers your Odoo. The request to Octopia comes before anything is saved: the shipment record and the log entry are created only once the reply arrives.
What do I need to have paid for?
The module is a one-off payment per version and needs a FlexigoTech Cloud subscription (Connector plan): €49 a month or €490 a year, excluding VAT, with up to 3 accounts of the platform. It is published on Odoo Apps for Odoo 17, 18, 19 and 20 (see the listing), and on the Odoo App Store each Odoo version is bought there. The connection goes through FlexigoTech Cloud: it stores the credentials encrypted, watches the synchronisation and emails you if it fails. Without a subscription, or with the service suspended, what the subscription provides stops; your data stays in your Odoo.
Where do I go for the module's other buttons?
Each button has its own article: for example, Send to Octopia and Declare to Octopia. If you are implementing Odoo and want someone alongside you for the connection or a bespoke integration, FlexigoTech implements Odoo 17, 18, 19 and 20 and builds connectors and bespoke integrations.
Keep reading
Checked in the connector's source code (version 20.0) and the linked sources
Sources
- Module source code: flexigobe_octopia_connector 20.0 (4848da6a): views/octopia_completeness2_views.xml
- Module source code: flexigobe_octopia_connector 20.0 (4848da6a): models/octopia_ffm_setup.py
- apps.odoo.com/apps/modules/20.0/flexigobe_octopia_connector
- flexigotech.com/precios.html
- flexigotech.com/en/services.html