

 Español
 Català
 Deutsch
 Français
 Português
 Italiano
 Nederlands
 Polski
Before you press it: where the button is and what the shipment must meet
The Declare to Octopia button is on the same form as the fields Order, Picking and Parcels. The view puts no condition on it: it is always visible, in Odoo 17, 18, 19 and 20.
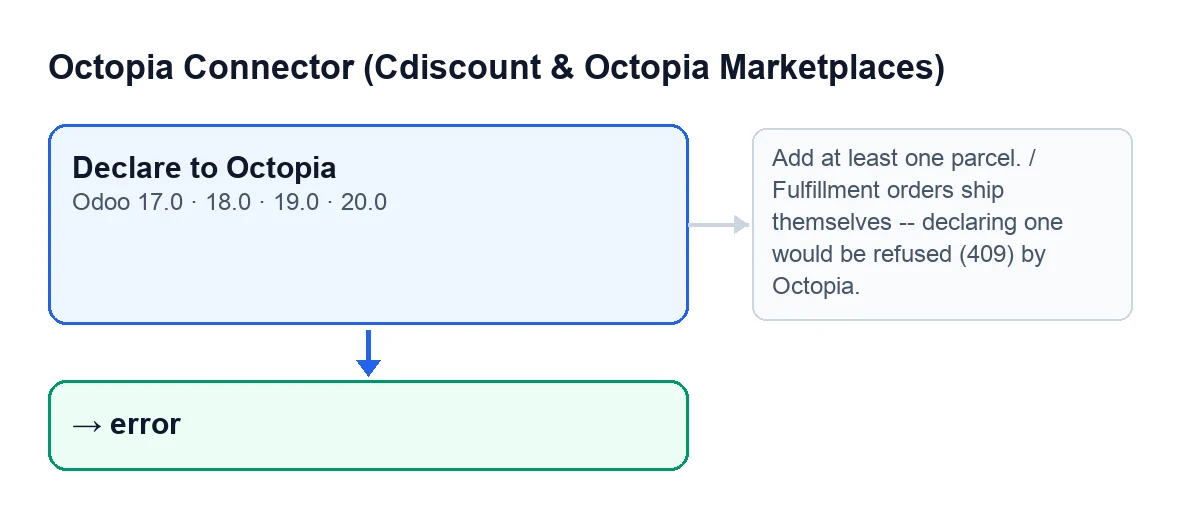
error state.What the button checks, in this order
- There is at least one parcel. If the
Parcelslist is empty, the button stops withAdd at least one parcel.. It is the first check.
- The order is one you ship yourself. In Odoo 20.0, if the order has a supply mode set and it is not the seller's, the button stops with
Fulfillment orders ship themselves -- declaring one would be refused (409) by Octopia.. If the supply mode is empty, this check stops nothing.
- Every parcel has a parcel number. Parcels are checked one by one; the first one without a number stops the action with
Every parcel needs a parcel number..
- Every parcel has a carrier. The name of the mapped carrier is sent and, if there is none, the free text. With neither, you get
Every parcel needs a carrier (mapped or free text)..
If any of these checks fails, the action stops at that point: the shipment record and the call to Octopia come afterwards.
Optional data that travels with the declaration
- Tracking URL. If a parcel has one, it is added to that parcel's declaration; if not, the parcel goes without it.
- Order lines. If a parcel has some of the order lines selected, but not all of them, the declaration names those lines. If it has none selected, or all of them, it gives no line detail.
- Picking. If the form has a picking, the shipment record that gets created stores it.
The Cdiscount Marketplace CGMAD (25/08/2025, p. 47) state that the shipping confirmation carries the tracking number.
What happens when you press it, step by step
In Odoo 20.0, once the checks pass, the button does this, in this order:
- It creates the order's shipment record, with the prepared parcels and the picking if there is one.
- It takes the connection of the order's Octopia account and sends Octopia the shipment declaration, with the order's Octopia identifier and the parcels.
- If Octopia's API returns an error, it writes the state
erroron the shipment and, as its message, the error text followed by the error details in the response, and raises the same error again. The action ends with that error and the order is not marked as shipped. - If all goes well, it sets the shipment to the state
sentwith the sending date and time, marks the order as shipped, adds a line to the synchronisation log (type shipments, successful result, with the order identifier and the number of parcels) and closes the window.
With Odoo in English the button is called Declare to Octopia; in other languages the label changes:
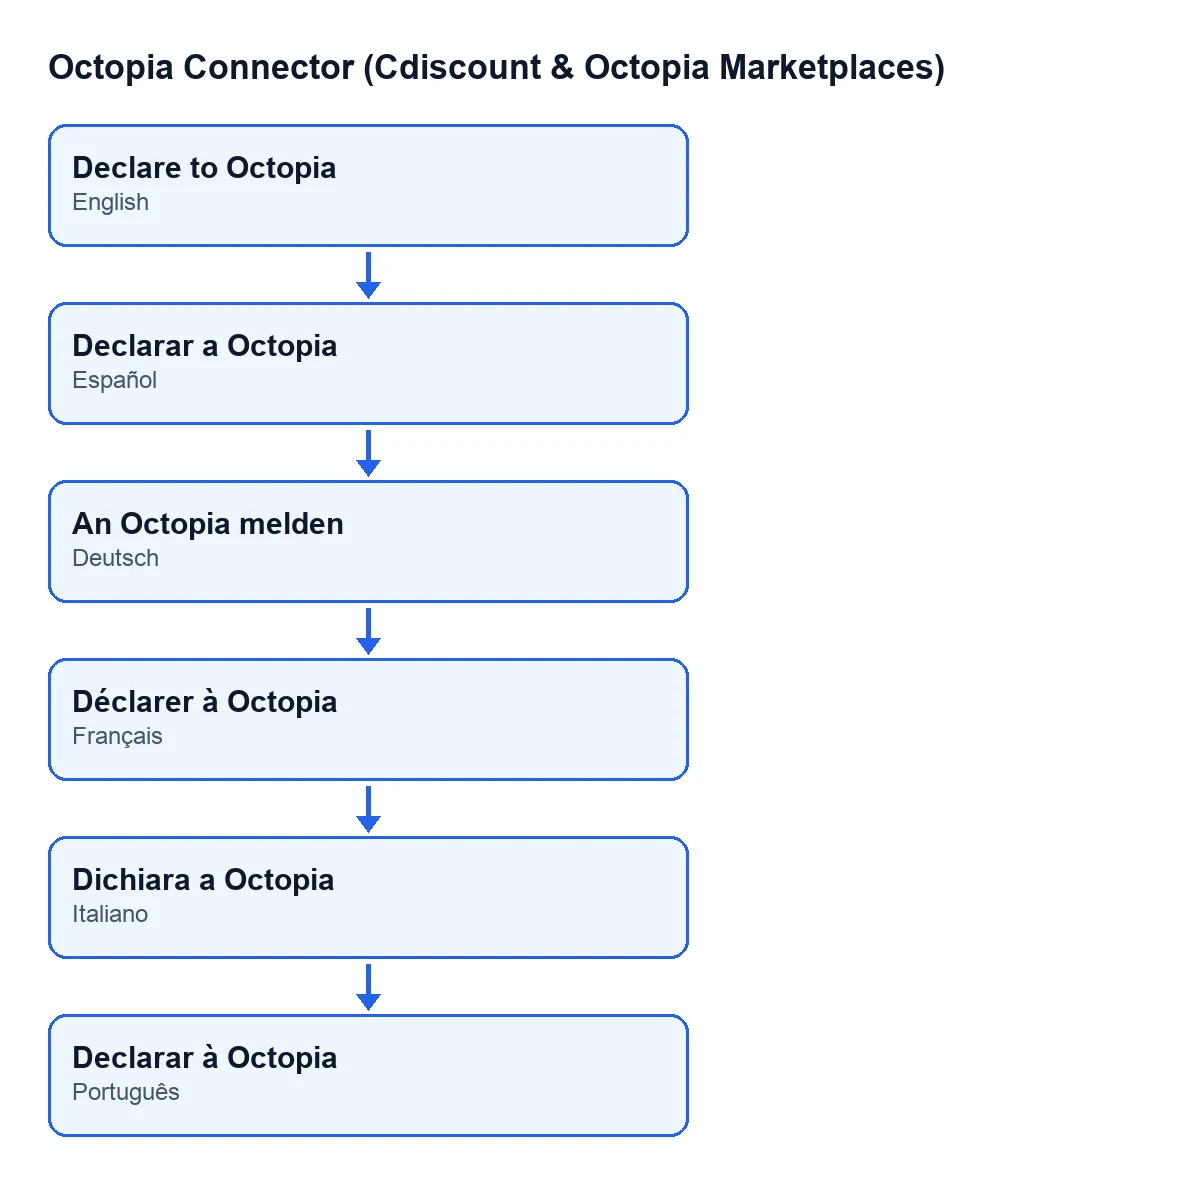
Declarar a Octopia, German An Octopia melden, French Déclarer à Octopia, Italian Dichiara a Octopia and Portuguese Declarar à Octopia.After you press it: what to check
- The window has closed: that is what the button does when it finishes well.
- The shipment is in
sentand the order shows as shipped.
- There is a new line in the synchronisation log, of type shipments.
- If an Octopia error came up, read the whole text, which includes the error details from the response, and fix whatever it points to before declaring again.
- If the message is one from the first section, the problem is in the data on the form: those checks run before the shipment is created and before Octopia is called.
What you need to have it
The module is a one-off payment per version and is published on Odoo Apps for 17, 18, 19 and 20; the price for each version is on its Odoo Apps listing. It also needs the FlexigoTech Cloud subscription, Connector plan: €49 a month or €490 a year, excluding VAT. The connection goes through FlexigoTech Cloud, which stores the credentials encrypted and watches the synchronisation.
How FlexigoTech can help
If you are implementing Odoo and want the shipping flow with Octopia ready, FlexigoTech implements Odoo 17, 18, 19 and 20 and builds custom connectors and integrations.
Keep reading
Checked in the connector's source code (version 20.0) and the linked sources
Sources
- Module source code: flexigobe_octopia_connector 20.0 (4848da6a): views/octopia_completeness2_views.xml
- Module source code: flexigobe_octopia_connector 20.0 (4848da6a): wizard/octopia_shipment_wizard.py
- apps.odoo.com/apps/modules/20.0/flexigobe_octopia_connector
- marketplace.cdiscount.com/wp-content/uploads/2025/08/2025.08.25-CGMAD-FR.pdf
- flexigotech.com/en/services.html
- flexigotech.com/precios.html