

 Español
 Català
 Deutsch
 Français
 Português
 Italiano
 Nederlands
 Polski
Where the button is and when you see it
The button is on the Sales Channels screen. You reach it from the menu Octopia › Configuration › Sales Channels. Each part of the menu asks for a different group, and if you do not have one, you do not see that part:
- The
Octopiapart asks forOctopia User. - The
Configurationpart asks forOctopia Manager. - The
Sales Channelspart asks forOctopia Admin.
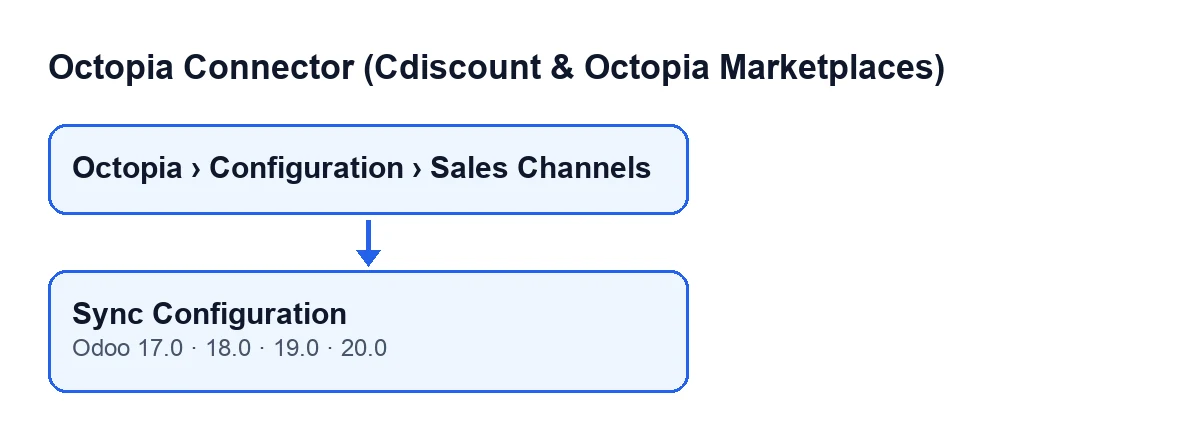
In versions 17, 18, 19 and 20 the view condition is the same: the button is always visible, with no dependence on any status or checkbox. Its label is Sync Configuration.
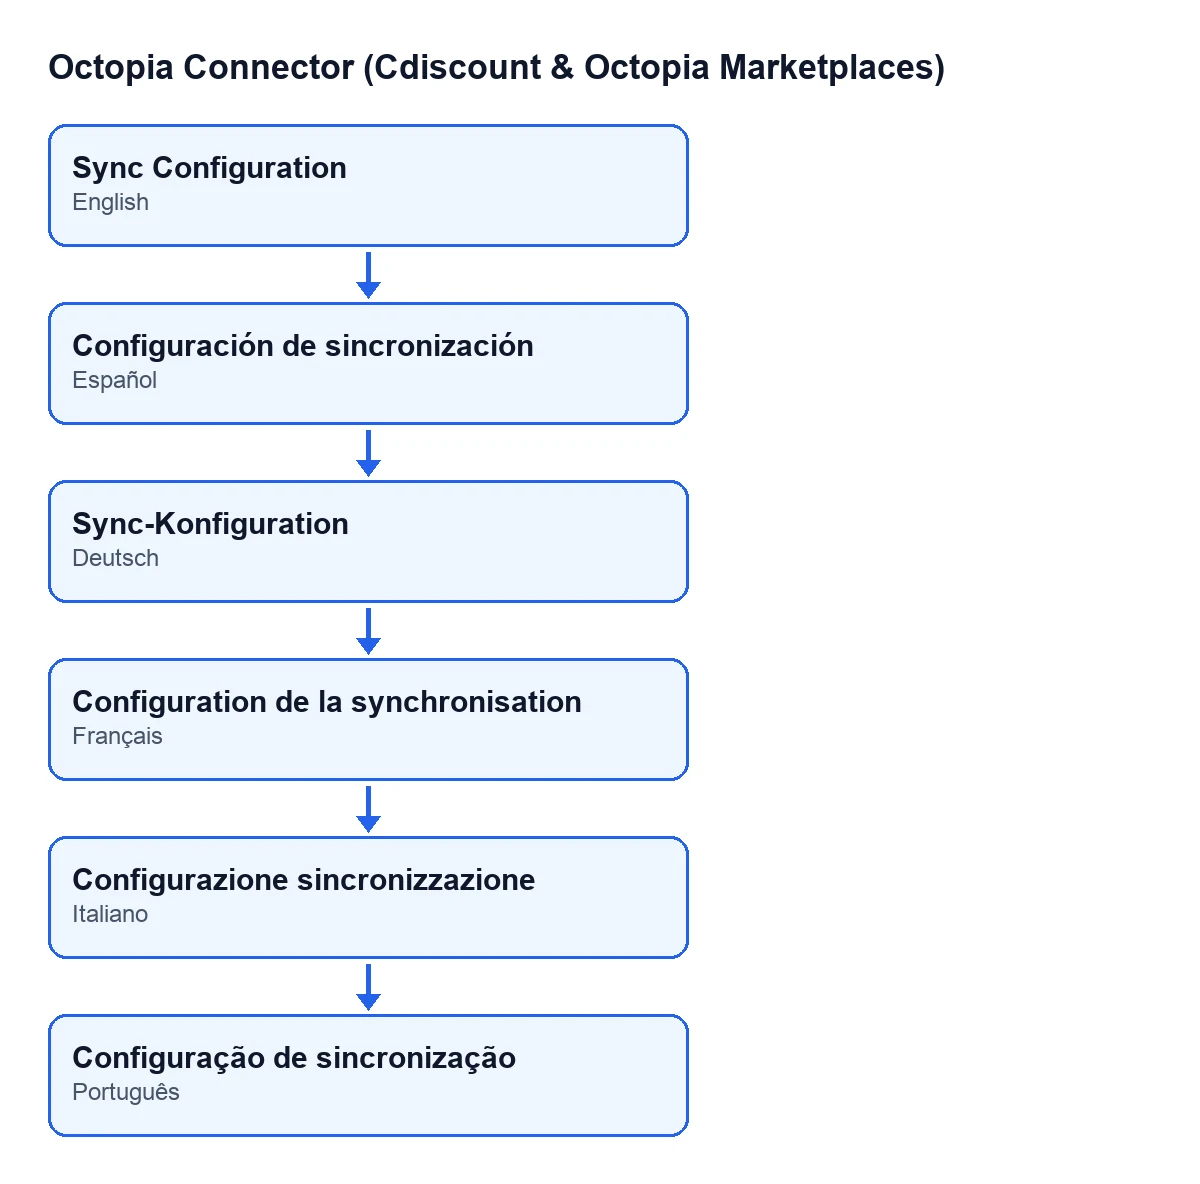
Configuración de sincronización; German, Sync-Konfiguration; French, Configuration de la synchronisation; Italian, Configurazione sincronizzazione; Portuguese, Configuração de sincronização.
Before you press it
The button is always visible, but it works with two details of the channel. Check them on the Sales Channels form, in the Channel group, or in the channel list.
- An
Accountis chosen on the channel. The button uses the channel's account to set up the connection to the platform.
- The
Channel IDis filled in and correct. The field's help reads:The SalesChannelId value, e.g. CDISFR (Cdiscount France) or SELLZZ (Seller Sandbox).That value is what goes into both requests.
- You can open the screen, meaning you have a group that lets you see the
Sales Channelspart of the menu.
- The FlexigoTech Cloud subscription is active. The connection goes through that service, which stores the credentials encrypted, watches the synchronisation and emails you if it fails. Without a subscription, or with the service suspended, whatever the subscription provides stops; your data stays in your Odoo.
When you press it: what happens, in order
In Odoo 20, pressing it does the following. The method goes through the channels it is launched on and repeats the same steps for each one, in this order:
- The connection client is prepared from the channel's account.
- The date and time of the synchronisation are noted among the values to be saved.
- First request: the platform is asked for the channel's configuration, using its
Channel ID.
- If the answer has the expected format, the block on seller-initiated discussions is read. The module saves whether it is enabled and the list of allowed recipients, joined with commas into one text. If the answer has no such block, it is saved as disabled with no recipients.
- Second request: the platform is asked for the channel's commercial gesture settings.
- If that answer has the expected format, the module saves whether the channel allows gestures (from the permission flag in the answer; if it is missing, it is saved as not allowed). Maximum amount, maximum rate and currency are saved only if the answer includes them; if one is missing, the existing value is left as it was.
- With all of that, the channel is written in one go. That write comes after both requests.
If either answer does not have the expected format, that part is not read. The date and time of the synchronisation are still saved, because they are noted before the requests.
After you press it
- Check that
AccountandChannel IDare still what you intended: the button changes neither, it only writes the date and the discussion and gesture values.
- If you change the channel's configuration on the platform, press the button again. It repeats the same requests and writes the values again, with a new date.
- If you have several channels, check each one separately: each has its own
Channel IDand its own answer.
- Go back over the account and the
Channel IDfrom the list before pressing.
Versions, subscription and help
The module is published on Odoo Apps for versions 17, 18, 19 and 20 and is a one-off payment per version. It also needs the FlexigoTech Cloud subscription: the Connector plan costs €49/month or €490/year excluding VAT, with up to 3 platform accounts (the Pro plan, €98/month or €980/year, up to 10).
If you are implementing Odoo and want your Cdiscount and Octopia channels configured from the start, FlexigoTech implements Odoo 17, 18, 19 and 20 and builds custom connectors and integrations.
Keep reading
Checked in the connector's source code (version 20.0) and the linked sources
Sources
- Module source code: flexigobe_octopia_connector 20.0 (059287e4): views/octopia_sales_channel_views.xml
- Module source code: flexigobe_octopia_connector 20.0 (059287e4): models/octopia_sales_channel.py
- apps.odoo.com/apps/modules/20.0/flexigobe_octopia_connector
- flexigotech.com/en/services.html
- flexigotech.com/precios.html