

 Español
 Català
 Deutsch
 Français
 Português
 Italiano
 Nederlands
 Polski
What the module puts on the sales order
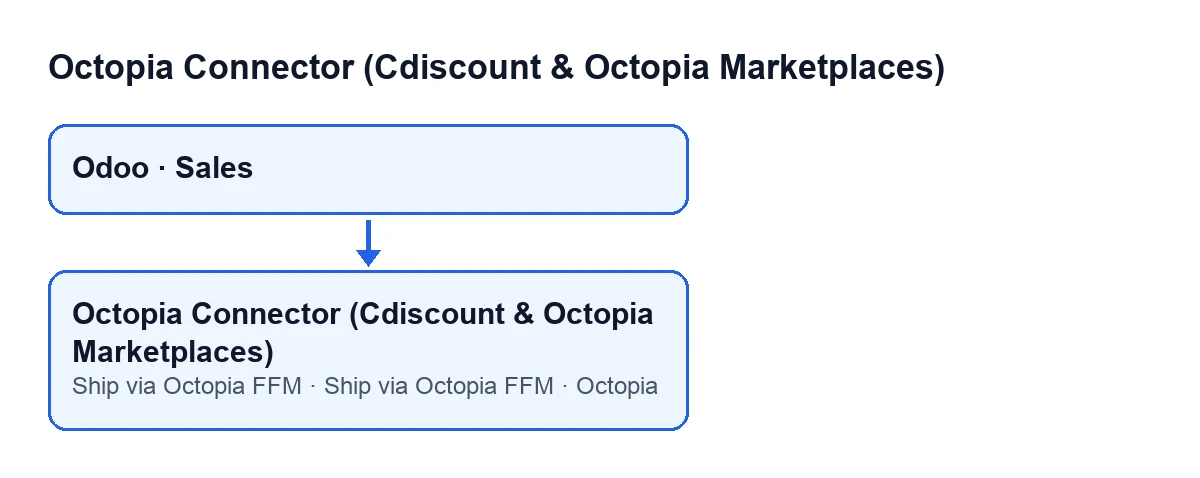
Octopia Connector extends the standard sales order of the Sales app. For this topic it adds a field, a button and a change in what happens when an order is deleted. Each one acts at a different moment.
The Octopia field
It is a numeric field shown on the sales order form. It counts the Octopia orders linked to that sales order. It is hidden when it is zero, and only users with the module's Octopia user permission can see it. If you cannot see it, either the order has no linked Octopia order or your user does not have that permission.
The Ship via Octopia FFM button
The button sends the sales order to Octopia's warehouse so that it ships it. The code treats it as a way to ship any Odoo order (from the web, by phone or from another channel), even if it did not come from Octopia. It works on one order at a time.
When a sales order is deleted
When a sales order is deleted, the module first looks up the Octopia orders linked to it and, once the deletion is done, notes on each one that its sales order was deleted.
When the button shows and what it asks first
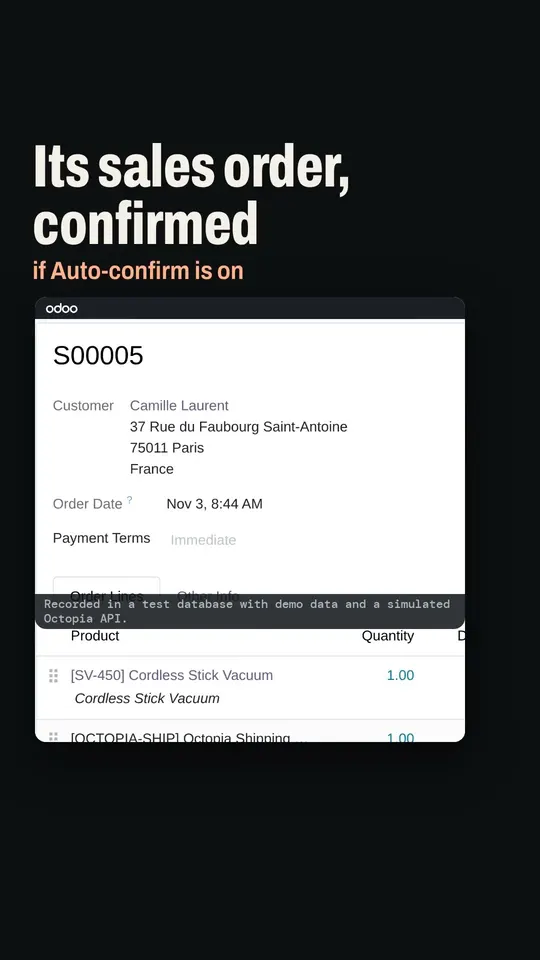
The button shows when the order is in the Sales Order state. The view condition is the same in Odoo 17, 18, 19 and 20: in a state the condition does not allow, the button is hidden.
When you press it, Odoo asks for confirmation with this text: Inject this order into Octopia Fulfillment? The FFM warehouse will pick, pack and ship it.
Ship via Octopia FFM.Step by step: what the button does when you press it
- Open the form of a sales order in the
Sales Orderstate: the button shows in that state. - Press
Ship via Octopia FFMand accept the confirmation. - The module picks the Octopia account. It first looks at the configured default account and uses it if it is active and belongs to the current company. If not, it takes the first active account of the current company and, failing that, the first active account it finds. If there is none, it stops with
No active Octopia account. - It goes through the order lines and leaves out those for service-type products. Each of the remaining products must be mapped to that account's Octopia catalogue. If one is not, it stops with
Product … is not mapped to the Octopia catalog (an FFM outbound needs the Octopia product id)., where the module puts the product name. From each line it takes the seller product reference and the ordered quantity as a whole number. If no lines are left, it stops withThe order has no shippable lines. - It prepares the delivery address: the order's shipping address or, if there is none, the customer's. It uses the name, the parent contact's company, phone, email, city, postcode, country, street and complement. The shipment reference is the sales order number.
- It sends Octopia the request for an outbound shipment of type
Fulfillment. - It creates the outbound shipment in Odoo, linked to the sales order and in a newly created state, and opens that outbound shipment's form.
When the module stops with any of the messages in the earlier steps, it has not yet sent anything to Octopia and no outbound shipment is created.
What to check afterwards
- The outbound shipment form opens by itself at the end: if it opens, the shipment has been created.
- If the product message appeared, review that product's mapping to the Octopia catalogue of the account that was chosen.
- If the account message appeared, check that an active Octopia account exists.
- If the lines message appeared, check that the order has lines for products that are not service-type.
Other buttons in the module have their own article: Enviar a Octopia and Importar.
Cost and how FlexigoTech helps
The module is published for Odoo 17, 18, 19 and 20. It is a one-off payment per version and needs the FlexigoTech Cloud subscription, Connector plan: €49 a month or €490 a year, excluding VAT, with up to 3 platform accounts. The connection goes through FlexigoTech Cloud, which stores the credentials encrypted, watches the synchronisation and emails you if it fails. Without a subscription, or with the service suspended, whatever the subscription provides stops; your data stays in your Odoo. On the Odoo App Store, each Odoo version is bought there.
FlexigoTech implements Odoo 17, 18, 19 and 20 and builds custom connectors and integrations. If your shipping flow from Sales needs more, we can look at it with you.
Keep reading
Checked in the connector's source code (version 20.0) and the linked sources
Sources
- Module source code: flexigobe_octopia_connector 20.0 (4848da6a): models/octopia_fulfillment.py
- Module source code: flexigobe_octopia_connector 20.0 (4848da6a): models/octopia_order.py
- Module source code: flexigobe_octopia_connector 20.0 (4848da6a): views/octopia_fulfillment_views.xml
- apps.odoo.com/apps/modules/20.0/flexigobe_octopia_connector
- flexigotech.com/precios.html
- flexigotech.com/en/services.html