

 Español
 Català
 Deutsch
 Français
 Português
 Italiano
 Nederlands
 Polski
When the button appears
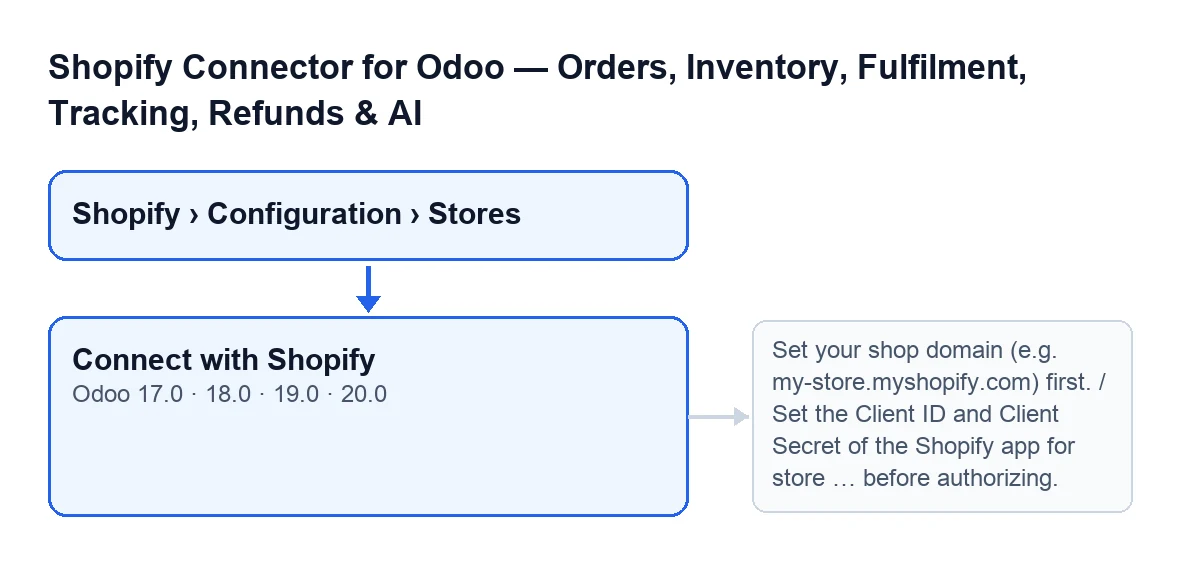
The Connect with Shopify button is on the Shopify Instances form, in every published branch of the module: Odoo 17, 18, 19 and 20. You open the form from Shopify › Configuration › Stores. The Configuration section asks for the Operator permission and the Shopify section asks for Viewer; if you lack one of them, you do not see that part of the menu.
With the module's default values, the button is not visible. The view hides it when the Shopify connection field holds its default value and the Shopify app field does not hold the code value (with the default values, Shopify app does not hold it either). The Shopify connection field does not appear in any view.
Step by step: from the form to Shopify
- Open the store's form from
Shopify › Configuration › Stores. - Type the
Shop Domain, a field that also appears in the list. Its help text says: «Use your exact Shopify domain, for example: flexigobe.myshopify.com». This is the automatic path: when you create or save the form with a domain typed in, Odoo cleans it on its own, without you pressing anything. - On the
Connectiontab, in theShopify App Credentialsgroup, fill in theClient ID. TheClient Secretin that group is not visible with the module's default values. - If your form shows the
Connect with Shopifybutton, press it. Your browser leaves Odoo for Shopify, in the same window. - Authorise the store in Shopify. According to the module's code, Shopify redirects straight back to this same Odoo, which holds the app's secret and does the exchange itself.
What the domain cleaning does
The same cleaning is applied when the form is created, when it is saved and when you press the button (the last one only to check whether there is a domain). It works like this:
- It trims the spaces at both ends and turns the text into lower case.
- If it starts with
https://orhttp://, it removes that. - It keeps only what comes before the first slash.
So pasting a full address from the browser ends up as the bare domain. When the form is created, the cleaning only happens if a domain is supplied.
What it checks and what it changes when pressed
The button works in this order:
- It cleans the domain and looks at whether anything is left. If it is empty, it stops.
- It checks that both
Client IDandClient Secretare filled in. If either is missing, it stops. - It generates a fresh code for this attempt and marks the attempt as pending. The code is renewed on every attempt: according to the module's own code, this means a stale callback or a reused link cannot complete a later attempt.
- It checks that the authorisation address exists. If it could not be built, it stops.
- If all is well, it takes the browser to that address, the one shown in the
Authorize Urlfield on theConnectiontab. The field is read-only and, with the default values, not visible: it is hidden whenShopify connectionholds its default value.
Which kind of app it is for
The module's own code explains it: this is the path for an app the merchant did not build themselves, the one a vendor distributes to their store with Custom distribution. Client credentials cannot serve that case, because Shopify refuses a store outside the app's own organisation. That is why the authorisation code grant is used, in which Shopify comes straight back to your Odoo.
The messages it can give and how to fix them
These messages appear when you press Connect with Shopify:
| Message | When it appears | What to do |
|---|---|---|
Set your shop domain (e.g. my-store.myshopify.com) first. | The domain, once cleaned, is empty. | Type the Shop Domain and press again. |
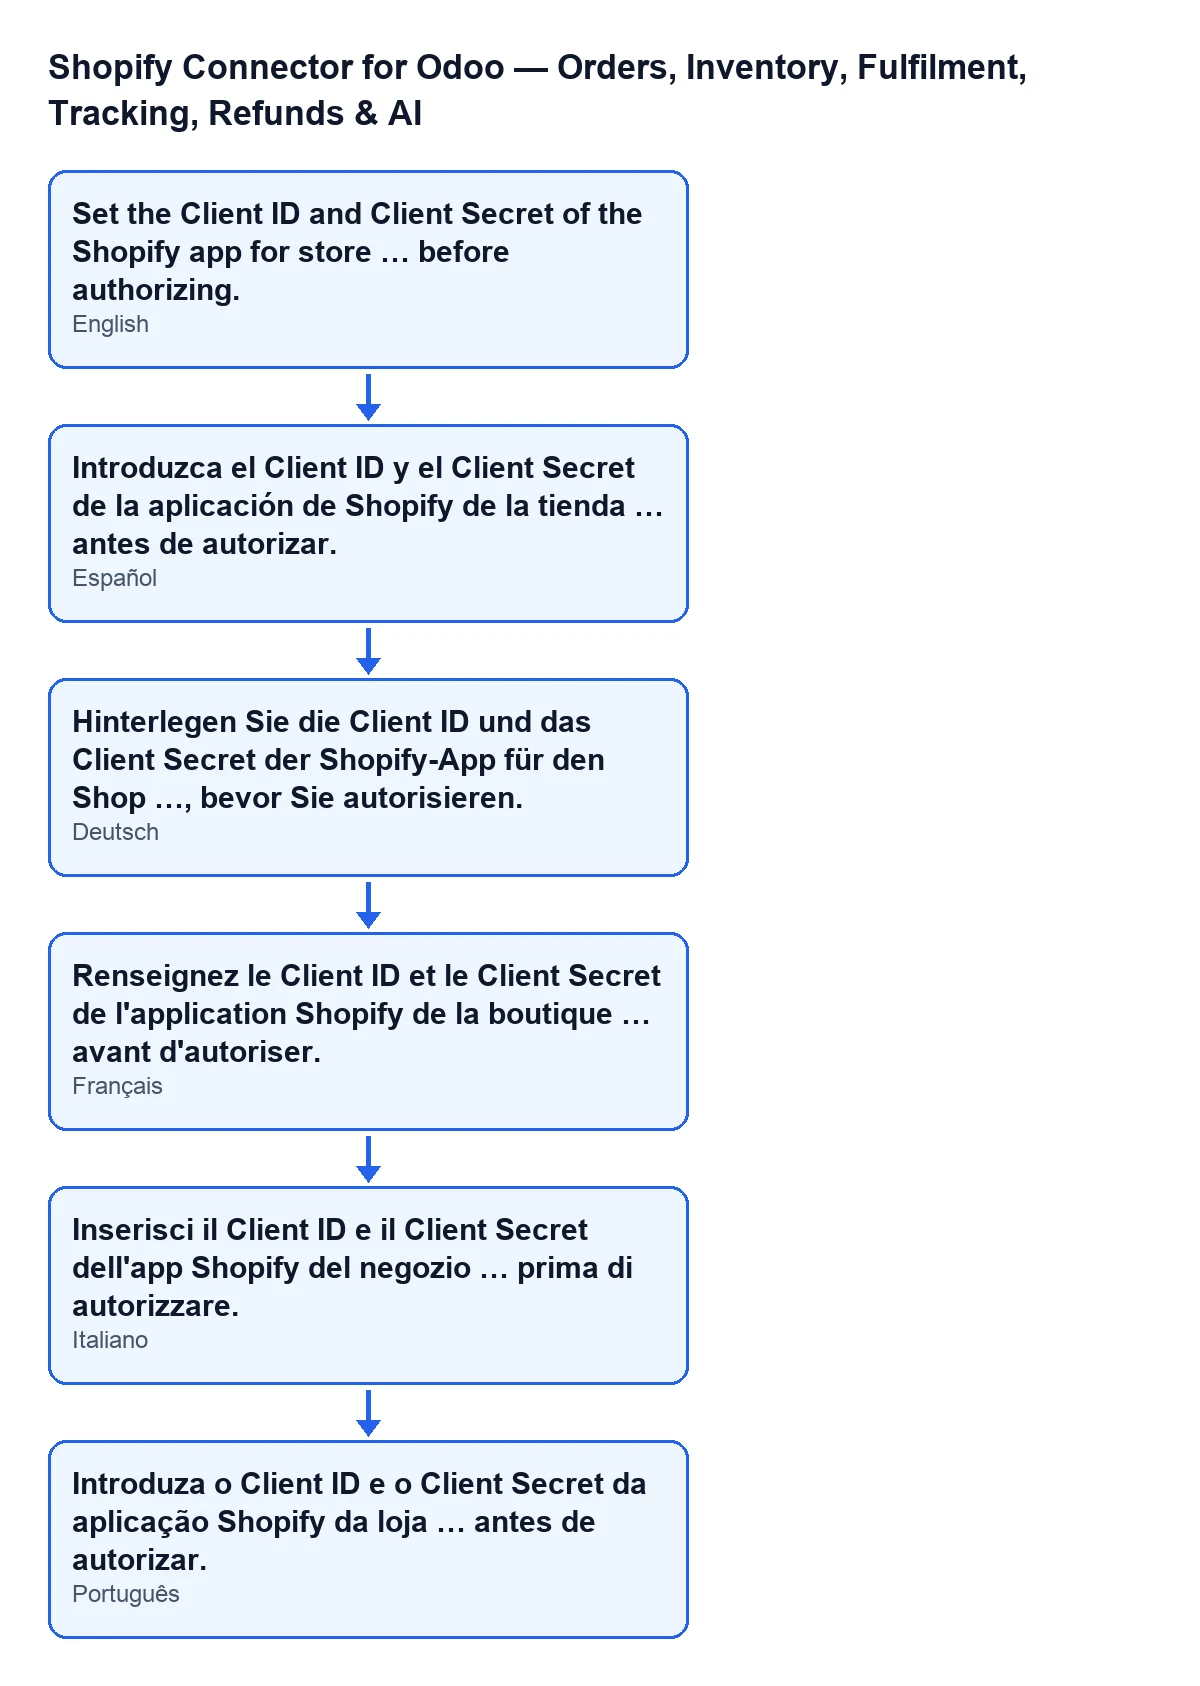
Set the Client ID and Client Secret of the Shopify app for store … before authorizing. | The Client ID, the Client Secret or both are missing. In place of the dots, the store name appears. | Check the Client ID on the Connection tab, in the Shopify App Credentials group. The Client Secret is not visible with the module's default values. |
Could not build the Shopify authorization URL. Check the shop domain, the Client ID and the Requested Scopes. | After the attempt's code is generated, there is no authorisation address. | Review the shop domain, the Client ID and the requested scopes, as the message says, and press again. |
The second message looks like this depending on the language of your Odoo: in English, the one in the table; in Spanish, German, French, Italian and Portuguese, the equivalent text in the diagram.
What you need and how FlexigoTech helps
The module is a one-off purchase per version (published on Odoo Apps for Odoo 17, 18, 19 and 20) and needs the FlexigoTech Cloud subscription, Connector plan: €49 a month or €490 a year, excluding VAT. The connection goes through FlexigoTech Cloud, which stores the credentials encrypted, watches the synchronisation and emails you if it fails.
If you are implementing Odoo and want the Shopify connection set up alongside you, FlexigoTech implements Odoo 17, 18, 19 and 20 and builds custom connectors and integrations. You will find more on the module's page.
Keep reading
Checked in the connector's source code (version 20.0) and the linked sources
Sources
- Module source code: flexigobe_shopify_seller_connector 20.0 (2950bdc0): views/shopify_instance_views.xml
- Module source code: flexigobe_shopify_seller_connector 20.0 (2950bdc0): models/shopify_instance.py
- Module source code: flexigobe_shopify_seller_connector 20.0 (2950bdc0): models/fgt_cloud.py
- apps.odoo.com/apps/modules/20.0/flexigobe_shopify_seller_connector
- flexigotech.com/precios.html
- flexigotech.com/en/services.html