

 Español
 Català
 Deutsch
 Français
 Português
 Italiano
 Nederlands
 Polski
Where the button is and when you see it
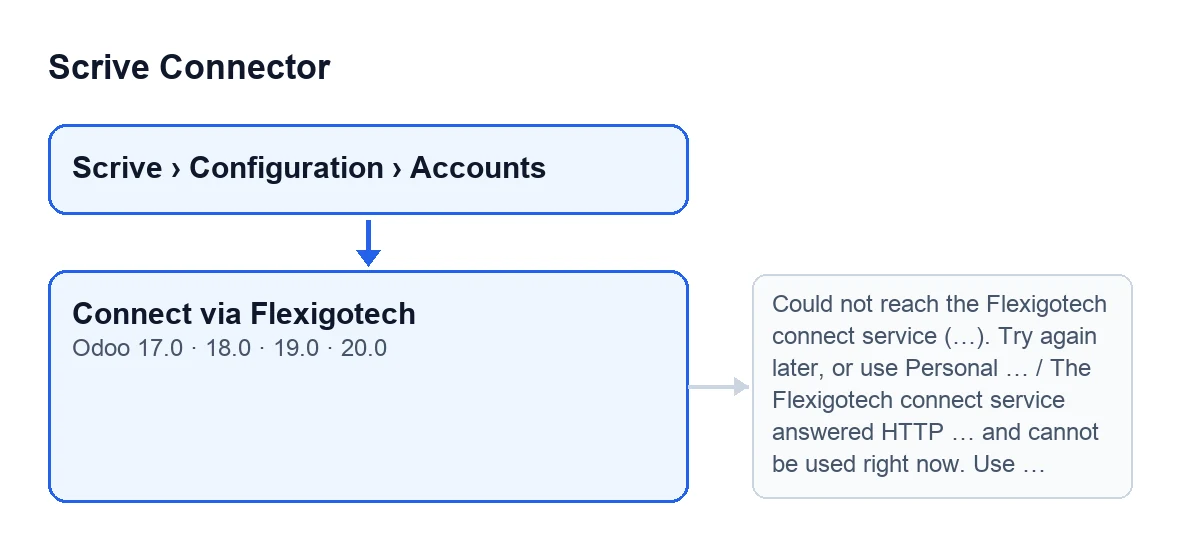
The Connect via Flexigotech button is on the Scrive Accounts screen in Odoo 17, 18, 19 and 20. Account records open from the menu Scrive › Configuration › Accounts: the Configuration level asks for the Manager group and the Scrive level asks for User. If you lack either one, you do not see that level.
The view hides the button when the account's Authentication Mode is not the Flexigotech one, and also when the account already shows as Flexigotech Connected. So you only see it if the account uses that mode and is not connected yet.
Step by step in Odoo 20.0: what happens when you press it
- Open
Scrive › Configuration › Accountsand go into the account you want to connect. - Look at the
Environmentfield, in theConnectiongroup of the record. Its values areProduction (scrive.com)andAPI Testbed (api-testbed.scrive.com); the default is production. The button sends that environment to the connect service and, if the field were empty, it sends production. - Press
Connect via Flexigotech. The first thing the module does is check, with your own user, that you can modify that account, applying the per-company rules as well. The code explains why: it stops someone from another company completing or hijacking the connection of an account that is not theirs. - Before taking you out of Odoo, the module checks that the Flexigotech connect service answers. It sends a request to the service's health-check address, allowing five seconds to connect and ten to receive a reply, without following redirects. It only accepts the service as good if it answers with HTTP code
200. - It stores in your browser session the account you are connecting and a random control value. The module's return page only accepts a pairing code that comes back with that value, so a code minted for somebody else's login cannot be planted in your browser.
- It builds the service address from the return address (your Odoo's base address plus the module's return path), the environment and the control value. It then opens that address in the same window, so you leave Odoo.
- On the service you see a confirmation screen and, after it, you are redirected to Scrive's login and consent page.
It is the service, not your database, that holds the single redirect address registered with Scrive. That is why the button works on any database without registering anything.
What changes and what does not
- In your browser session: the account you are connecting and the random control value are stored. That is what the method notes down before leaving.
- On your screen: the window moves to the service page; no new tab is opened.
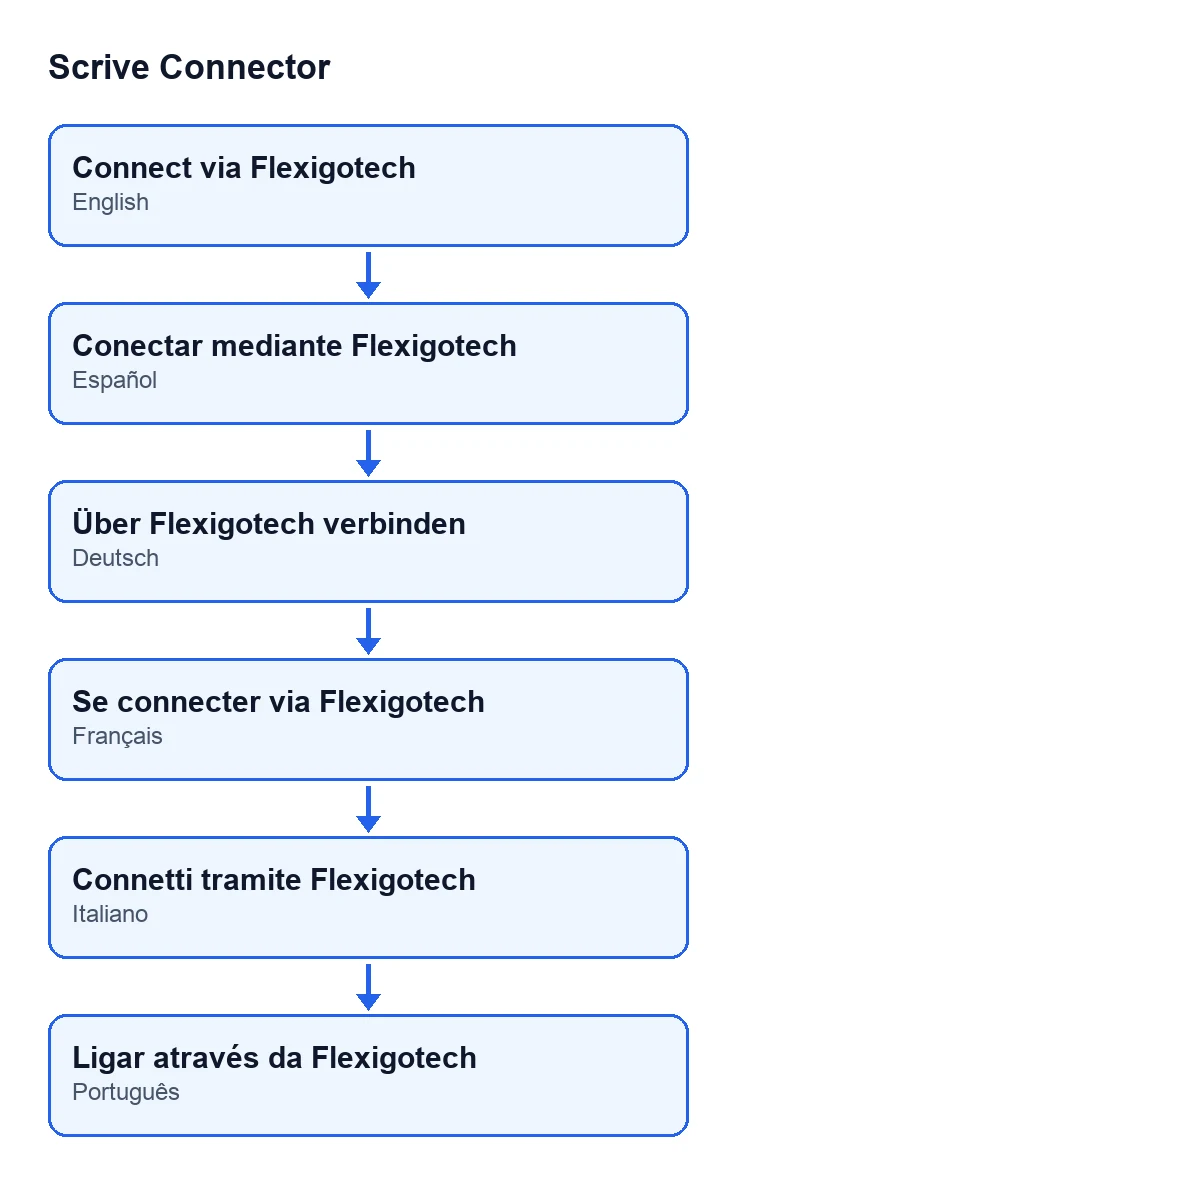
The button text changes with your Odoo language. With Odoo in English it reads Connect via Flexigotech; the module also ships these translations:
| Language | Button text |
|---|---|
| Spanish | Conectar mediante Flexigotech |
| German | Über Flexigotech verbinden |
| French | Se connecter via Flexigotech |
| Italian | Connetti tramite Flexigotech |
| Portuguese | Ligar através da Flexigotech |
If the button gives an error
The service check can stop the action with the messages below when you press the button. With each one, the module also leaves a warning in the Odoo server log, with the address it tried.
«Could not reach the Flexigotech connect service (…)»
The full text is Could not reach the Flexigotech connect service (…). Try again later, or use Personal Access Credentials on this Scrive account. It appears when the check request to the service fails; in place of … the message carries the details of the failure. Do what the message itself says: try again later, or use Personal Access Credentials on that Scrive account.
«The Flexigotech connect service answered HTTP …»
The full text is The Flexigotech connect service answered HTTP … and cannot be used right now. Use Personal Access Credentials (recommended) on this Scrive account instead. It appears when the service answers with an HTTP code other than 200, and the message carries that code in place of …. Here the message recommends using Personal Access Credentials on that Scrive account.
Cost and help from FlexigoTech
Scrive Connector is a one-off payment per Odoo version (published for 17, 18, 19 and 20; the price of each is on its listing) and needs the FlexigoTech Cloud subscription, Connector plan: €49 a month or €490 a year excluding VAT (Pro: €98 a month or €980 a year), up to 3 platform accounts (Pro: 10). The connection goes through FlexigoTech Cloud: it stores the credentials encrypted, watches the synchronisation and emails you if it fails. Without a subscription, or with the service suspended, what the subscription provides stops; the data stays in your Odoo. With the subscription, the module for newer Odoo versions is included if you bought it on flexigotech.com; on the Odoo App Store, each Odoo version is bought there. There is more on the module page.
If you are implementing Odoo and would like company while setting this connection up, FlexigoTech implements Odoo 17, 18, 19 and 20 and builds custom connectors and integrations. Another button in the module has its own article: what the Send button does.
Keep reading
Checked in the connector's source code (version 20.0) and the linked sources
Sources
- Module source code: flexigobe_scrive_connector 20.0 (21b3b940): views/scrive_account_views.xml
- Module source code: flexigobe_scrive_connector 20.0 (21b3b940): models/scrive_account.py
- apps.odoo.com/apps/modules/20.0/flexigobe_scrive_connector
- flexigotech.com/en/services.html
- flexigotech.com/precios.html
- Module source code: flexigobe_scrive_connector 20.0 (21b3b940): wizard/scrive_send_wizard.py