

 Español
 Català
 Deutsch
 Français
 Português
 Italiano
 Nederlands
 Polski
Where the button is and who sees it
The Backfill button sits on the Backfill Orders form, which opens from the menu Octopia › Orders › Backfill Orders. It exists in Odoo 17, 18, 19 and 20, and the view puts no condition on it: you see it as soon as you open the form.
Permissions work per menu level: the Backfill Orders level asks for Octopia Manager and the Octopia level asks for Octopia User. If you lack one of them, you do not see that level.
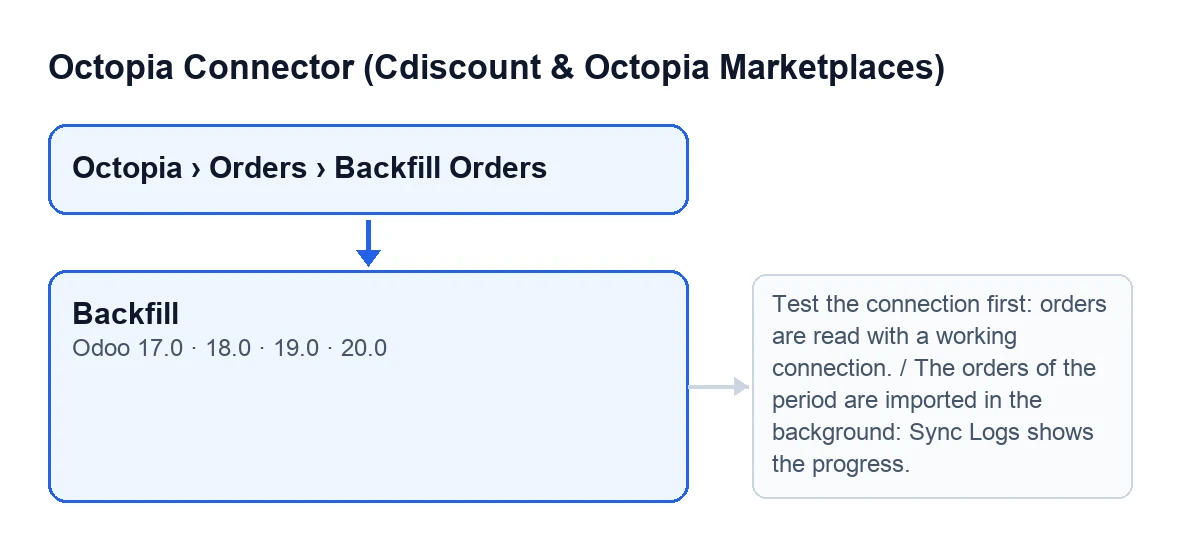
In English the button is called Backfill. The next diagram shows how it is labelled in other Odoo languages.
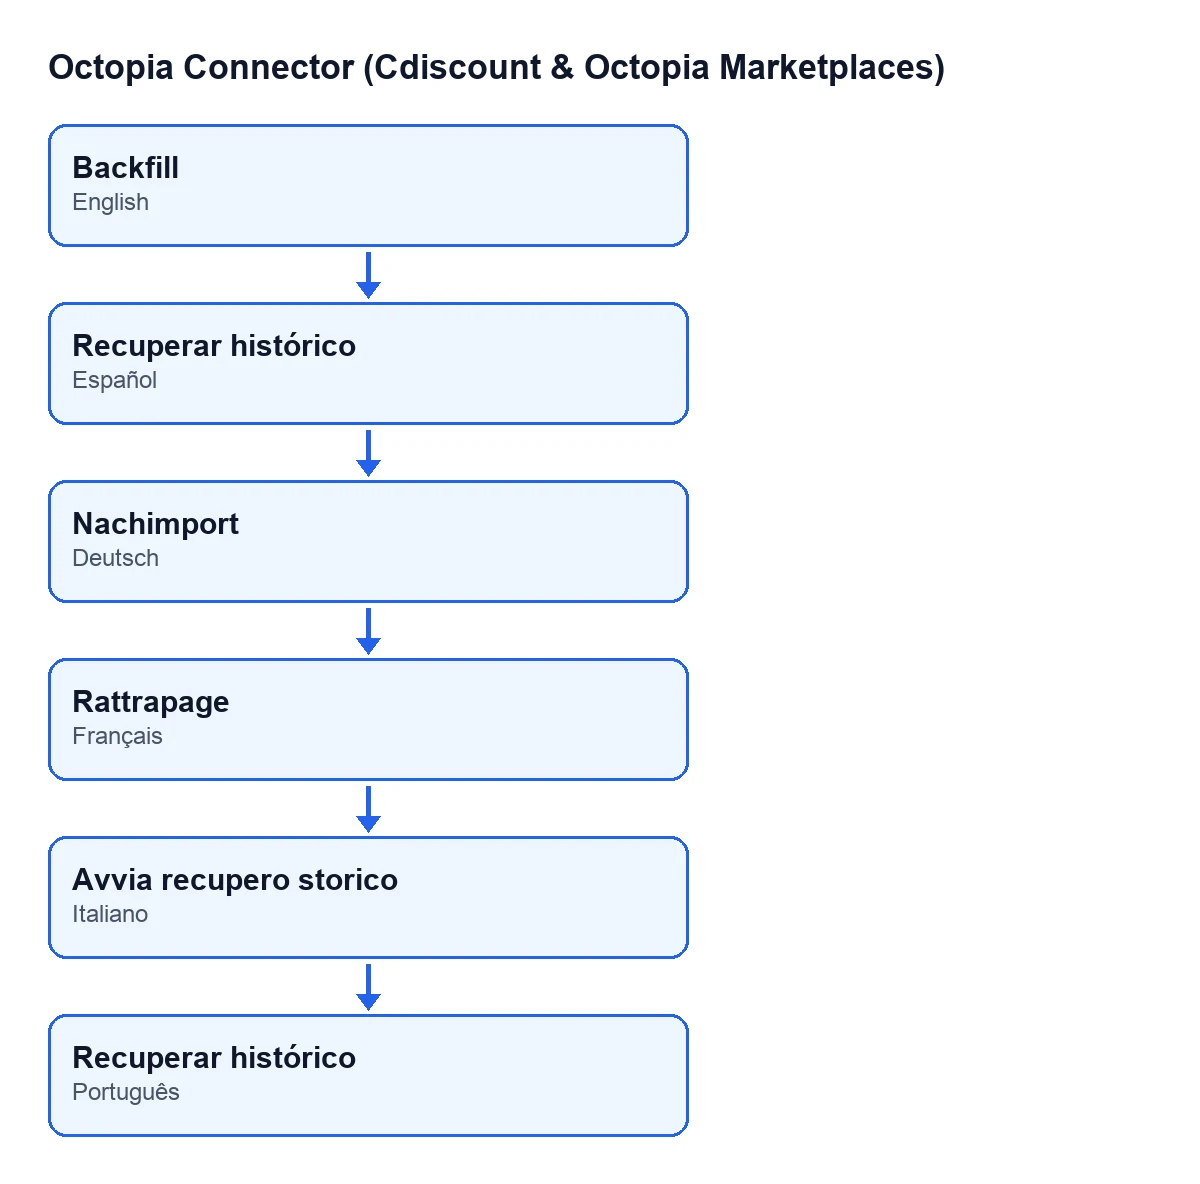
| Odoo language | Button label |
|---|---|
| Spanish | Backfill |
| German | Nachimport |
| French | Rattrapage |
| Italian | Avvia recupero storico |
| Portuguese | Backfill |
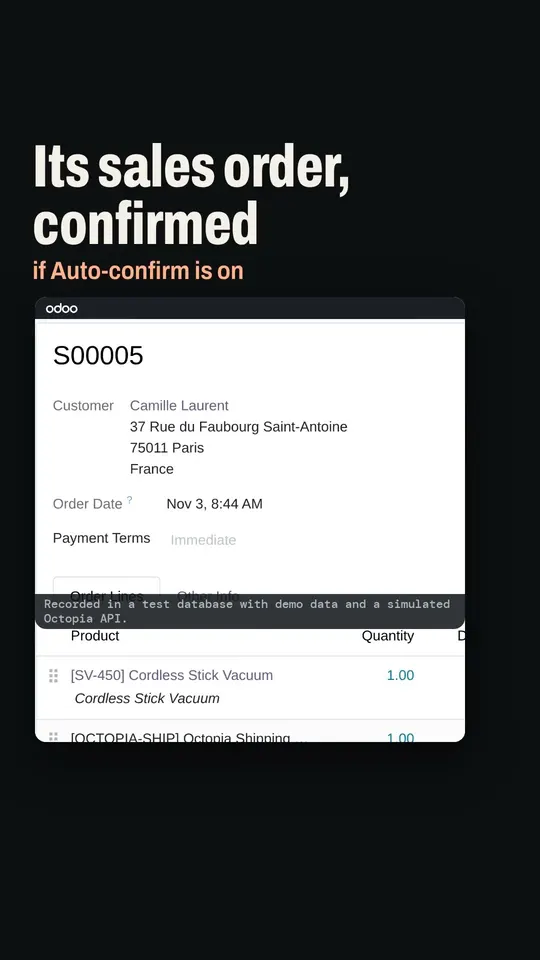
Step by step to backfill the orders of a period
- Open
Octopia › Orders › Backfill Orders. If you cannot see the menu, check your user'sOctopia UserandOctopia Managerpermissions. - In
Account, pick the Octopia account whose orders you want to backfill. The field comes with a default value, so check it before you go on, especially if you work with more than one account. - Fill in
Date FromandDate To, which make up the period.Date Todefaults to the current date and time, andDate Fromalso has a default. Change them if you need a different period. - Press
Backfill. - If the account is not connected, the action stops with a message (detailed below). Test the connection and press again.
- If the account is connected, you get the
Backfill startednotice readingThe orders of the period are imported in the background: Sync Logs shows the progress.The notice does not stay pinned on screen. - Follow the progress in
Sync Logs, which is where the notice itself points you.
What the button does internally, in order
In Odoo 20, the button does these things, one after the other:
- It checks the account. If the chosen account is not in the connected state, it stops there. Nothing that the action was going to change is saved.
- It records the period. It looks up the account's control row for the order backfill (creating it the first time) and writes your
Date FromandDate Tointo it. It also empties that window's resume point. - It tells the order scheduled action. The button imports nothing at that moment: it asks that action to get going.
- It returns the notice. That is the
Backfill startednotice above.
Why nothing is imported on the spot
A long backfill does not run inside the web request: it would be killed at the request time limit and would race the scheduled action on the account row. That is why the button only records the period and tells the order scheduled action to import it in the background.
One direct consequence of the code: if you press the button again for the same account, the dates are written again into that same row and the resume point is emptied again.
The message that can stop the button
When you press Backfill, the action can stop with this message:
| Message | When it appears | What to do |
|---|---|---|
Test the connection first: orders are read with a working connection. | On pressing the button, if the chosen account is not in the connected state. | Test that account's connection and, once it works, press Backfill again. |
When this message appears, no period has been recorded and the scheduled action has not been told.
The Backfill started notice is not an error: it is what the button returns after recording the period and telling the order scheduled action.
What to check afterwards
- That the
Backfill startednotice appeared: it means the period is recorded and the order scheduled action has been told. - That
Sync Logsshow the progress, as the notice says. - That
Accountheld the account you meant, if you work with more than one. - That
Date FromandDate Tocovered the period you needed before you pressed, because those are the values the button records.
How FlexigoTech can help
If you are implementing Odoo and want Octopia connected and tested before you backfill, FlexigoTech implements Odoo 17, 18, 19 and 20 and builds connectors and custom integrations.
Keep reading
Checked in the connector's source code (version 20.0) and the linked sources
Sources
- Module source code: flexigobe_octopia_connector 20.0 (4848da6a): views/octopia_completeness_views.xml
- Module source code: flexigobe_octopia_connector 20.0 (4848da6a): wizard/octopia_import_wizard.py
- flexigotech.com/en/services.html