

 Español
 Català
 Deutsch
 Français
 Português
 Italiano
 Nederlands
 Polski
Where the button is and when it appears
Where do I open the screen that has this button?
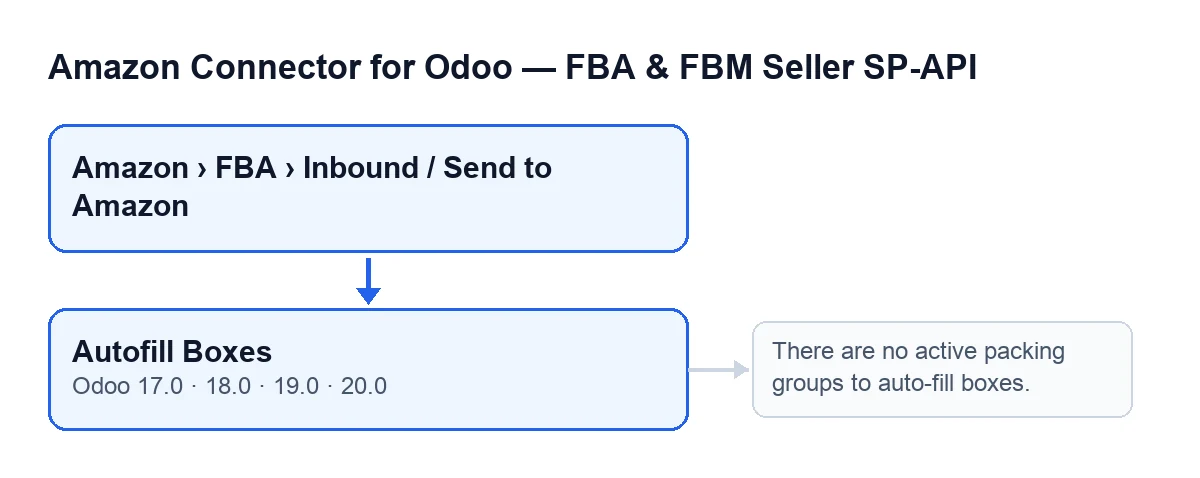
From the menu Amazon › FBA › Inbound / Send to Amazon. Each part of the menu (Amazon, FBA and Inbound / Send to Amazon) asks for the Viewer permission: without it, you do not see that part. The Autofill Boxes button sits on the Send to Amazon screen and exists in every published branch of the module: Odoo 17, 18, 19 and 20.
When does the button appear?
It is hidden while the Selected Packing Option field is empty. With the default values that field has no value, so the button is not visible. It appears once the field has an option selected. The condition is the same in Odoo 17, 18, 19 and 20.
What is the button called in my language?
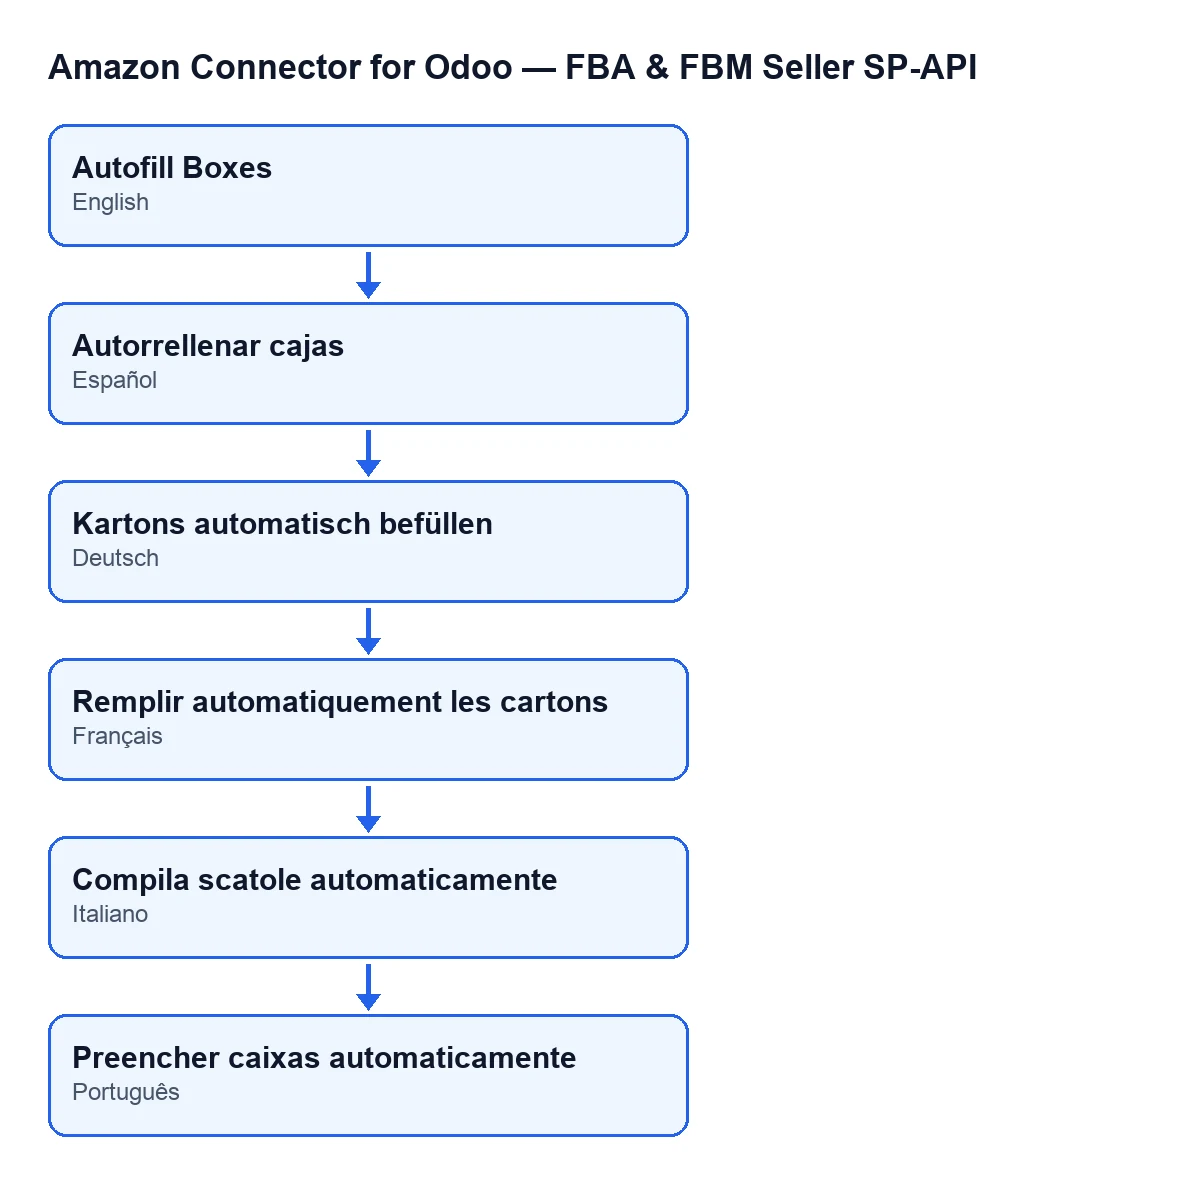
With Odoo in English it is Autofill Boxes. The module ships published translations for Spanish, German, French, Italian and Portuguese, so the button label changes with the language of your Odoo.
What it does when you press it
What follows is what the module's Odoo 20 code does. It works from the plan and creates boxes and their items.
What does it check before creating anything?
First it keeps the plan's packing groups that are active. If there are none, it stops with an error message (see below) and nothing is saved. If there are some, it builds a lookup of the plan's lines by MSKU, trimming stray spaces and leaving out lines with no MSKU. Then it goes through the active groups one by one.
What happens to groups that already have boxes?
They are skipped. If a packing group already has a box, the button passes it by and does not create another. It only works on active groups that still have none.
What box does it create for each group?
It creates a box tied to the plan and to that group, using the plan's default values: the quantity (at least one), the weight and its unit, the length, the width, the height and the dimension unit, plus the box content source. If the default weight is empty, the box gets a weight of zero.
On the Send to Amazon form, in the Packing tab, you can see these fields, which are worth checking before you press the button:
Default Box Content Source:Box Content Provided,Manual ProcessorBarcode 2D. The default value in the code isBox Content Provided.Default Box Dimension Unit:CMorIN, withCMas the default in the code.Default Box Height: 20.0 by default in the code.Default Box Length: 40.0 by default in the code.
What goes inside each box?
The button reads the list of items that the packing group itself carries. If that list cannot be read, it is treated as empty and the box is created with no items. List elements that are not in record form are ignored. For the rest it creates an item line inside the box, with the MSKU and the ASIN (stray spaces trimmed) and the quantity (zero if missing).
For the label owner and the prep owner, it uses the item's own value; if that is missing, the value from the plan line with the same MSKU; and if there is none there either, the item is left without an owner. The expiration date and the manufacturing lot code follow the same order: the item first and, if it has no value, the plan line with the same MSKU.
What if I press it twice?
The second time it only creates boxes for the active groups that still have none. If every active group already has boxes, it creates nothing and does not show the error message either, because that message only appears when there are no active packing groups at all.
Errors and requirements
Which error can it raise and what do I do?
When you press Autofill Boxes, the button can stop with There are no active packing groups to auto-fill boxes.. It means the plan has no active packing group. The action stops and nothing it was about to change is saved. The button only creates boxes for the plan's active packing groups, so you need at least one before pressing it again.
What do I need to use it, and what does it cost?
The module is a one-off payment per version and needs the FlexigoTech Cloud subscription, Connector plan: €49 per month or €490 per year excluding VAT (the Pro plan is €98 per month or €980 per year, also excluding VAT). It is published on Odoo Apps for Odoo 17, 18, 19 and 20. The connection goes through FlexigoTech Cloud, which stores the credentials encrypted, watches the synchronisation and emails you if it fails. With the subscription, the module for newer Odoo versions is included if you bought it on flexigotech.com; on the Odoo App Store, each Odoo version is bought there. You can see the module page and its Odoo Apps listing.
Without a subscription, or with the service suspended, whatever the subscription provides stops; your data stays in your Odoo.
If you need help with sending to Amazon
FlexigoTech implements Odoo 17, 18, 19 and 20 and builds connectors and bespoke integrations. If you want to review how to set the plan's default values or adapt the button's behaviour to the way you work, we can go through it with you.
Keep reading
Checked in the connector's source code (version 20.0) and the linked sources
Sources
- Module source code: flexigobe_amazon_seller_connector 20.0 (8576afa5): views/amazon_spapi_inbound_plan_views.xml
- Module source code: flexigobe_amazon_seller_connector 20.0 (8576afa5): models/amazon_spapi_inbound_plan.py
- apps.odoo.com/apps/modules/20.0/flexigobe_amazon_seller_connector
- flexigotech.com/precios.html
- flexigotech.com/en/services.html