

 Español
 Català
 Deutsch
 Français
 Português
 Italiano
 Nederlands
 Polski
Where the fields are and what you need to see them
The Shopify Instances forms open from the menu Shopify › Configuration › Stores. The Configuration part of the menu asks for the Operator permission and the Shopify part asks for Viewer: if you lack one of them, you do not see that part of the menu. What follows describes the form in Odoo 20; the module is published for Odoo 17, 18, 19 and 20.
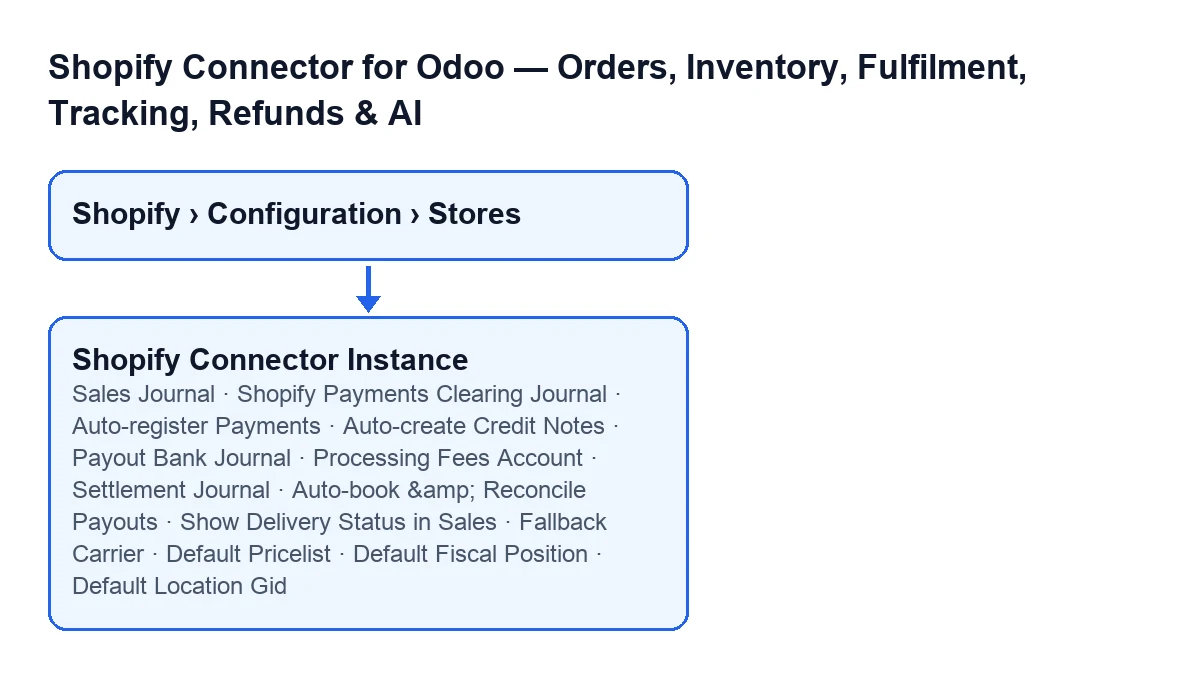
The fields sit in three places on the form: the Operations tab, the Webhooks tab and the Finance & Accounting tab. On the last one, most of the fields are hidden while the Enable Finance & Accounting checkbox (group Invoicing) stays switched off, which is how it comes. If you look for a journal or an account and it is not there, tick that checkbox first.

Orders, carrier, pricelist, taxes and location
On the Operations tab, the Order Settings group has three selection fields, and the Webhooks tab has one more for inventory. The table puts each help text next to the decision you face.
| Field | Where it is | What its help says | What to decide |
|---|---|---|---|
Fallback Carrier | Operations, group Order Settings | It is the delivery carrier used when no carrier mapping matches the Shopify shipping line. | Choose one that works as a safety net, because it only comes into play when no mapping matches. |
Default Pricelist | Operations, group Order Settings | It is the pricelist applied to all sale orders imported from this Shopify instance. | Choose it with the whole store in mind, not one particular order. |
Default Fiscal Position | Operations, group Order Settings | It is the fiscal position applied to all sale orders imported from this instance, and it sets the tax mapping. | As with the pricelist, it applies to every order from the instance, so decide it for the lot. |
Default Location Gid | Webhooks tab | It is the Shopify GraphQL location GID used for inventory synchronisation. | Enter the GID of the Shopify location you want to synchronise inventory with. |
The pricelist and the fiscal position matter more than they look: according to their help, they are not chosen order by order, they apply to everything that comes in through that instance.
Finance: journals and accounts
All of these fields are on the Finance & Accounting tab and are hidden while the Enable Finance & Accounting checkbox stays switched off. They fall into three groups.
| Field | Group | What its help says | What to decide |
|---|---|---|---|
Sales Journal | Invoicing | It is the journal for the Shopify customer invoices; by default, the company's sales journal. | If the company's sales journal suits you, that is the default; change it only if you want a different journal for these invoices. |
Shopify Payments Clearing Journal | Payments & Clearing | It is the transit or clearing bank journal where customer payments land before the Shopify Payments payout deposits them in your real bank. Its help also explains how to create it automatically. | A transit journal goes here, not your real bank. |
Payout Bank Journal | Payouts & Settlement | It is your real bank journal, where Shopify Payments deposits the payouts. | Your real bank goes here. |
Processing Fees Account | Payouts & Settlement | It is the expense account for Shopify Payments processing fees. | Choose an expense account. |
Settlement Journal | Payouts & Settlement | It is the miscellaneous journal for the payout settlement entries. | Choose a miscellaneous journal. |
The easiest mix-up is between Shopify Payments Clearing Journal and Payout Bank Journal: the first is the transit that customer payments pass through, and the second is the real bank where Shopify Payments deposits the payouts.
Checkboxes: what they do once switched on
The four checkboxes in this table are all off by default. Three are on the finance side (and are hidden while Enable Finance & Accounting stays switched off) and one is under Operations.
| Checkbox | Where it is | Default | When switched on, according to its help |
|---|---|---|---|
Auto-register Payments | Finance & Accounting, group Payments & Clearing | Off | When an invoice is created for a paid Shopify order, it registers its payment into the clearing journal automatically. |
Auto-create Credit Notes | Finance & Accounting, group Payments & Clearing | Off | A scheduled job creates a credit note for each Shopify refund: it posts full refunds and leaves partial refunds as a draft for you to review. |
Auto-book & Reconcile Payouts | Finance & Accounting, group Payouts & Settlement | Off | When a paid payout is synced, it books its settlement entry (fees to expense, net to bank, clearing drained) and reconciles the clearing account. |
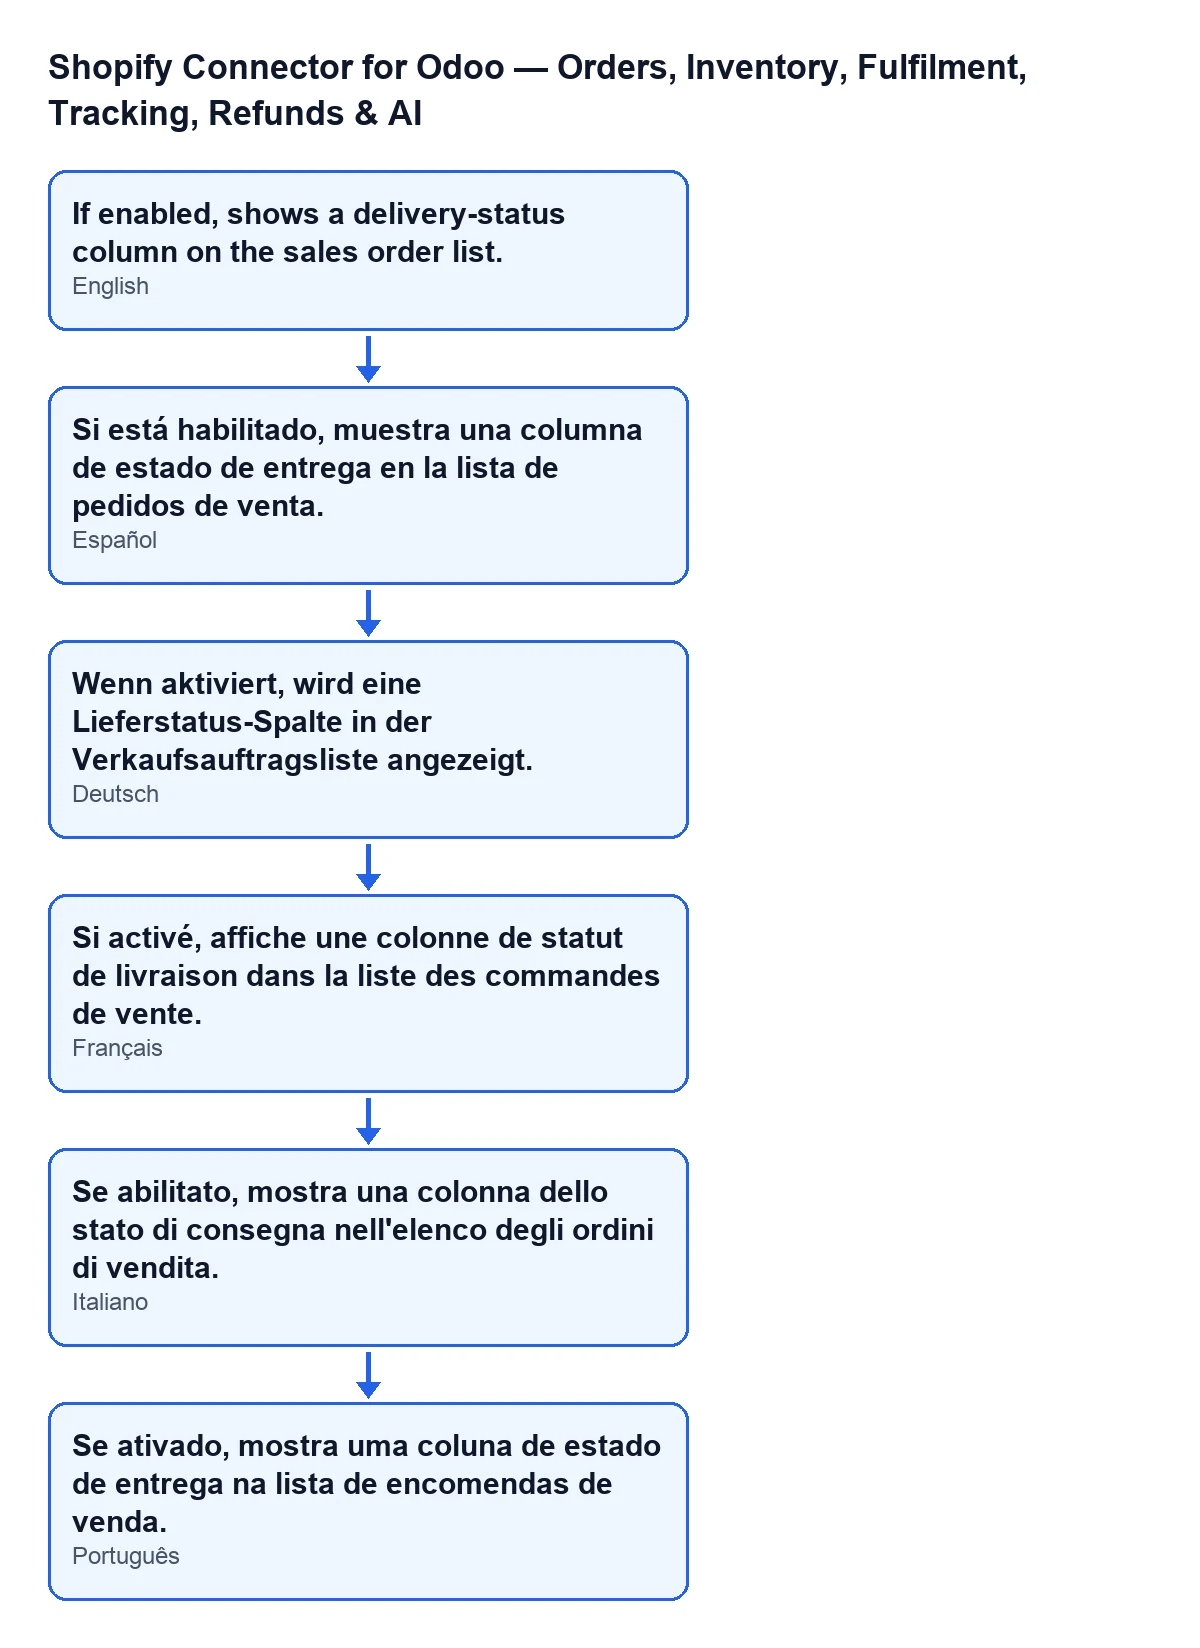
Show Delivery Status in Sales | Operations, group Sync Settings | Off | It shows a delivery-status column on the sales order list. |
The help of the last checkbox reads: If enabled, shows a delivery-status column on the sales order list.
If you switch on Auto-create Credit Notes, bear in mind that, according to its help, partial refunds stay as drafts waiting for you to review them.
Questions to answer before you save
- Do the Shopify invoices go to the company's sales journal or to another one?
- Which is your transit journal and which is your real bank?
- Which expense account receives the Shopify Payments fees?
- Which carrier do you want as a safety net when no mapping matches?
- Will a single pricelist and a single fiscal position suit every order from the store?
- Who will review the partial refunds left as drafts?
- Which Shopify location will you use for inventory?
Subscription, versions and help
The module is a one-off purchase per version and needs the FlexigoTech Cloud subscription: the connection goes through that service, which stores the credentials encrypted, watches the synchronisation and emails you if it fails. The Connector plan costs €49/month or €490/year excluding VAT, with up to 3 accounts of the platform. You will find the Odoo Apps listing and the module page.
FlexigoTech implements Odoo 17, 18, 19 and 20 and builds custom connectors and integrations, in case you want help deciding these fields with your accounting.
Keep reading
Checked in the connector's source code (version 20.0) and the linked sources
Sources
- Module source code: flexigobe_shopify_seller_connector 20.0 (2950bdc0): models/shopify_instance.py
- Module source code: flexigobe_shopify_seller_connector 20.0 (2950bdc0): models/fgt_cloud.py
- apps.odoo.com/apps/modules/20.0/flexigobe_shopify_seller_connector
- flexigotech.com/en/services.html
- flexigotech.com/precios.html