

 Español
 Català
 Deutsch
 Français
 Português
 Italiano
 Nederlands
 Polski
When it appears and what it says
The full message is Page … cannot hold the signature boxes and fields of every party placed on it without covering each other (it stopped at '…'). …. The three gaps are values: the page number, the name of the party where placement stopped (if it has no name, you see Unnamed party) and a closing piece of advice.
Unless the caller supplies other advice, that closing text is Spread them over other pages, or remove some of their fields. The code notes that what you should do depends on how that document is handled, so the ending can differ.
It appears when you press the Send button in the Scrive document view. There are two buttons with that label: one is shown when the document is in draft or in error (with the default values it is visible) and the other only when it is in preparation (with the default values it is not visible). Both reach the same placement check. The action stops. The message is in the code for Odoo 17, 18, 19 and 20; what follows describes the Odoo 20 code.
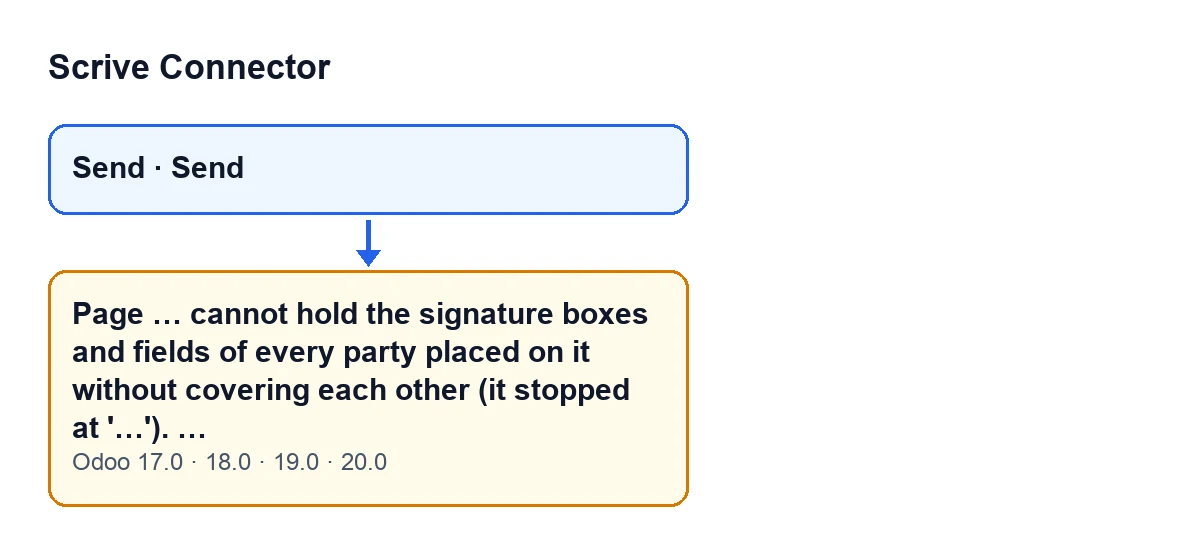
Send buttons and the message, with the English labels from the module code (Odoo 17, 18, 19 and 20).For what else that button does, see the article on the Send button.
What the module does before raising it
Before sending, the module works out where each party's signature box and each field go. Not everything takes part in the calculation that can fail:
- If a party's box has anchor text, the module places it next to that text and it is not stacked. The same goes for its fields with anchor text, except option (radio) fields: those are stacked even when they have it.
- Parties placed by default on an added signature page already come with their measured placement, which is used as it is.
- The rest are grouped by page. A box with no page of its own goes to the default page, which is the signature page or, if none was added, the last page of the document. A field with no page of its own goes wherever its party's box goes, so it stays next to the signature.
- On each page, every box and its fields are stacked in three columns: the fields on top, in their own order, and the box below them.
An option (radio) field enters the stacking by its options: the module counts one for each line that has text.
If a page cannot take them without covering each other, the module raises the message with the name of the party where it stopped. Pages are checked in order and the message names the first one that fails, so after fixing it the same message may appear for another page. The code uses each page's proportions when it knows them; otherwise it uses a default.
In practice, the message tells you two things: which page is overloaded and at which party the placement stopped. From there, the fix is to lighten that page.
Checklist
Before pressing Send
- Find which parties are placed on the same page: those that share a page, whether the default one or one you have set.
- Tell apart the parties with anchor text: their box goes next to the text and does not add to the page's stack.
- Remember that a party's fields travel with its box unless they have a page of their own: the more fields without their own page, the more height that block needs.
- Note which parties have option (radio) fields: they count by their options and are stacked even when they have anchor text.
- Check the button:
Sendappears in draft or in error; in preparation, another button with the same label appears.
When the message appears
- Note the page number in the first gap: that is the page that cannot take any more.
- Note the name in quotes: that is the party where placement stopped. If you see
Unnamed party, that party has no name set.
- Read the closing advice: by default it asks you to spread boxes and fields over other pages or remove some fields.
- Spread the parties on that page over other pages, or cut the fields of the ones that are piling up.
Page … cannot hold the signature boxes and fields of every party placed on it without covering each other (it stopped at '…'). ….After fixing it
- Press
Sendagain: the whole check is repeated.
- If the same message appears with another page, repeat the spreading on that one: the message only names the first page that fails.
- If the document is in preparation, use the other
Sendbutton, the one that is only visible in that state.
How FlexigoTech can help
If you are implementing Odoo and signing does not work with your templates, FlexigoTech implements Odoo 17, 18, 19 and 20 and builds connectors and custom integrations. Scrive Connector is published for those four versions: see its Odoo Apps listing or its page on flexigotech.com.
Keep reading
Checked in the connector's source code (version 20.0) and the linked sources
Sources
- Module source code: flexigobe_scrive_connector 20.0 (21b3b940): models/scrive_party.py
- Module source code: flexigobe_scrive_connector 20.0 (21b3b940): views/scrive_document_views.xml
- apps.odoo.com/apps/modules/20.0/flexigobe_scrive_connector
- flexigotech.com/en/services.html
- Module source code: flexigobe_scrive_connector 20.0 (21b3b940): wizard/scrive_send_wizard.py