

 Español
 Català
 Deutsch
 Français
 Português
 Italiano
 Nederlands
 Polski
The normal route: the declaration goes out when you validate the delivery
The button is not the usual route. When you validate a delivery order with Odoo's standard button, which the module extends, the module declares to Octopia the parcels of each Octopia order behind that delivery's sales order. If the delivery does not come from a sales order, it declares nothing, and only the orders of the same company as the delivery are considered.
During that validation the module skips an order in two cases: if there is already a declaration in the Declared state for that order and that delivery order, or if the order has a supply mode other than the seller's. Everything else is declared.
Retry is the exception: it is meant for a declaration that was left in the Error state and that you want to send again by hand. What follows describes the code of Odoo 20.
When Retry appears
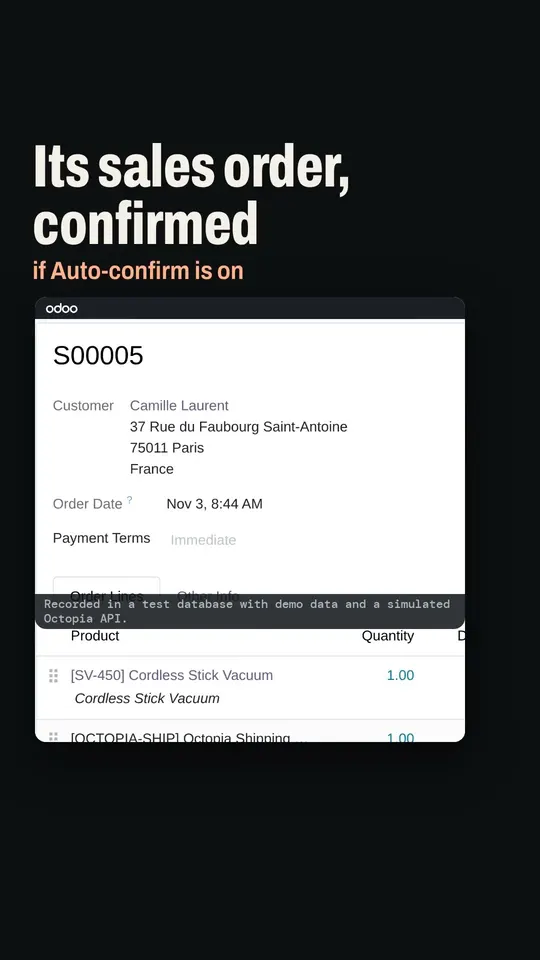
The button is on the Shipment Declarations screen, reached through Octopia › Orders › Shipment Declarations. If you cannot see the Octopia part of the menu, you are missing the Octopia User permission. The button exists in Odoo 17, 18, 19 and 20.
It is only visible when the State field is Error. With the default values, which leave State at Draft, it is not visible. The values of State are Draft, Declared and Error.
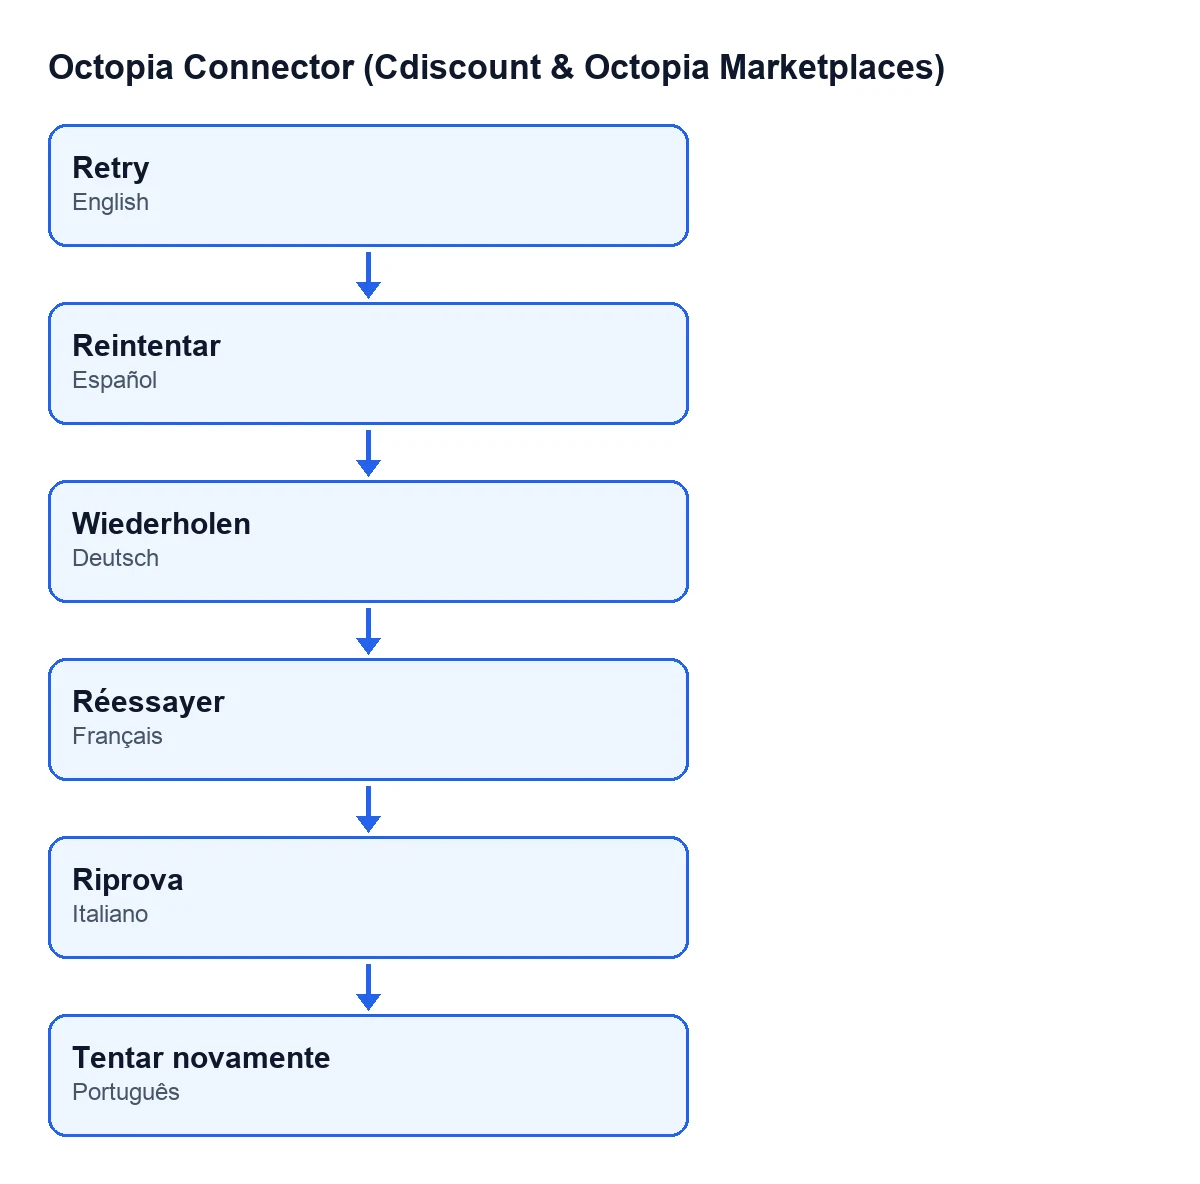
Reintentar; in German, Wiederholen; in French, Réessayer; in Italian, Riprova; in Portuguese, Tentar novamente.Before you press it
- Open
Octopia › Orders › Shipment Declarationsand find the declaration that is inError. - Open its form and look at
OrderandDelivery Order: they are the two pieces of data the button uses to declare the shipment again. - Check that
StateisError. The method only acts on declarations in that state and leaves the others as they are. - Bear in mind that the button does not repeat the two safeguards of the validation (the «already declared» one and the supply mode one): it only requires the declaration to be in
Error.
When you press it: what the module does, in order
This is what happens inside. It tells you what to expect on screen.
- For each declaration in
Error, the module takes itsOrderand itsDelivery Orderand uses them to declare the shipment again. - It creates a new declaration with the parcels for that order and delivery. The original declaration is not touched yet.
- It connects to the platform using the order's account and declares the shipment with the order's Octopia identifier and the parcels.
- If the platform accepts it, the new declaration becomes
Declaredwith its sent date, and the Octopia order is marked as shipped. - Only then does the original declaration also become
Declared. The button stops showing on it, because it is no longer inError. - If the platform returns an error, the new declaration stays in
Errorwith the error text and the detail given by the API, and the original stays inError.
After you press it
- In
Shipment Declarations, open the form of the original declaration and the form of the new one, and look at theirStateand theirOrder. - If the original is
Declared, the retry worked. - If it is still in
Error, the button is still visible and you can press it again, but first find out why it failed. - Keep in mind that every failed attempt leaves a new declaration in
Error, with the sameOrderon its form.
What can go wrong
The code covers one specific failure: the platform's API returning an error when the shipment is declared. In that case the module catches it, stores it on the new declaration and leaves that declaration in Error. The stored text is the API error plus its detail, so it changes with whatever the platform replies.
What to do: review the error stored on the declaration, fix what it points to and press Retry again. The connection goes through FlexigoTech Cloud, which watches the synchronisation and emails you if it fails.
How FlexigoTech can help
The module's other actions are explained in the same way: Enviar a Octopia and Importar. The module is published on Odoo Apps for 17, 18, 19 and 20 (see its listing), is a one-off payment per version and needs the FlexigoTech Cloud subscription (Connector plan: €49 a month or €490 a year, excluding VAT). That connection stores the credentials encrypted. If you are implementing Odoo and want to review your delivery flow, or you need a bespoke integration, FlexigoTech implements Odoo 17, 18, 19 and 20 and builds connectors and bespoke integrations.
Keep reading
Checked in the connector's source code (version 20.0) and the linked sources
Sources
- Module source code: flexigobe_octopia_connector 20.0 (4848da6a): views/octopia_order_actions_views.xml
- Module source code: flexigobe_octopia_connector 20.0 (4848da6a): models/octopia_order_actions.py
- apps.odoo.com/apps/modules/20.0/flexigobe_octopia_connector
- flexigotech.com/en/services.html
- flexigotech.com/precios.html