

 Español
 Català
 Deutsch
 Français
 Português
 Italiano
 Nederlands
 Polski
What the module adds to the customer invoice
The module extends invoices in Odoo's Invoicing app. It is published on Odoo Apps for Odoo 17, 18, 19 and 20.
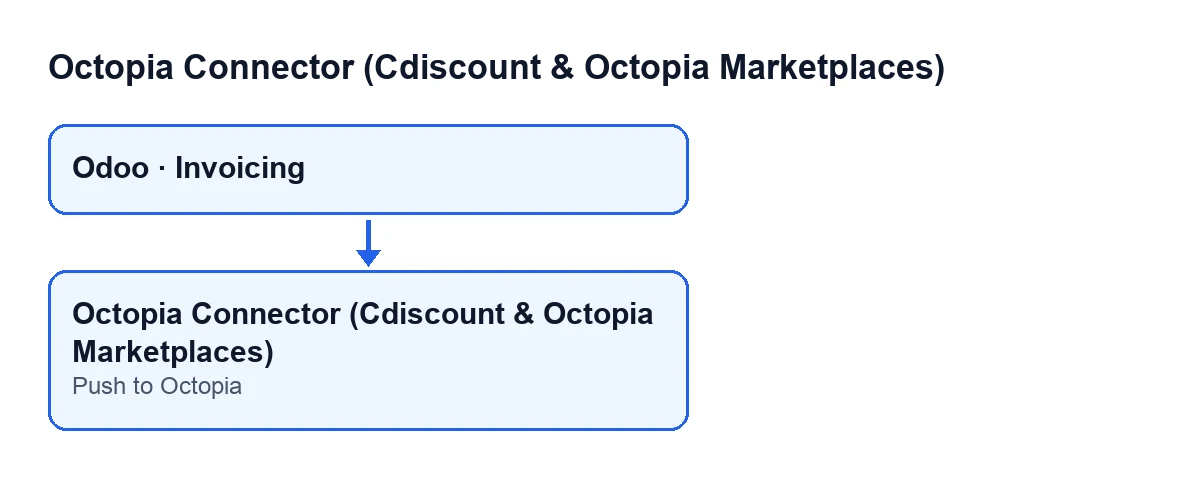
Push to Octopia button added to it.On the invoice, the module adds:
- The
Push to Octopiabutton, in the invoice view. - The
Octopia Pushedflag, which does not appear in any view. The condition that hides the button reads it, and the button itself sets it when it finishes. - The date and time of the push, which the module stores on the invoice when it finishes.
- The calculation of which Octopia orders each invoice belongs to.
With Odoo in English the button is called Push to Octopia; in Spanish, Enviar a Octopia; in German, An Octopia übertragen; in French, Envoyer à Octopia; in Italian, Invia a Octopia; in Portuguese, Enviar para a Octopia.
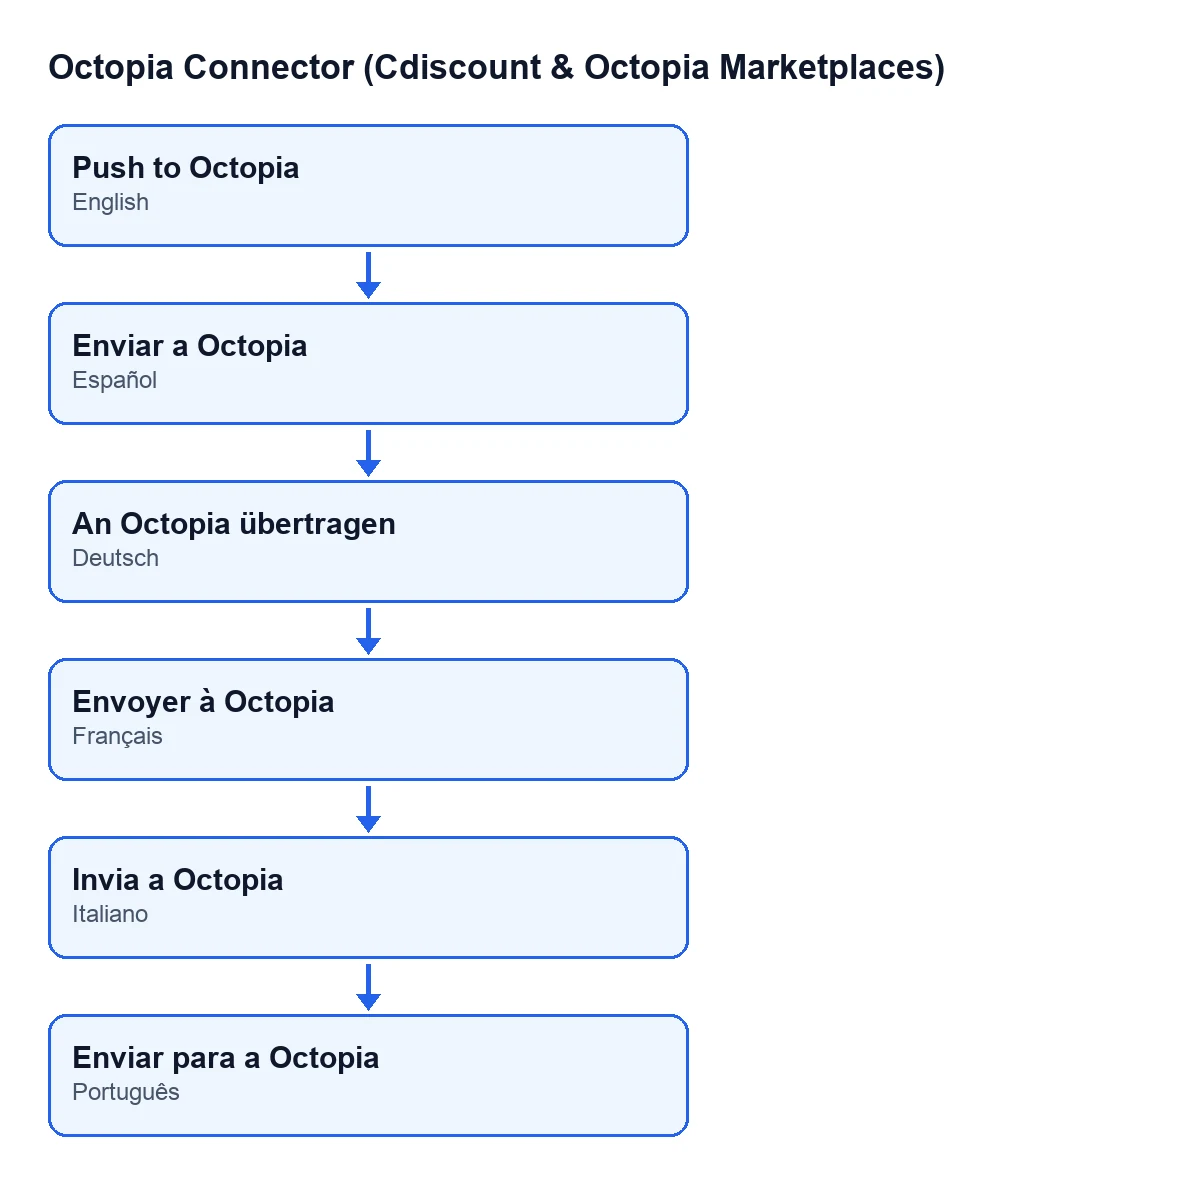
Enviar a Octopia in Spanish, An Octopia übertragen in German, Envoyer à Octopia in French, Invia a Octopia in Italian and Enviar para a Octopia in Portuguese.
Comparison: which invoices see the button and which do not
The view condition is the same in Odoo 17, 18, 19 and 20: the button is hidden if the invoice is not a customer invoice, if it is not posted, or if it is already marked as pushed.
| Invoice | Is Push to Octopia visible? | What it means |
|---|---|---|
Not of type Customer Invoice | No | The condition hides the button because of the document type |
Customer Invoice, but not in state Posted | No | The condition hides the button until the invoice is posted |
Customer Invoice, in state Posted and not marked Octopia Pushed | Yes | The only case in which the button appears |
Customer Invoice, in state Posted and already marked Octopia Pushed | No | Once marked, the button is no longer shown |
Seeing the button does not guarantee the push will go through: when you click it, the module checks the invoice type and state again and looks for its Octopia orders, as explained below.
Which Octopia orders are tied to the invoice
The module does not ask you to pick the order. It works it out: it starts from the sales orders that the invoice lines come from and looks for the Octopia orders linked to those sales orders. Only Octopia orders of the same company as the invoice count, so that an invoice from one company with a sales line from another does not end up on the other company's order or with the other company's credential.
If that calculation finds no order, the button stops with the message Invoice … is not linked to any Octopia order., shown further down.
What the button does when you click it, in order
- It checks that the invoice is a customer invoice and is posted. If not, it stops with a message.
- It takes the Octopia orders linked to the invoice. If there are none, it stops with another message.
- It generates the invoice PDF.
- It goes through each linked Octopia order. For each one it uploads the PDF using that order's Octopia account. The file is named after the invoice number, with slashes replaced by underscores and the extension
.pdf. The method describes the upload as one that replaces any previous documents for the order. - After each upload it marks the Octopia order as invoice pushed, with date and time, and adds a success entry to the account's sync log.
- Once all the orders are done, it marks the invoice as
Octopia Pushedand stores the date and time. From then on the button is hidden.
The checks in the first steps happen before the PDF is generated. The invoice is only marked as pushed at the very end, after all its linked orders have been processed.
Comparison: where the push is recorded
| Where | What is stored |
|---|---|
| The invoice | The Octopia Pushed flag and the date and time of the push |
| Each linked Octopia order | The invoice-pushed flag and its date and time |
| The account's sync log | An entry of type invoices with a successful result, one per order |
Remember that the Octopia Pushed flag appears in no view of the invoice: what you do see change is that the button disappears.
Messages from the button before the invoice is uploaded
These are the messages the button can give before it generates the PDF:
| Message | When it appears | What to do |
|---|---|---|
Only posted customer invoices can be pushed to Octopia. | When you click the button and the invoice is not a customer invoice or is not in state Posted | Click the button from a customer invoice in state Posted |
Invoice … is not linked to any Octopia order. | When you click the button and the calculation finds no Octopia order of the invoice's company; where the dots are, the message carries the invoice number | Check that the invoice lines come from a sales order linked to an Octopia order of that same company |
For a closer walk through the button, see What the «Push to Octopia» button does.
Cost and versions
The module is a one-off purchase per Odoo version and needs a FlexigoTech Cloud subscription, Connector plan: €49 a month or €490 a year, excluding VAT, for up to 3 accounts on the platform. It is published for Odoo 17, 18, 19 and 20.
How FlexigoTech can help
If you are implementing Odoo and want invoicing to talk to Cdiscount and Octopia, FlexigoTech implements Odoo 17, 18, 19 and 20 and builds custom connectors and integrations.
Keep reading
Checked in the connector's source code (version 20.0) and the linked sources
Sources
- Module source code: flexigobe_octopia_connector 20.0 (4848da6a): models/octopia_order_actions.py
- Module source code: flexigobe_octopia_connector 20.0 (4848da6a): views/octopia_order_actions_views.xml
- apps.odoo.com/apps/modules/20.0/flexigobe_octopia_connector
- flexigotech.com/precios.html
- flexigotech.com/en/services.html