

 Español
 Català
 Deutsch
 Français
 Português
 Italiano
 Nederlands
 Polski
Before you click: where the button is and when it shows
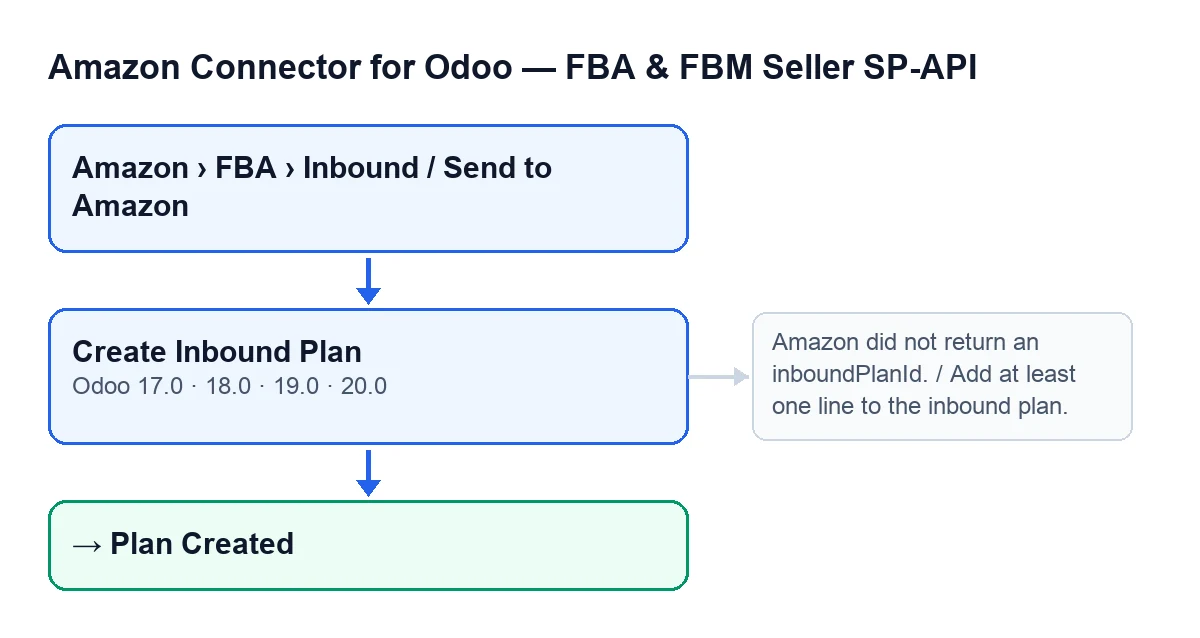
The Create Inbound Plan button is on the Send to Amazon form, which you reach through Amazon › FBA › Inbound / Send to Amazon. It exists in Odoo 17, 18, 19 and 20, and its visibility condition is the same in all of them.
- Go in through
Amazon › FBA › Inbound / Send to Amazon. Each menu level needs theViewerpermission; if you lack one, that level does not appear.
- Check
Account,NameandDestination Marketplaceon the form: they are visible on the form and in theSend to Amazonlist.
- If you cannot see the button, its condition is the reason: it is hidden when the
Inbound Planfield already has a value or whenStateis no longer that of a new record. With the default values it is visible.
- Check that your user has at least Operator access to the Amazon connector. A Viewer has read-only access to this model, and the module checks permissions on the server when you click, not only in the view.
- Add at least one line to the plan: with no lines, the button stops.
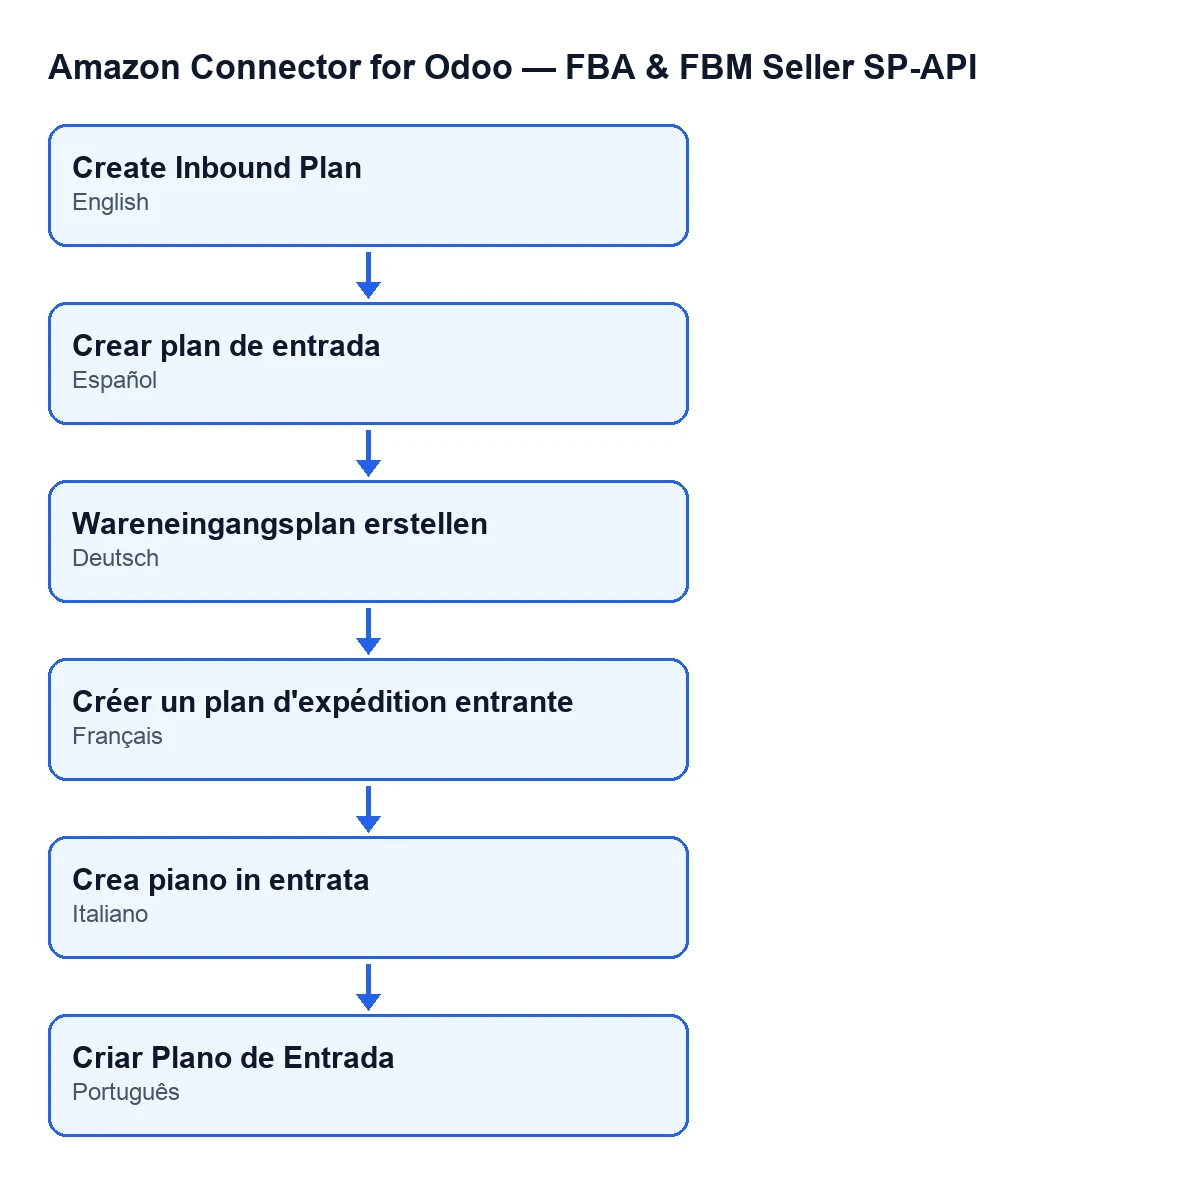
Depending on the language of your Odoo, the button is called as follows (diagram built from the module's published translations): in English Create Inbound Plan, in Spanish Create Inbound Plan, in German Wareneingangsplan erstellen, in French Créer un plan d'expédition entrante, in Italian Crea piano in entrata and in Portuguese Criar Plano de Entrada.
What the button does, in order
- Permission. Unless you are the real superuser, the module requires at least Operator access and, on top of that, write permission on the record. Without it, it stops with the access message.
- Data it prepares. Before talking to Amazon it builds the plan's source address (contact, company, address, city, country, phone and postal code; the second address line, district or county, state or province and email are only sent if they have content), the destination marketplace (the one on the record or, if empty, the account's) and the plan lines. If there are no lines, it stops here, before sending anything.
- Request to Amazon. Using the record's account, it asks Amazon to create the plan with the name, the address, the marketplace and the lines.
- Response. It needs Amazon to return the plan identifier. If it does not, it stops.
- What it saves. The plan identifier in
Inbound Plan, the operation identifier (if Amazon gives one), the request sent and the response received, the sync date, and it setsStatetoPlan Created. - Waiting. If Amazon also returned an operation identifier, it checks that operation's status under the label
Create inbound planand saves the status and problems it reports each time. It finishes when the operation succeeds; it stops if Amazon reports it as failed, errored or cancelled, or if it is still pending after the attempts the module makes. - Final refresh. It reads the plan back from Amazon and saves its remote status, its creation and last-update dates and the result. This is the same step the scheduled task described below runs.
Which messages it can give and what to do
When one of these messages appears, the action stops.
You need at least Amazon Seller Connector Operator access for this action. Ask a manager to grant Operator or Manager access.It appears when you click the button and your user lacks Operator access. Ask a manager to give you Operator or Manager access.
Add at least one line to the inbound plan.It appears when you click and the plan has no lines. Add a line to the plan and click again.
Amazon did not return an inboundPlanId.It appears when you click and Amazon's response comes back without a plan identifier. If the button is still visible, you can click it again.
… failed on Amazon (…): …It appears during the wait, when Amazon reports the operation as failed, errored or cancelled. It begins with the labelCreate inbound plan, shows in brackets the status Amazon reports and, after the colon, the problems it returns; read them before trying again.
… is still pending after … attempts. Last status: …It appears during the wait when the operation has neither finished nor failed after the attempts the module makes. If Amazon reported no status, you will seeno status.
The plan does not have an inboundPlanId yet.This is the message from the last step, the refresh, when the record has noInbound Plan.
After it is created: what to check
- The button disappears from the record: the
Inbound Planfield now has a value andStateisPlan Created.
- Amazon's data is refreshed at the end of the button and then every hour by the scheduled task
Amazon SP-API - Refresh open FBA inbound plans, active when the module is installed.
- If Amazon reports that the plan has been shipped, the record moves to its shipped state. The first time, the module tries to create an internal transfer from the account's source location to the FBA in-transit location, only if there is a source, a destination and lines with a product and quantity; if that fails, the state change still goes ahead.
- If Amazon returns shipments, the module creates or updates those on the record and archives any that Amazon no longer lists.
What the module needs and how FlexigoTech helps
The module is a one-off payment per Odoo version (published for 17, 18, 19 and 20) and needs the FlexigoTech Cloud subscription, Connector plan: €49 a month or €490 a year, excluding VAT, up to 3 accounts of the platform. The connection goes through FlexigoTech Cloud, which stores the credentials encrypted. You can see it on the Odoo Apps page or on the module page.
If you are implementing Odoo and want to set up the FBA flow, FlexigoTech implements Odoo 17, 18, 19 and 20 and builds custom connectors and integrations.
Keep reading
Checked in the connector's source code (version 20.0) and the linked sources
Sources
- Module source code: flexigobe_amazon_seller_connector 20.0 (8576afa5): views/amazon_spapi_inbound_plan_views.xml
- Module source code: flexigobe_amazon_seller_connector 20.0 (8576afa5): models/amazon_spapi_inbound_plan.py
- apps.odoo.com/apps/modules/20.0/flexigobe_amazon_seller_connector
- flexigotech.com/precios.html
- flexigotech.com/en/services.html