

 Español
 Català
 Deutsch
 Français
 Português
 Italiano
 Nederlands
 Polski
Where the button is and what it is for
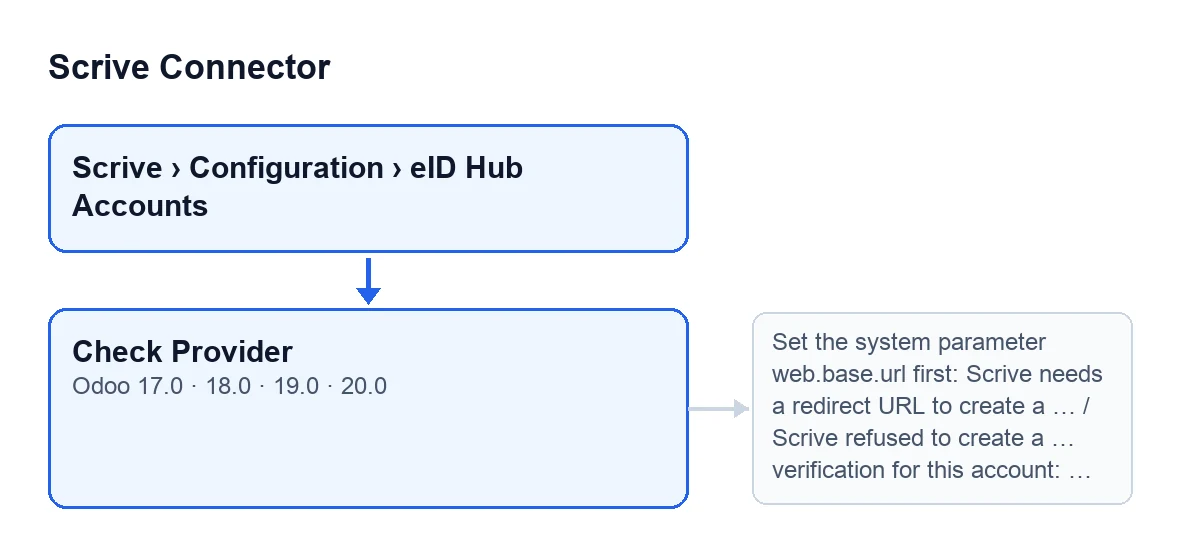
The Check Provider button is on the eID Hub Accounts form and, in Odoo 17, 18, 19 and 20, it shows with no condition. To reach the form: Scrive › Configuration › eID Hub Accounts. The Configuration step asks for the Manager permission and the Scrive step asks for User; if you lack one of them, you do not see that step of the menu.
Its reason for existing, according to the module's code: a token is licensed per provider and method pair. A token that passes a read-only connection test can still refuse every verification with an HTTP 403. The only call that settles it is creating a verification for the configured provider, and that is what the button does: it creates one and cancels it right after.
A case to follow along: going live at Muebles Lemos
Example Illustrative case: the company and its figures are made up to explain the flow.
Muebles Lemos is an invented company. Marta, the Scrive manager, has just created the eID Hub account. On the form she has chosen the eID Provider, in the Defaults group, and in the same group the Default UI Language. Before using the account with customers she wants to know whether her token accepts that provider.
She presses Check Provider and Odoo stops with Set the system parameter web.base.url first: Scrive needs a redirect URL to create a verification. Nothing has gone to Scrive yet. Marta sets that system parameter and presses again.
This time Scrive accepts the test verification, the module cancels it and a success notification titled eID provider accepted appears. It says that Scrive accepted and then cancelled a test verification, that the token may use the provider named, and that nobody was sent to it. Marta now knows that provider is enabled for her token.
Step by step: what the button does inside
- It checks that your user can write to the account. The reason the code gives: the button creates a transaction on the customer's eID Hub account, so it changes something outside Odoo.
- It reads the system parameter
web.base.url. If it is empty, it stops with the message in the table below that mentions that parameter. - It builds a return URL with a random, hard-to-guess identifier. If anyone ever followed that probe URL, they would land on the verification link expired page, not somewhere unexpected.
- It asks Scrive to create a verification for the provider shown in
eID Provider, using the account'sDefault UI Language. That is the language the button sends, not any contact's. - If Scrive refuses, it stops with an error (details in the next section).
- If Scrive accepts, it clears any refusal warning the account had stored from before, and cancels the test verification.
- It shows the final notification: a success one if the cancellation worked; a warning, pinned on screen, if it could not be cancelled.
The messages it can stop with
When you press Check Provider, the button can stop with messages such as those in this table.
| Message | When it appears | What to do |
|---|---|---|
Set the system parameter web.base.url first: Scrive needs a redirect URL to create a verification. | The system parameter web.base.url is empty. | Set it, as the message says, and press again. |
Scrive refused to create a … verification for this account: … | Scrive refuses to create the verification and the refusal is not an HTTP 403. The first gap holds the provider name as the eID Provider dropdown shows it; the second holds the error detail. | Read the detail after the colon. |
An HTTP 403 is handled separately: the module stores the reason for the licensing refusal on the account, for the manager who configures it, and shows it as an error. That is the case of a token not licensed for that provider and method pair.
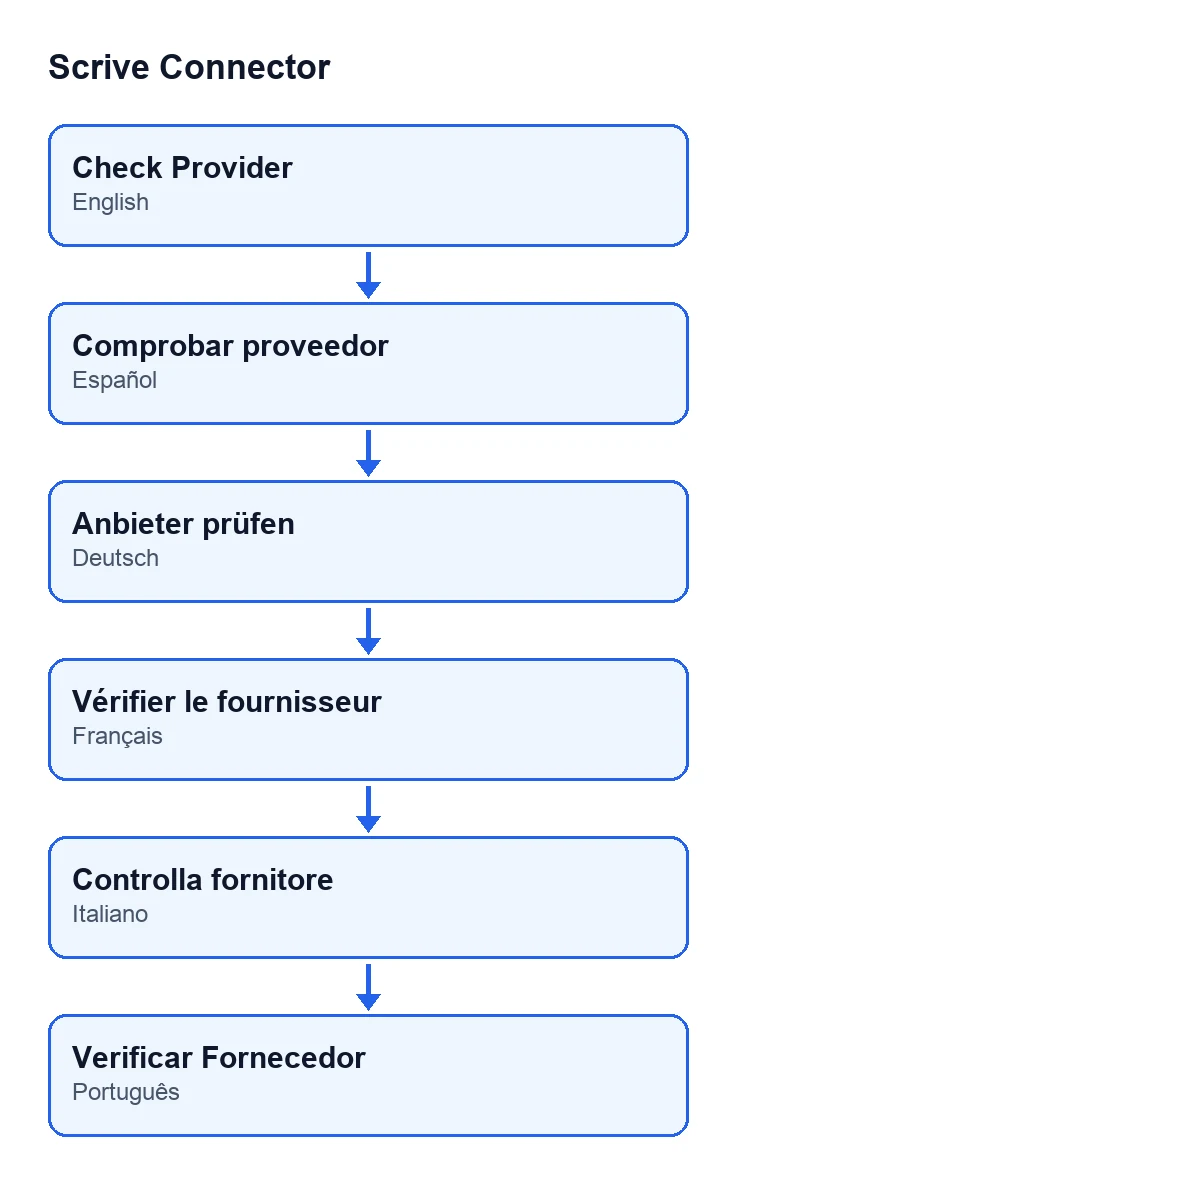
Check Provider; in Spanish it is Comprobar proveedor, in German Anbieter prüfen, in French Vérifier le fournisseur, in Italian Controlla fornitore and in Portuguese Verificar Fornecedor.What changes and what does not
- At Scrive: a test verification is created and cancelled right after. Nobody is sent to it.
- In the verification log: nothing. The probe is not stored there, and according to the code a cancelled transaction does not count as a completed verification.
- On the account: if Scrive accepts, any refusal warning it had stored is cleared. If Scrive refuses with an HTTP 403, the reason for the refusal is stored.
- If the cancellation fails: Scrive had already accepted the verification, so the provider is enabled for the token. The warning notification reads:
Scrive accepted a … verification, so the provider is enabled for this token. The test verification could not be cancelled afterwards; nobody was sent to it and it expires on its own.
The call that cancels is not exclusive to the button. The module also uses it when it closes a verification in progress: when the conditions in the code are met, it cancels at Scrive and marks the row as failed in Odoo. That closing is reached from the scheduled task Scrive eID Hub: poll verifications in progress, which runs every ten minutes and is active on install.
What to check after pressing it
- See which notification appears: the success one says Scrive accepted and cancelled the test; the pinned warning says the cancellation failed but the provider is accepted.
- If you change the account's
eID Provider, press the button again: the test uses whichever provider is configured at that moment. - If you see the message about Scrive refusing, read the detail after the colon before changing anything else.
How FlexigoTech helps
Scrive Connector is a one-off purchase per Odoo version (17, 18, 19 and 20) and needs the FlexigoTech Cloud subscription, Connector plan: €49 a month or €490 a year, excluding VAT. If you want help setting up the account or integrating Scrive with your processes, FlexigoTech implements Odoo 17, 18, 19 and 20 and builds custom connectors and integrations. See the module page and its listing on Odoo Apps.
Keep reading
Checked in the connector's source code (version 20.0) and the linked sources
Sources
- Module source code: flexigobe_scrive_connector 20.0 (21b3b940): views/scrive_eid_account_views.xml
- Module source code: flexigobe_scrive_connector 20.0 (21b3b940): models/scrive_eid_account.py
- Module source code: flexigobe_scrive_connector 20.0 (21b3b940): models/scrive_eid_transaction.py
- apps.odoo.com/apps/modules/20.0/flexigobe_scrive_connector
- flexigotech.com/precios.html
- flexigotech.com/en/services.html
- Module source code: flexigobe_scrive_connector 20.0 (21b3b940): wizard/scrive_send_wizard.py