

 Español
 Català
 Deutsch
 Français
 Português
 Italiano
 Nederlands
 Polski
Before you start
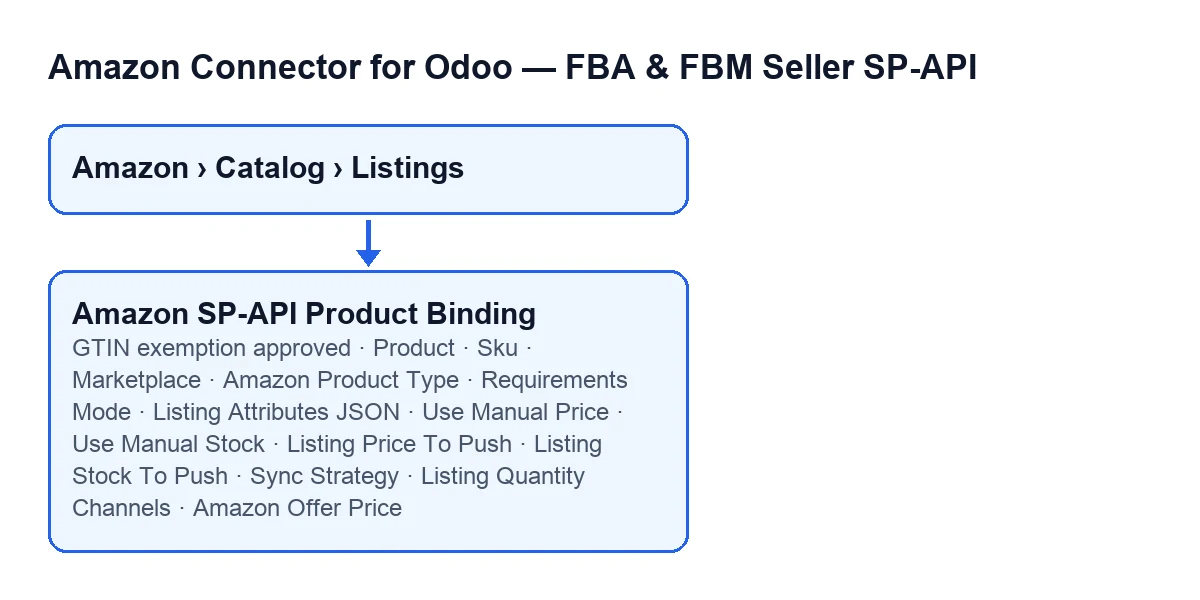
The forms open from the menu Amazon › Catalog › Listings. Each part (Amazon, Catalog and Listings) requires the Viewer permission: if you do not have it, you do not see that part. The module is published on Odoo Apps for Odoo 17, 18, 19 and 20; the tab and group names below are those of Odoo 20.
The module is a one-off payment per Odoo version and needs a FlexigoTech Cloud subscription, Connector plan: €49/month or €490/year excluding VAT. The connection goes through that service, which stores the credentials encrypted. You can see the module on its Odoo Apps page or on its page at flexigotech.com.
- Check that you can see
Amazon › Catalog › Listingsand that your user has theViewerpermission on each part. - Open a
Listingsform and tick this list off field by field.
Stage one: identify the listing (Overview group)
On the form, the Overview group holds the fields that identify the listing.
Product. Its help: "Parent product (template). Used to group listings by product, with their variant listings beneath." Pick the product template the listing belongs to. It also appears as a column in theListingslist.Sku. Its help: "SKU on Amazon. Odoo uses default_code by default." Before changing it, check which SKU you already have on Amazon for that product. It also appears in the list.Marketplace. Its help: "Listing marketplace. Example for ES: A1RKKUPIHCS9HS." The field comes with a default value that the module works out: review it and change it if the listing is for another marketplace. You also see it in theListingsgraph view.Amazon Product Type. Its help: "Required by Listings Items PATCH/PUT." Make sure it is filled in on the form. You will see it again on theCatalogtab, in theCatalog Statusgroup: it is the same field.
Stage two: new product on Amazon (GTIN exemption)
This field is not on the form: you see it in the Listings list, on the New product on Amazon tab, in the Product type group. It is hidden once the listing has an ASIN; with the default values, it shows.
GTIN exemption approved. Its help: "Tick it only when Amazon approved a GTIN exemption for this brand in Seller Central and the product has no EAN/UPC barcode in Odoo." If either condition is missing, leave it unticked.
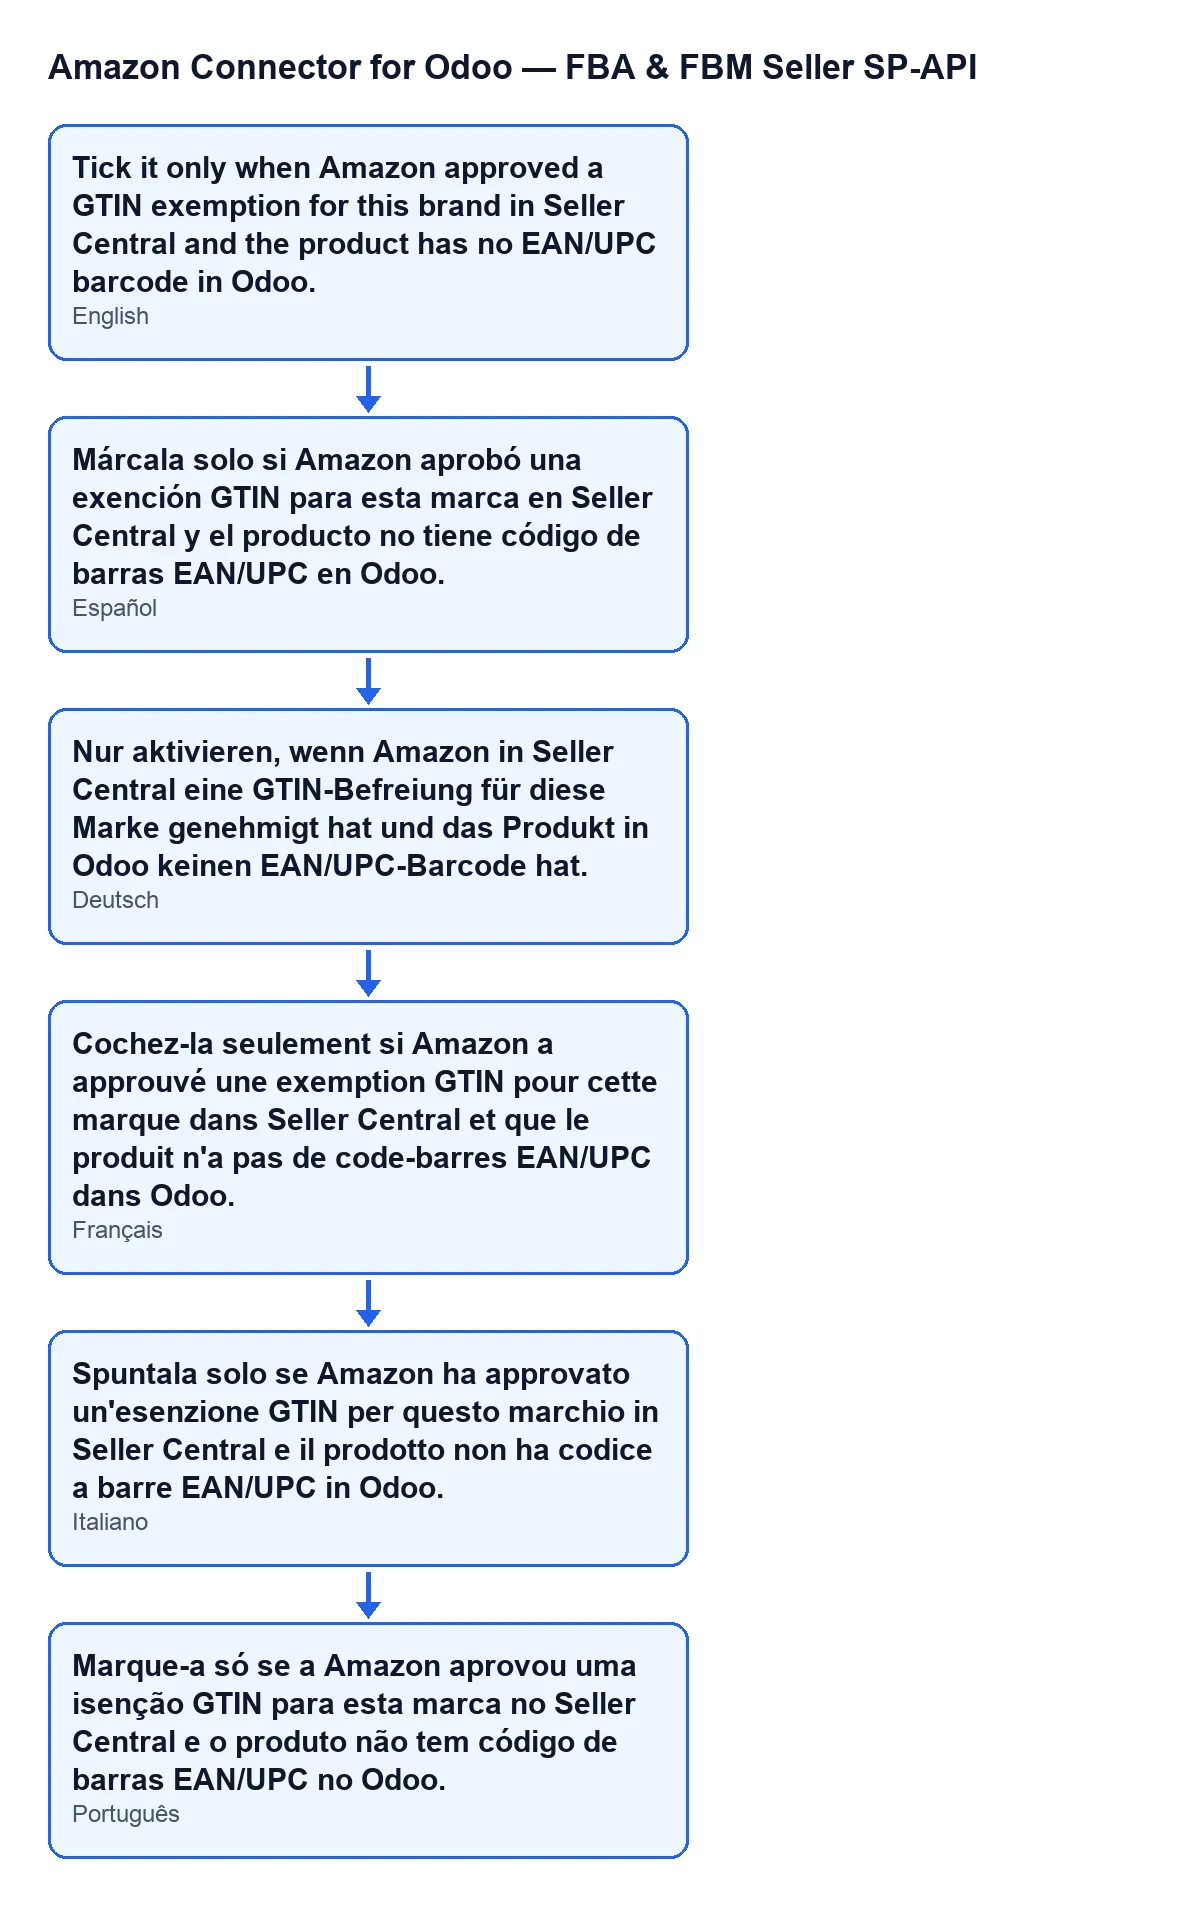
GTIN exemption approved according to the language of your Odoo.Stage three: catalogue (Catalog tab)
Requirements Mode. It is in theCatalog Controlsgroup. Its help: "Mode for putListingsItem (full catalog publication)." Its options areLISTING,LISTING_PRODUCT_ONLYandLISTING_OFFER_ONLY, and the default isLISTING. Change it only if you have a specific reason.- The content of the
Catalog Payloadgroup. This is the JSON attributes field for putListingsItem; it has no label on screen: you only see its content. Amazon Product Type, again. It also shows here, inCatalog Status: it is the same field as in stage one.
Stage four: offer (Offer tab)
On the Offer tab, the Sync Strategy group holds the fields that decide where the price and stock being sent come from.
Sync Strategy(the field). Its help: "Defines whether price and stock are pushed only manually, or whether Odoo can queue automatic synchronization on local changes." The default is calculated by the module. It also shows in theListingslist, so you can review many listings at a glance. Read the help before choosing: it distinguishes between pushing only by hand and letting Odoo queue synchronisation on local changes.Use Manual Price. Its help: "If enabled, Push Price and Push Offer use the listing price defined here instead of the Odoo product sale price." It starts unticked. Tick it only if you want a price different from the Odoo sale price.Use Manual Stock. Its help: "If enabled, Push Stock and Push Offer use the listing stock defined here instead of Odoo stock." It also starts unticked. Tick it only if you want a quantity different from Odoo's.Listing Price To Push. Its help: "Effective price that will be sent to Amazon. Editing it enables manual price override for this listing." Editing it is enough to activate the manual price for that listing.Listing Stock To Push. Its help: "Effective stock that will be sent to Amazon. Editing it enables manual stock override for this listing." Same logic as the price, applied to stock.
Stage five: compare before trusting the form
The Offer Comparison group, also on the Offer tab, puts together the values worth reading side by side.
Effective Price To PushandEffective Stock To Push. These are the same two fields as in stage four, with these labels. Read them as what will be sent to Amazon.Amazon Offer Price. Its help: "Live offer price returned by Amazon for the listing." It is read-only: the module fills it in, not you. It also shows in theListingslist, so you can compare it with the price to push.Listing Quantity Channels. Its help: "Human-readable view of quantities per fulfillment channel." Read-only too: the module writes it.- Compare the effective price to push with the Amazon offer price, and review the quantities per channel, before you accept the listing as correct.
If you want help with your listings
FlexigoTech implements Odoo 17, 18, 19 and 20 and builds connectors and custom integrations. If you want to go through with us which listings should use a manual price or stock, get in touch.
Keep reading
Checked in the connector's source code (version 20.0) and the linked sources
Sources
- Module source code: flexigobe_amazon_seller_connector 20.0 (8576afa5): models/amazon_spapi_new_product.py
- Module source code: flexigobe_amazon_seller_connector 20.0 (8576afa5): models/amazon_spapi_product_binding.py
- apps.odoo.com/apps/modules/20.0/flexigobe_amazon_seller_connector
- flexigotech.com/precios.html
- flexigotech.com/en/services.html