

 Español
 Català
 Deutsch
 Français
 Português
 Italiano
 Nederlands
 Polski
The case: an FBA seller who wants to review reimbursements
Example Illustrative case: the company and its figures are made up to explain the flow.
Casa Lumbre is an invented shop that sells through FBA and runs Amazon inside Odoo with Amazon Connector for Odoo (FBA & FBM Seller SP-API). Marta, the head of administration, is closing a period and wants to see which reimbursements Amazon has approved for her account in those dates. She does not want to export anything: she wants a list inside Odoo.
That is exactly what the View Reimbursements button is for. Let us walk through what Marta does and what Odoo does at each moment.
Before you start: where it is and who sees it
The Dashboard records are opened from the Amazon menu. That part of the menu asks for the Viewer permission: if your user does not have it, you do not see that menu entry and so you cannot reach the dashboard.
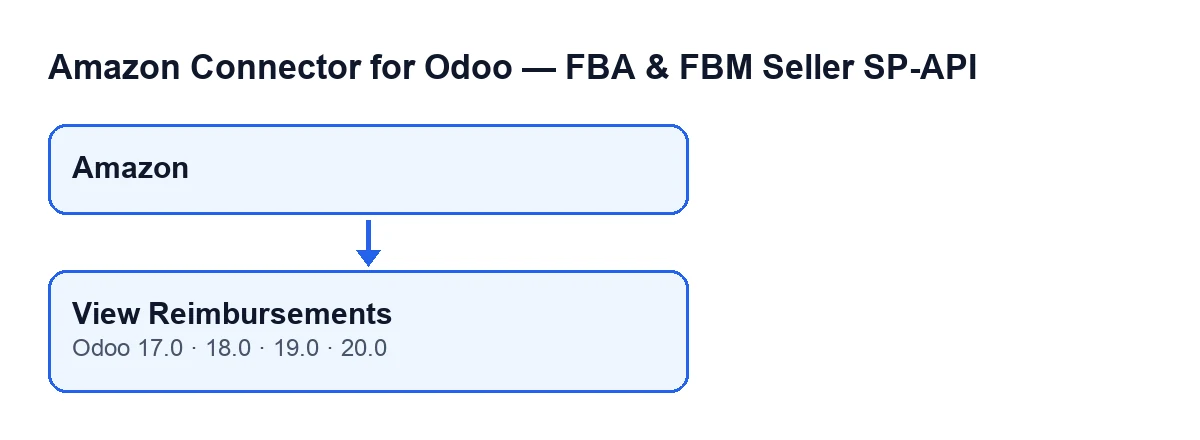
Amazon menu and the View Reimbursements button, present in Odoo 17, 18, 19 and 20.The Dashboard form and list both show two date fields that matter for this button: Date From and Date To. The default value of Date To is today's date.
Step by step: what Marta does
- She opens the
Amazonmenu and goes into theDashboardof the account she wants to review. - She looks at
Date FromandDate Toand sets them to the period she is closing. - She looks for the
View Reimbursementsbutton. If it is not there, see the section below on the hidden button. - She clicks it. Odoo opens the list of FBA reimbursement lines.
- She reviews the list. If she needs another period, she goes back to the dashboard, changes the dates and clicks the button again.
What it checks and what it changes
The button works on the dashboard you have open, one at a time. When you click it, Odoo loads the list of FBA reimbursement lines and adds a filter with two conditions applied together:
- The lines belong to the Amazon account that dashboard belongs to.
- The line's approval date falls between
Date FromandDate To, both included.
That is everything the button's code does: it returns the list already filtered, and stops there. What changes is what you see on screen, not the data on the dashboard or in the lines. So you can click it as many times as you like with different dates.
One practical detail: the dates that count are the dashboard's dates at the moment you click the button. If you need another period, change Date From and Date To on the dashboard and click again.
What you may run into
The button is not there
The button is hidden when the internal setting Fba Reimbursements Sync Enabled is off, which is the one that says whether FBA reimbursement sync is switched on. That field does not appear in any view, so you will not see it or tick it from the dashboard. If you miss the button, ask whoever set up the Amazon connection in your Odoo. The view condition is the same in Odoo 17, 18, 19 and 20.
The list is empty or shorter than expected
The list only contains lines for that dashboard's account with an approval date inside the range. Check that Date From and Date To cover the period you are after and that you are on the right account's dashboard.
You cannot reach the dashboard
The Amazon part of the menu asks for the Viewer permission. If your user does not have it, that part of the menu is not shown.
How the button reads in other languages
The button's text depends on the language of your Odoo. This diagram shows how it reads in German, French, Italian and Portuguese.
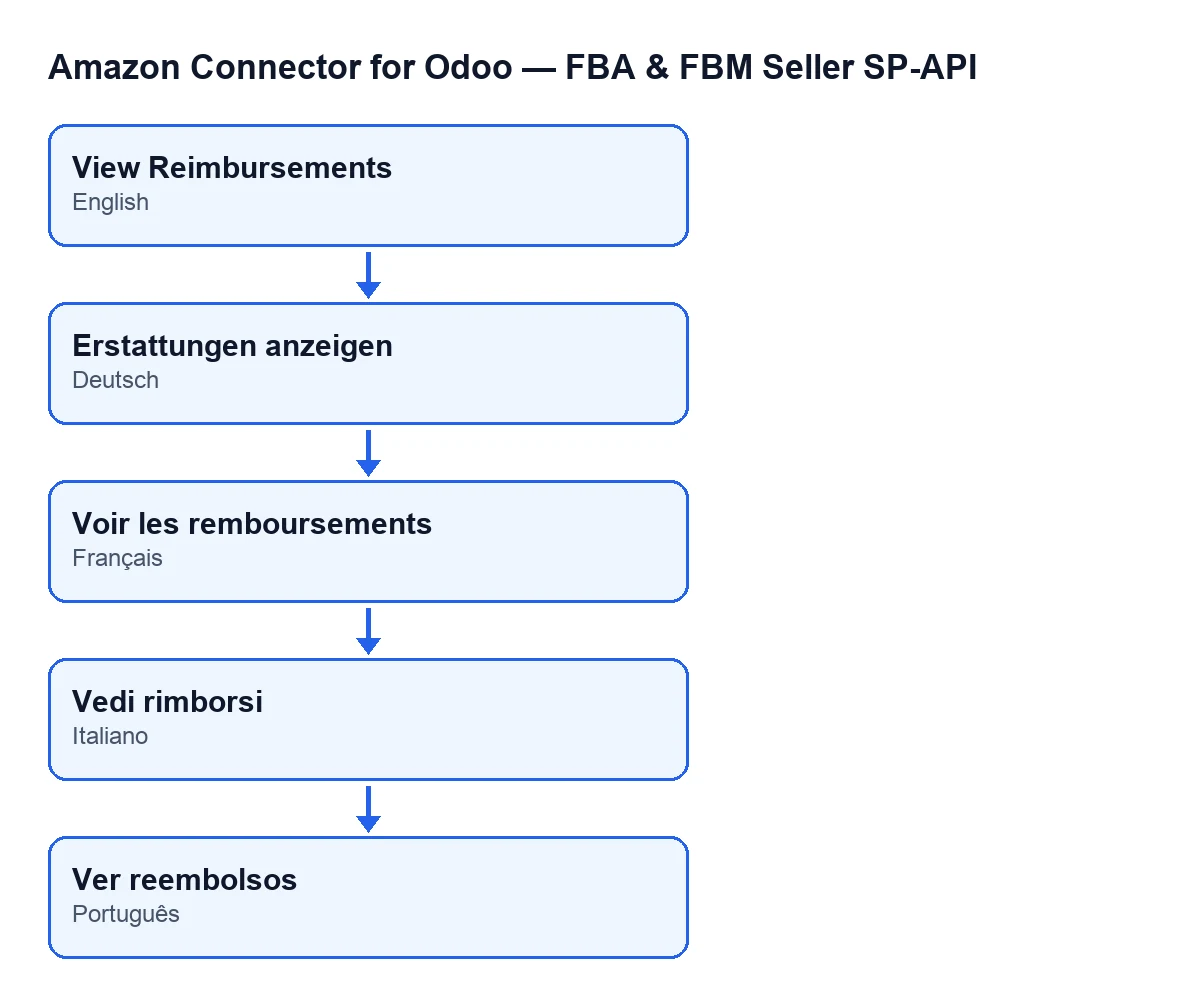
View Reimbursements appears as Erstattungen anzeigen (German), Voir les remboursements (French), Vedi rimborsi (Italian) and Ver reembolsos (Portuguese).What to learn from the Casa Lumbre case
- The button is a query: it opens a filtered list and its code changes nothing of what it shows.
- The filter depends on two things on the dashboard: its account and its two dates. Change either and the list changes.
- Whether the button shows depends on FBA reimbursement sync, not on the dates.
- To reach it you need the
Viewerpermission on theAmazonmenu.
What the module needs and how we help
Amazon Connector for Odoo (FBA & FBM Seller SP-API) is published on Odoo Apps for 17.0, 18.0, 19.0 and 20.0. It is a one-off purchase per version (the amount for each is on the Odoo Apps listing) and it needs a FlexigoTech Cloud subscription on the Connector plan: €49 a month or €490 a year, excluding VAT, with up to three accounts on the platform. The connection goes through FlexigoTech Cloud, which stores the credentials encrypted, watches the sync and emails you if it fails. You can see the module and buy it on the flexigotech.com page.
FlexigoTech implements Odoo 17, 18, 19 and 20 and builds custom connectors and integrations. If you would like us to look at how you handle FBA reimbursements in your Odoo, tell us about your case.
Keep reading
Checked in the connector's source code (version 20.0) and the linked sources
Sources
- Module source code: flexigobe_amazon_seller_connector 20.0 (8576afa5): views/amazon_spapi_kpi_dashboard_views.xml
- Module source code: flexigobe_amazon_seller_connector 20.0 (8576afa5): models/amazon_spapi_kpi_dashboard.py
- apps.odoo.com/apps/modules/20.0/flexigobe_amazon_seller_connector
- flexigotech.com/precios.html
- flexigotech.com/en/services.html