

 Español
 Català
 Deutsch
 Français
 Português
 Italiano
 Nederlands
 Polski
What the module adds to the product form
The module extends the standard Odoo Products model. Everything below is what the code published for Odoo 20.0 does.
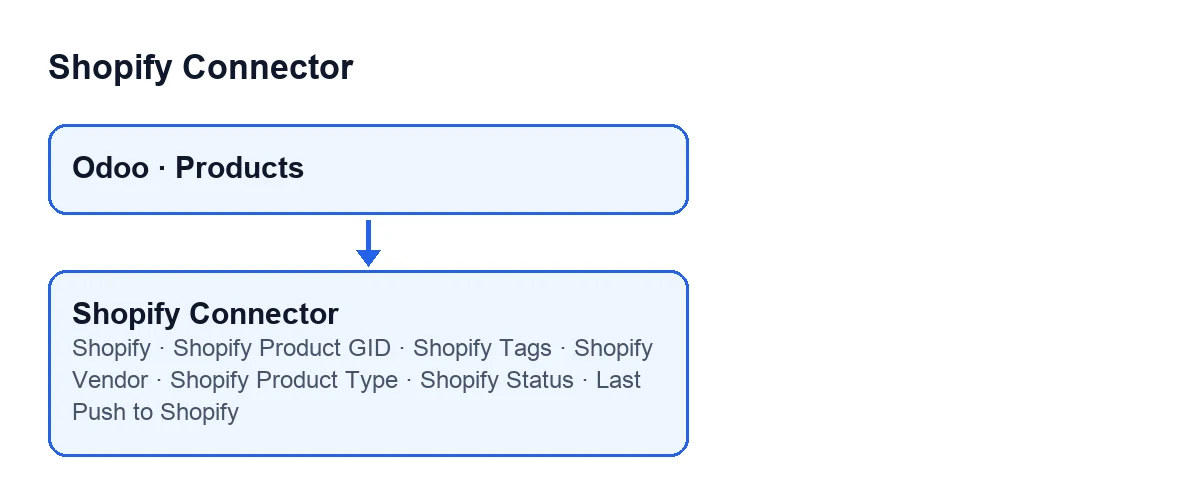
The Shopify field is a number: it counts the product's variants that have a Shopify variant ID. It shows on the product form and is hidden when it is zero. The other fields sit in the Shopify tab, inside the Shopify Data group, and are hidden under the same condition: until the product has at least one variant linked to Shopify, you will not see them.
Step by step: how to read the Shopify tab
- Look at the
Shopifyfield. It is the counter of linked variants. If it is zero, the module's other fields do not appear on the form. - Open the
Shopifytab and find theShopify Datagroup.Shopify Product GIDis there, read-only; its help reads: "Shopify product GID used as the canonical grouping key for variants.". - Fill in tags, vendor and type.
Shopify Tagshas this help: "Comma-separated tags synced from / pushed to Shopify.". When the module pushes the product, it splits the text on commas, trims each tag and drops empty ones.Shopify VendorandShopify Product Typeare only included in the push if they have content. - Choose
Shopify Status. It offersActive,DraftandArchived; the default in the code isActive. When pushing, that status goes to Shopify; if the field were empty, it is sent as active. - Check
Last Push to Shopify. It is read-only: the code writes it, not the user. It is filled with the date and time when the module pushes the product to Shopify.
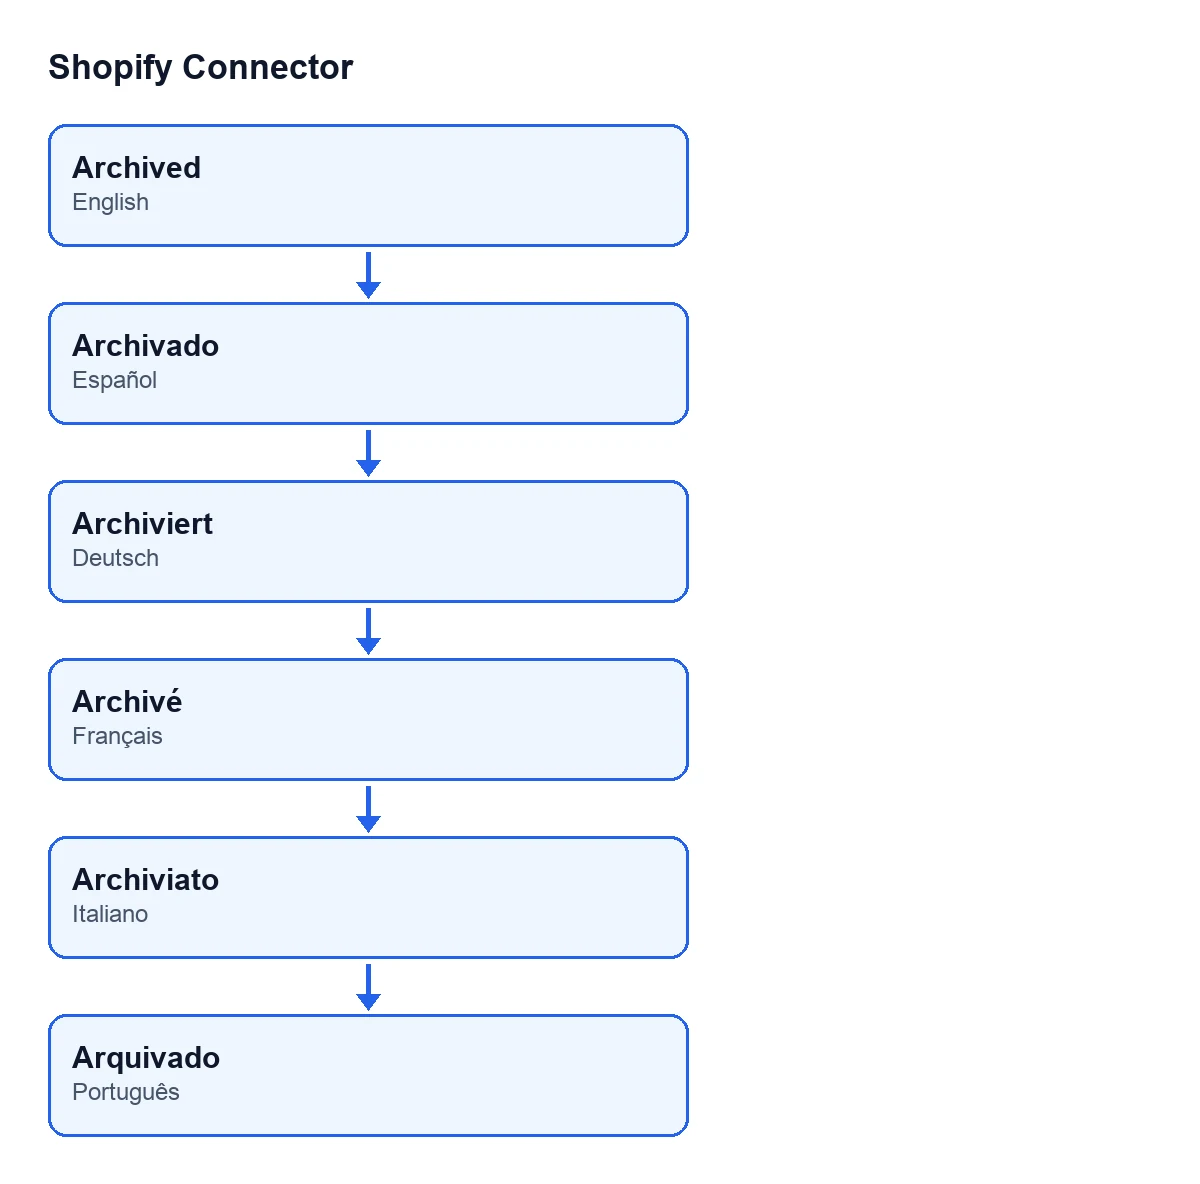
The status in step four is shown in the language of your Odoo. The diagram below shows how Archived is labelled in each language of the module's translations.
What the module does when it pushes the product to Shopify
The module's code includes a push action that sends the product to Shopify: title, status, tags and variants. For each Shopify instance where the product has active bindings, it builds this:
- Title: the product name in Odoo.
- Status: the one in
Shopify Status, and active if it is empty. - Tags: those in
Shopify Tags, already split on commas. - Vendor and type: only if
Shopify VendorandShopify Product Typehave a value. - Description: the product's sales description, only if it has one.
- Variants: one per binding that has a Shopify variant ID, with the binding's price to two decimals (zero if empty), the compare-at price only when it is higher than the price, the SKU if there is one and the barcode if there is one.
The Shopify product ID the push goes to comes from the bindings, not from the Shopify Product GID field on the form. And the price that travels is the one on each variant's binding, not one typed in the Shopify tab.
The variants' bindings
The module also brings an action that opens the Shopify Bindings list, with list and form views, filtered to the product's variants that have a Shopify variant ID. That action only shows the list: it changes nothing. The price, compare-at price, SKU and barcode that get sent come from each binding.
When it acts and when it stops
The Shopify counter is calculated from the product's variants: it counts those that have a Shopify variant ID, and whether the other fields show or not depends on that result.
The push action, by contrast, acts when it is run. It looks for the product's active bindings. If there are none, it stops and sends nothing. If there are, it goes through each Shopify instance where the product has active bindings and pushes the full product to it; after each push it records the date and time in Last Push to Shopify. If Shopify rejects the data, the action stops and does not record the date on the bindings. When everything goes well, Odoo shows a success notification that does not stay fixed on screen.
Price and subscription
Shopify Connector is published on Odoo Apps for Odoo 17, 18, 19 and 20, at €9 per Odoo version, one-off payment, excluding VAT. It also needs a FlexigoTech Cloud subscription: the Connector plan costs €49/month or €490/year excluding VAT. You can see the Odoo Apps listing.
If you want help with the implementation
FlexigoTech implements Odoo 17, 18, 19 and 20 and builds custom connectors and integrations. If your Products catalogue needs a Shopify flow different from the one the module provides, it can be looked at.
Keep reading
Checked in the connector's source code (version 20.0) and the linked sources
Sources
- Module source code: flexigobe_shopify_connector 20.0 (c7078cd8): models/product_template.py
- apps.odoo.com/apps/modules/20.0/flexigobe_shopify_connector
- apps.odoo.com/apps/modules/17.0/flexigobe_shopify_connector
- apps.odoo.com/apps/modules/18.0/flexigobe_shopify_connector
- apps.odoo.com/apps/modules/19.0/flexigobe_shopify_connector
- flexigotech.com/precios.html
- flexigotech.com/en/services.html