

 Español
 Català
 Deutsch
 Français
 Português
 Italiano
 Nederlands
 Polski
Where the record is and who can see it
The record opens from the menu Scrive › Configuration › eID Hub Verifications. The screen is called Identity Verifications. The Scrive part of the menu asks for the User permission and the Configuration part asks for Manager: if you lack either, you do not see that part of the menu.
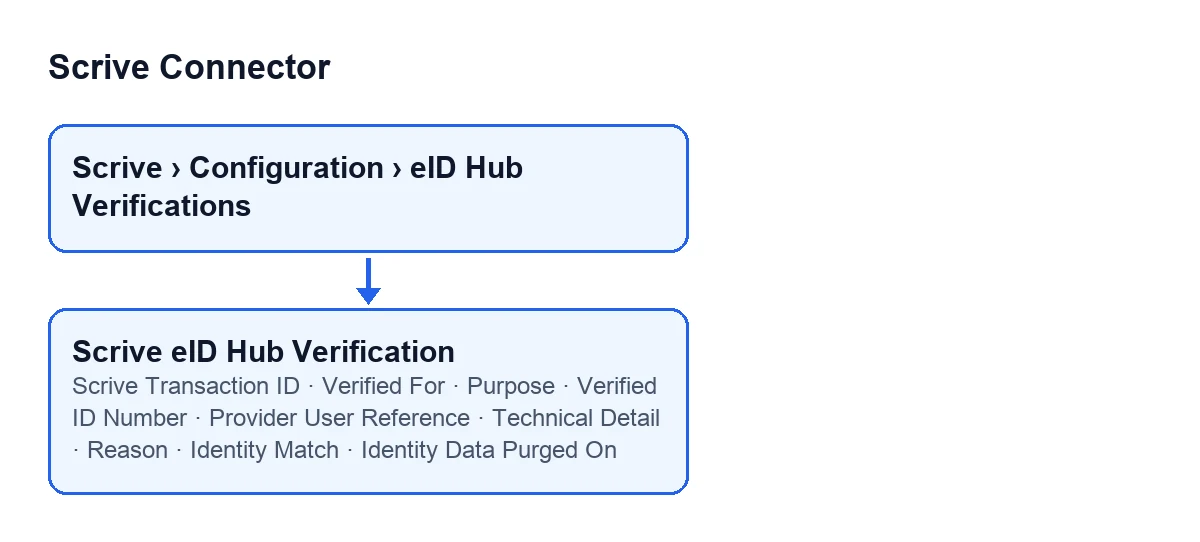
Scrive Connector is published on Odoo Apps for Odoo 17, 18, 19 and 20. In Odoo 20 the form carries the fields we go through below.
Before you open the first verification
- Sign in with a user who sees the full menu: the
Configurationpart asks for theManagerpermission.
- If you are going to review
ReasonandTechnical Detail, check that your user has the Scrive manager permission. Without it, those two fields are not visible.
- Decide how you will word
Purpose, so that every verification reads the same way in the list.
Fields that identify the verification
Scrive Transaction ID: it appears on the form and is read-only. Its help says: «The UUID assigned by Scrive eID Hub once the transaction is created.» The code writes it, not the user, so there is nothing to fill in here; just check that it carries the UUID.
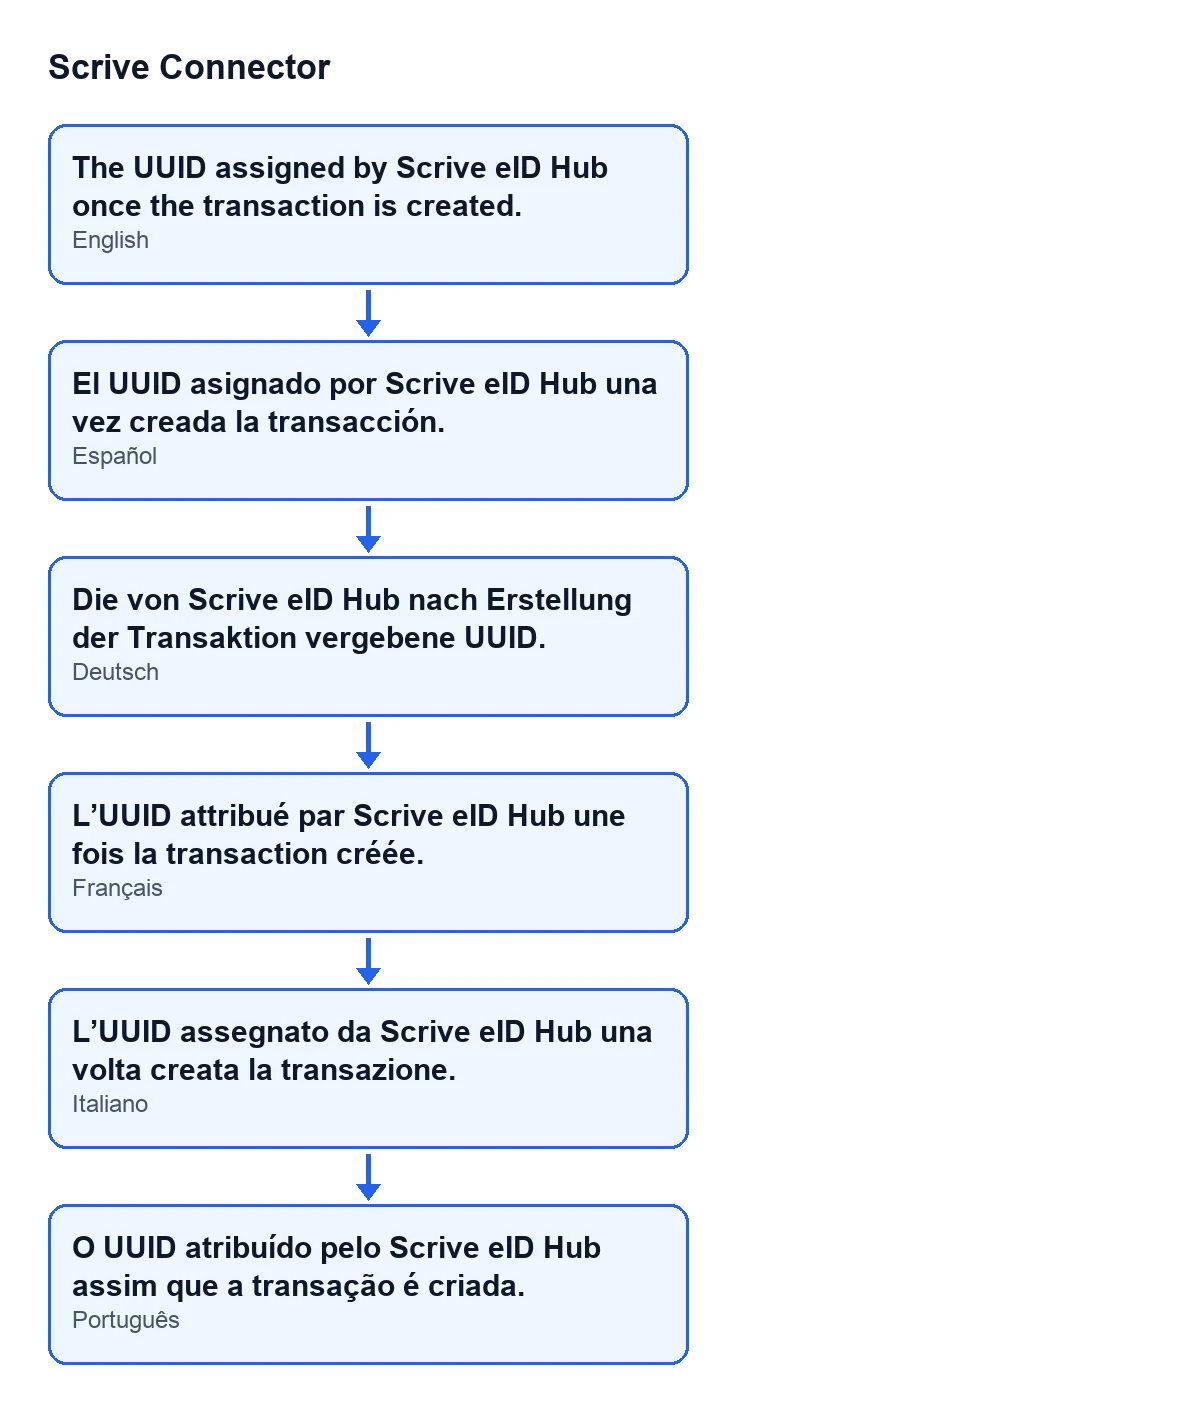
Scrive Transaction ID in five languages.Verified For: it appears on the form and in the list. Its help says it records who the verification was started for, that it is captured when the transaction is created (an authenticated action) and that the return leg never re-derives it from the browser session. Keep it in view in the list when you review verifications.
Purpose: it appears on the form and in the list. Its help describes it as a free-text audit note on what the verification was for, with this example: 'portal document access'. Write something equally specific, readable without opening the record.
Fields that arrive when Scrive is synchronised
The scheduled task Scrive eID Hub: poll verifications in progress runs every 10 minutes and is active on install. It fills in the next three fields. The code writes all three, not the user.
Verified ID Number: read-only. According to its help, it is the national identity number the provider returned for this person (personal number, CPR, SSN...), or the document number for an identity-document check, when there is one. It is purged after the account's data retention window, along with the raw payload.
Provider User Reference: read-only. The eID provider's own identifier for this person, for example the MitID user ID or the Norwegian BankID PID. The help makes clear it is scoped to the provider or to Scrive and is not a national identity number. Do not confuse it with the previous field. It is purged with the rest of the identity data.
Identity Match: it appears on the form only when the status is complete; with the default values it is not visible. It is also in the list, read-only. According to its help, it says whether the person the provider identified is the Odoo contact the verification was started for, and it is evaluated once, when Scrive reports the verification complete. Its values areMatches the contact,Does not match the contactandProvider returned no identity. Read it alongsideVerified For.
If the verification did not complete
These two fields sit in the Details group of the form and only users with the Scrive manager permission can see them.
Reason: according to its help, it says why the verification did not complete, or why a completed one does not count for its contact, in your language. It only shows on the form when it has content, and there is also a column in the list. Start by reading this field.
Technical Detail: read-only, and with the default values it is not visible. It only appears when the verification has both a failure and its technical detail recorded. The code fills it in, not the user, and the polling task is one of the ways it gets filled in. The help says it holds the provider's own error payload when it sent one, or the reason Odoo recorded itself (a configuration error, a cancel, a timeout).
- Before copying
Technical Detailinto an email or a ticket, read all of it: according to its help it can carry internal account names, raw upstream bodies and, for a document check, whatever the provider chose to put in its error payload. It is also purged with the identity data.
As time passes
Identity Data Purged On: read-only, hidden while empty. Its help says it records when the retention cron scrubbed the verified name, the identifier and the raw provider payload, and that the verification itself stays in the log: who verified, when, with which provider and with what outcome is the audit trail.
- If an older verification lacks its verified number or technical detail, look first at whether this field has a date.
Cost and how FlexigoTech helps
Scrive Connector is a one-off payment per Odoo version and needs the FlexigoTech Cloud subscription, Connector plan: €49 a month or €490 a year, excluding VAT. The connection goes through FlexigoTech Cloud, which stores the credentials encrypted, watches the synchronisation and emails you if it fails. Without a subscription, or with the service suspended, what the subscription provides stops; your data stays in your Odoo. The price for each version is on its listing, and you can buy from the module page.
FlexigoTech implements Odoo 17, 18, 19 and 20 and builds custom connectors and integrations, in case you need to adapt the verification flow to your company.
Keep reading
Checked in the connector's source code (version 20.0) and the linked sources
Sources
- Module source code: flexigobe_scrive_connector 20.0 (21b3b940): models/scrive_eid_transaction.py
- apps.odoo.com/apps/modules/20.0/flexigobe_scrive_connector
- flexigotech.com/precios.html
- flexigotech.com/en/services.html
- Module source code: flexigobe_scrive_connector 20.0 (21b3b940): __manifest__.py
- Module source code: flexigobe_scrive_connector 20.0 (21b3b940): wizard/scrive_send_wizard.py