

 Español
 Català
 Deutsch
 Français
 Português
 Italiano
 Nederlands
 Polski
Where the button is and who sees it
Where is the button, and when does it show?
The Pull Seller Addresses button is on the Octopia Accounts screen. You reach that screen from the menu Octopia › Configuration › Accounts. The view always shows the button: it is visible in Odoo 17, 18, 19 and 20, and it is present in all of those published branches.
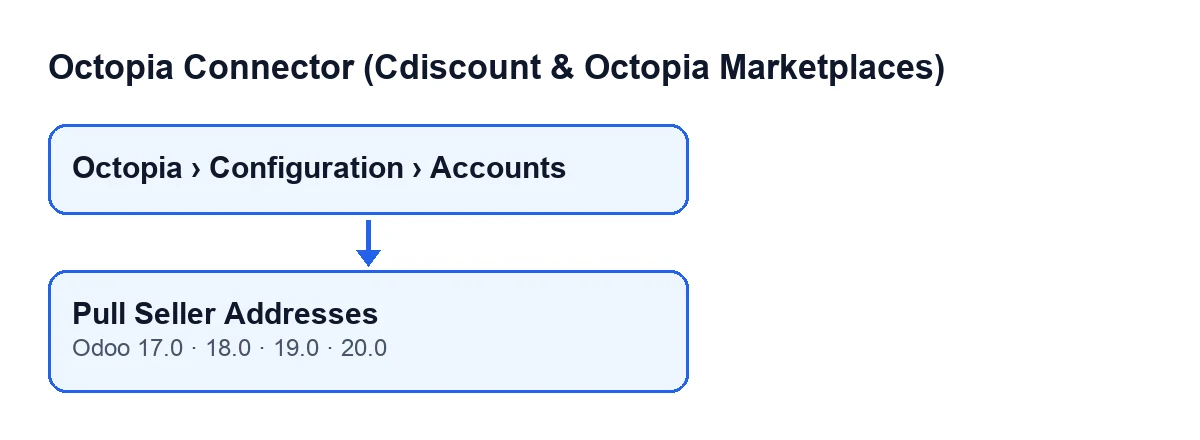
Octopia › Configuration › Accounts and the Pull Seller Addresses button, for Odoo 17, 18, 19 and 20.Which permissions do I need to get there?
Each segment of the menu asks for its own permission, and if you lack one you do not see that segment. Octopia asks for Octopia User, Configuration asks for Octopia Manager and Accounts asks for Octopia Admin. If the Accounts segment does not appear, ask whoever administers your Odoo to check that you have that last permission.
What is the button called in other languages?
With Odoo in English it is Pull Seller Addresses. The diagram below shows the same label in other languages, in case you work with several installations.
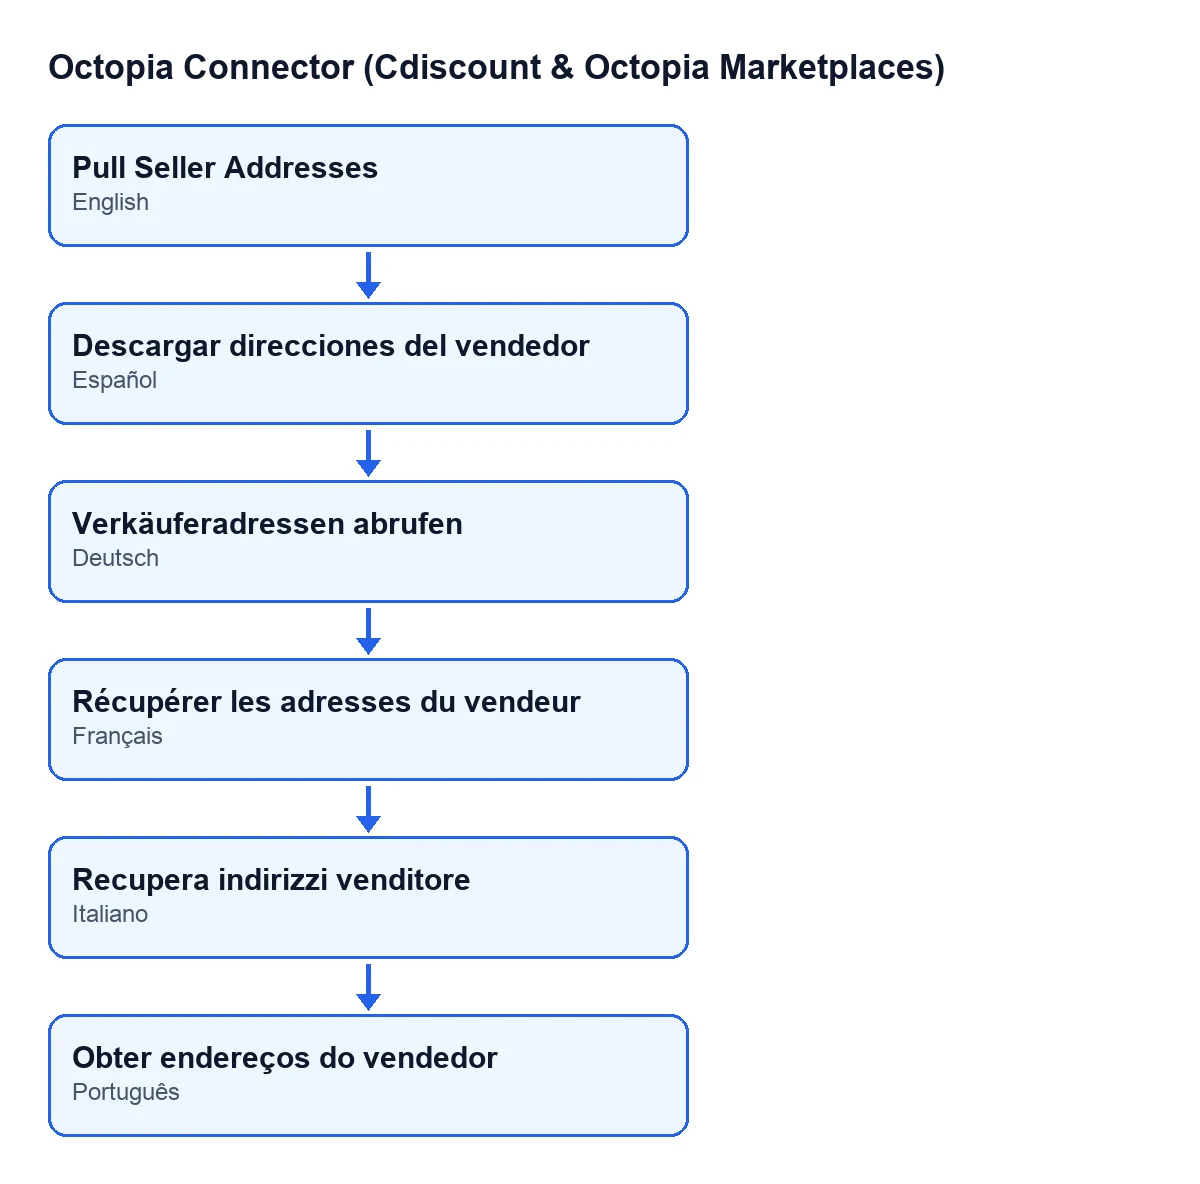
Descargar direcciones del vendedor; in German, Verkäuferadressen abrufen; in French, Récupérer les adresses du vendeur; in Italian, Recupera indirizzi venditore; in Portuguese, Obter endereços do vendedor.
What happens when you press it
What does the button do, in order?
For each account the action is run on, it does three things, one after the other. First it gets the Octopia connection for that account. Then it asks Octopia for the seller addresses. Finally it writes what it received into the Seller Addresses field of the same account. That is what the Odoo 20 code does.
What changes in Odoo when you press it?
The button writes what it received into the Seller Addresses field of the account.
Where do I read what it downloaded?
On the Octopia Accounts form, in the Seller Addresses tab. The field is read-only: the button fills it, you do not type into it. It is also visible only to users with the Octopia Admin permission. Its help text reads: Registered seller addresses as returned by GET /sellers/addresses.
What exactly is saved, and what does the button check?
What Octopia returns is turned into indented text so that it can be read, and at most the first 8000 characters are kept. If the response is longer, the text is cut at that point. Each press replaces whatever the field held before.
The only decision the code makes is whether Octopia returned anything. If there is a response, it is saved. If nothing comes back (no value), the field is left empty. In other words, pressing the button again and receiving nothing wipes the content from an earlier press.
How do I check that it worked?
Open the account under Octopia › Configuration › Accounts, press the button and go to the Seller Addresses tab. If you see the text with the addresses, the download has saved the response. If what you expected is longer than what you see, remember the character limit described above.
What runs on its own, what to do if it fails, and the cost
Does it fill in by itself, without pressing?
The button is what fills the field. What does run on its own is another task that shares the button's first step, getting the account's connection: the scheduled task Octopia: pull discussions (ToTreat queue), which runs every 15 minutes and is active on install. That task goes through the discussions marked ToTreat, creates or updates them in Odoo, records the date of that sync and leaves an entry in the sync log.
What if the button does not give you what you expected?
First look at the Seller Addresses field straight after pressing. If it is empty, Octopia returned nothing on that press. If the text ends abruptly, that is the character limit above. For connection problems, bear in mind that the connection goes through FlexigoTech Cloud, which stores the credentials encrypted, watches the sync and emails you if it fails. Without a subscription, or with the service suspended, whatever the subscription provides stops; your data stays in your Odoo.
What do I need to use it, and what does it cost?
The module is a one-off payment per Odoo version and is published for Odoo 17, 18, 19 and 20; you can see each version's price on its listing. It also needs a FlexigoTech Cloud subscription, Connector plan: €49/month or €490/year, excluding VAT, with up to 3 platform accounts. On the Odoo App Store, each Odoo version is bought there.
If you are implementing Odoo
FlexigoTech implements Odoo 17, 18, 19 and 20 and builds connectors and custom integrations. If you are setting up the Octopia connection and need help with accounts, permissions or an integration the module does not cover, get in touch.
Keep reading
Checked in the connector's source code (version 20.0) and the linked sources
Sources
- Module source code: flexigobe_octopia_connector 20.0 (4848da6a): views/octopia_completeness_views.xml
- Module source code: flexigobe_octopia_connector 20.0 (4848da6a): models/octopia_seller_extras.py
- Module source code: flexigobe_octopia_connector 20.0 (4848da6a): models/octopia_discussion.py
- Module source code: flexigobe_octopia_connector 20.0 (4848da6a): models/octopia_account.py
- apps.odoo.com/apps/modules/20.0/flexigobe_octopia_connector
- flexigotech.com/precios.html
- flexigotech.com/en/services.html