

 Español
 Català
 Deutsch
 Français
 Português
 Italiano
 Nederlands
 Polski
Where it is and when it shows
Use these boxes to check, before pressing anything, that you are in the right place.
- Go in through the
Amazonmenu. That part of the menu asks for theViewerpermission: if you do not have it, you do not see that part. - Open the
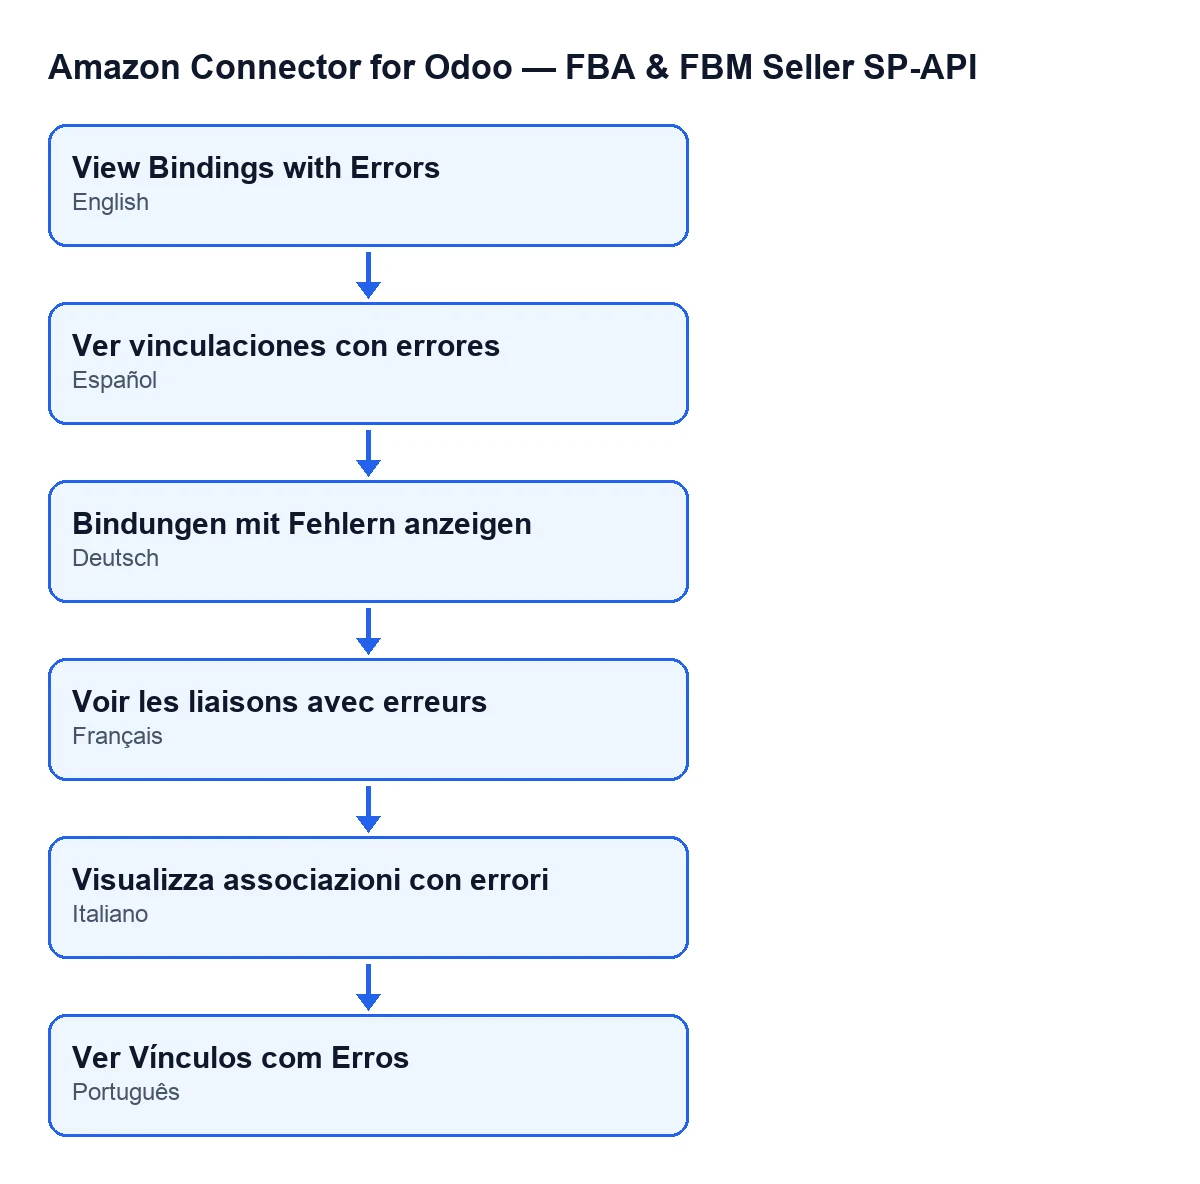
Dashboardof the account you care about. TheView Bindings with Errorsbutton is there. - Check your Odoo version: the button is in Odoo 17, 18, 19 and 20 and is always visible, in all four branches.
What the button checks when you press it
The button acts on the dashboard where you press it. It builds a filter from that dashboard's data and applies it to the product bindings. Read it as a list of conditions:
- The binding belongs to that dashboard's account.
- Its marketplace matches the one on the account. Stray spaces are trimmed for the comparison and, if the account has no marketplace, it is compared with an empty value.
- On top of that, it meets one of two conditions: it is in an error state, or its last error count is above zero. Either one is enough.
The filter has no date condition: there is no range to narrow it down, so what you see does not depend on the dashboard's dates.
What changes when you press it
- The list of product bindings opens with that filter already applied. That is the button's result: it returns that screen.
- Pressing it does not modify the dashboard or the bindings. Its code only prepares the filter and opens the list, without writing anything.
- The filter is built at the moment you press, so the list starts from the bindings as they are then.
- Go through the bindings that come up and review each one: the list brings together those in an error state and those that merely have an error count above zero.
The dashboard number and the daily task
The same account and marketplace filter is used by another part of the module without you pressing anything: the scheduled task Amazon SP-API - Refresh KPIs. It runs every day and is active when the module is installed.
- Bear in mind that this task looks up the bindings for the dashboard's account and marketplace and stores in the dashboard how many there are in total.
- Bear in mind that it also stores how many have errors (error state or error count above zero, the same as the button) and how many have warnings (warning count above zero).
- Tell the two apart: the count stored on the dashboard is from the last time the task ran, while the button's list is queried when you press.
What to check after opening the list
- If the list comes up empty, no binding for that account and marketplace meets the error filter.
- If you miss a binding, confirm you are on the dashboard for the right account: the filter comes from that dashboard's account, and only bindings for its marketplace come in.
- If the dashboard count and the list do not match, remember the count was stored when the daily task ran and the list has just been queried.
- If you cannot see the
Amazonmenu, check whether your user has theViewerpermission.
What it costs and how we can help
The module is a one-off payment per Odoo version and is published on Odoo Apps for 17, 18, 19 and 20. It needs the FlexigoTech Cloud subscription, Connector plan: €49/month or €490/year excluding VAT (the Pro plan is €98/month or €980/year excluding VAT). The connection goes through FlexigoTech Cloud, which stores the credentials encrypted, watches the synchronisation and emails you if it fails. The module's page is on the FlexigoTech website.
If you are implementing Odoo and want to set this dashboard up with your Amazon accounts, FlexigoTech implements Odoo 17, 18, 19 and 20 and builds custom connectors and integrations.
Keep reading
Checked in the connector's source code (version 20.0) and the linked sources
Sources
- Module source code: flexigobe_amazon_seller_connector 20.0 (8576afa5): views/amazon_spapi_kpi_dashboard_views.xml
- Module source code: flexigobe_amazon_seller_connector 20.0 (8576afa5): models/amazon_spapi_kpi_dashboard.py
- apps.odoo.com/apps/modules/20.0/flexigobe_amazon_seller_connector
- flexigotech.com/precios.html
- flexigotech.com/en/services.html