

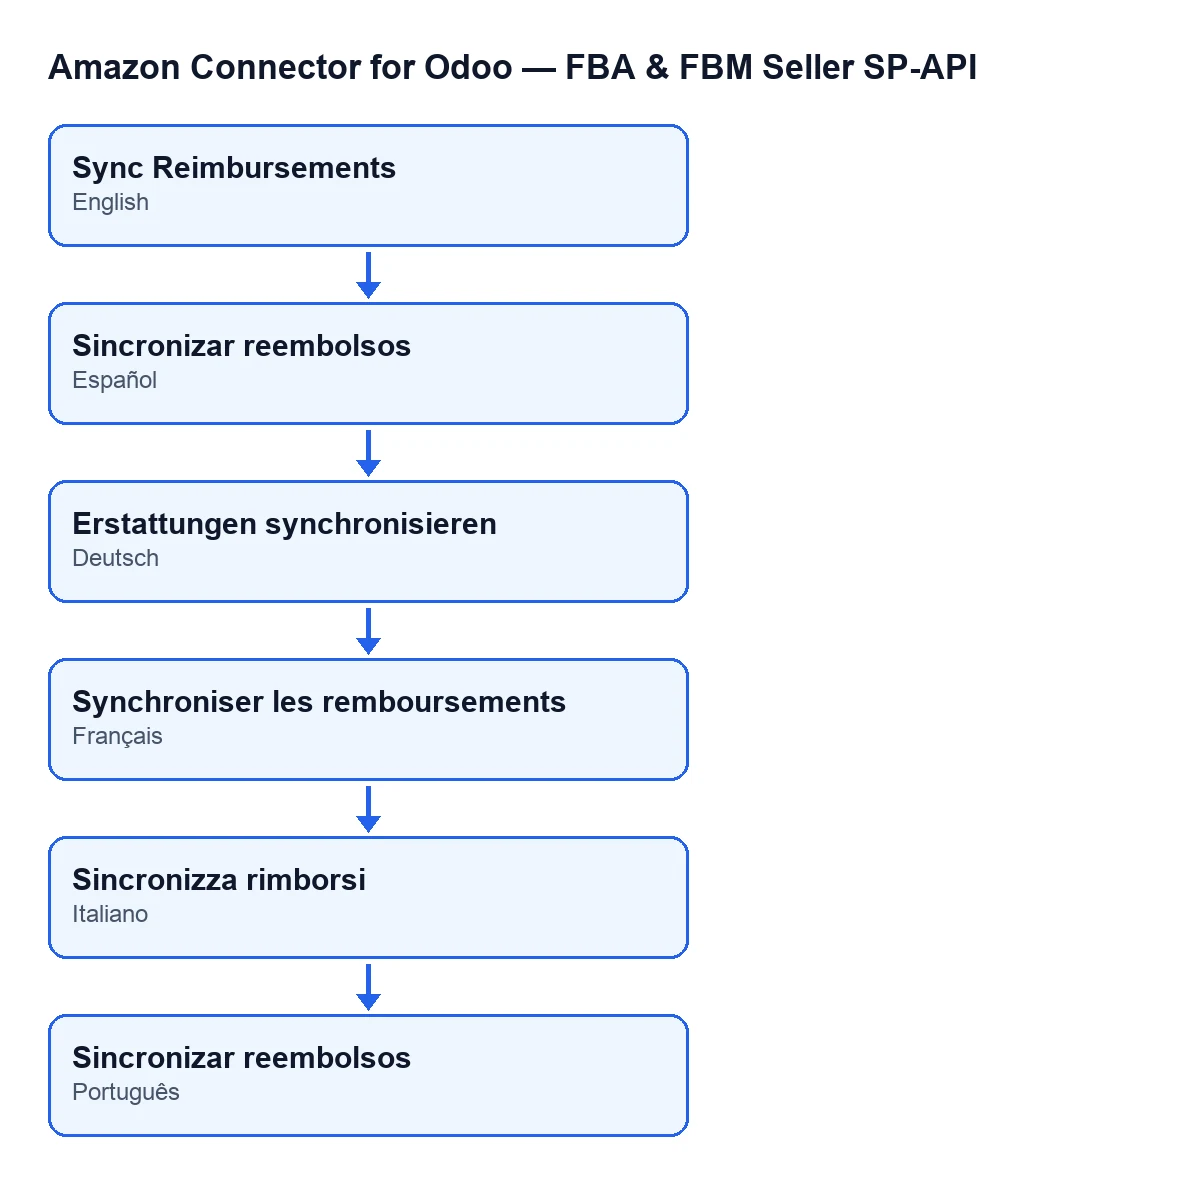
 Español
 Català
 Deutsch
 Français
 Português
 Italiano
 Nederlands
 Polski
Before you press it: where it is and who can use it
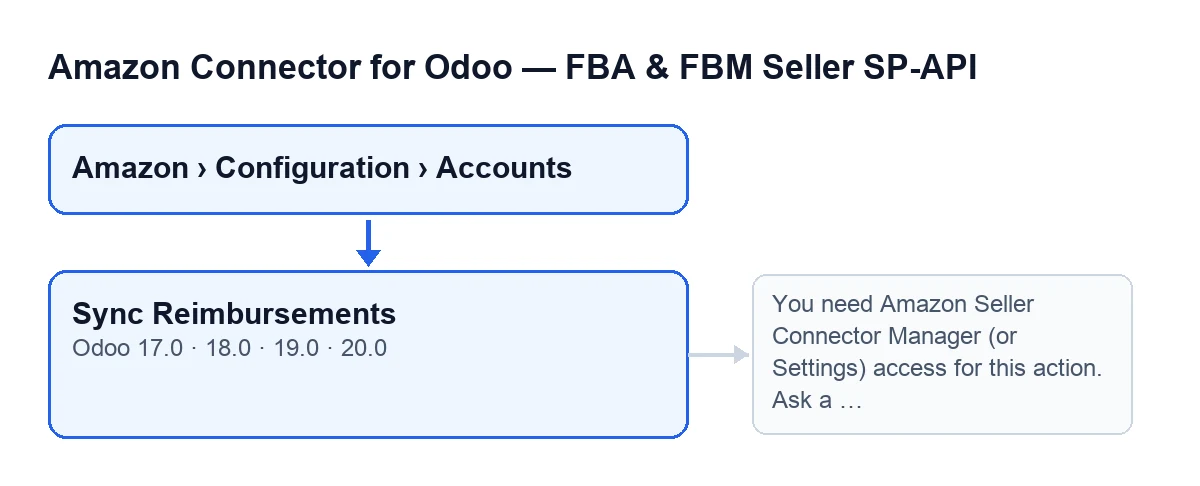
The Sync Reimbursements button is on the Accounts screen, which you reach through Amazon › Configuration › Accounts. Each step of the menu asks for a permission, and if you do not have it you do not see that step: Amazon asks for Viewer, while Configuration and Accounts ask for Manager.
- Open
Amazon › Configuration › Accountsand go into the account you want to synchronise. The button acts on one account only.
- Check that your user has Manager access to the Amazon connector or Settings access. The button is always visible, and it is in all four published branches (Odoo 17, 18, 19 and 20), but seeing it is not the same as having permission: the action checks it as soon as it starts.
The automatic path comes first, the button second
For active accounts that have the synchronisation of the FBA reimbursements report switched on, the scheduled task Amazon SP-API - Sync FBA reimbursements report (opt-in) starts the same synchronisation once a day. It is active when the module is installed.
- Check that this scheduled task is still active in your database.
- Check that the account is active and has the reimbursements report synchronisation switched on: the task only goes through accounts that meet both conditions.
- Keep in mind that if the synchronisation of an account raises an error that reaches the task, the task logs it on the server and carries on with the other accounts. The task also does not post the summary as a message on the account form.
- Use the button when you want to run it by hand. In the summary the source shows as manual (for the task it reads
CRON), and the summary is posted as a message on the account form.
When you press it: what it checks and does, in order
- Permissions first. Unless you are the superuser, the button requires Manager access to the connector or Settings access and then that you can write to that account. If either is missing, the action stops there and nothing it was about to change is saved.
- Next it asks Amazon to generate the FBA reimbursements report for the account.
- Then it asks about the report's status several times, pausing between attempts, until the report is ready, cancelled or has failed. The action waits in the meantime, so do not expect an instant answer.
- If the report is ready, it downloads the report's document and passes it to Odoo's import.
- If the
FBA reimbursement auditbox is ticked, the button triggers the refresh of the claims audit right after the import. The box is on theAccountsform,FBA Reports (opt-in)tab,Reimbursement Claim Audit (find money Amazon owes you)group, and it is off by default. Its help text describes it as a read-only analysis.
- Finally, the account stores the date and result of the last run, and the summary is posted as a message on its form.
After you press it: what to review
- Open the account form and read the new message. It starts with
Amazon FBA reimbursements sync finished.and goes on withAccount: …,Source: …(Manual if you pressed the button),Report ID: …andReport status: ….
- If the report was imported, it also gives
Report rows,Processed rows,Created,Updated,SkippedandWith error.
- Look at the
With errorcount before treating the import as good.
Sync Reimbursements.If something goes wrong
You do not have access
This appears when you press the button and your user is neither a connector Manager nor a Settings user. The message is:
You need Amazon Seller Connector Manager (or Settings) access for this action. Ask a manager to grant Manager access.
- Ask a manager to give you Manager access, as the message itself says.
- If you already have the group and the action still stops, the check also asks for write permission on that account.
The report is not imported
In these situations the run ends, records the result on the account and imports no rows.
- If Amazon cancels the report or it fails, the summary adds
Amazon did not generate a usable reimbursements report.
- If the waiting attempts run out, the summary adds
Report polling timed out. Try again in a few minutes.
- If the report is ready but Amazon gives no document, the summary adds
DONE report without reportDocumentId.and nothing is imported either.
Cost and help
The module is a one-off payment per Odoo version (17, 18, 19 and 20) and needs the FlexigoTech Cloud subscription: the Connector plan costs €49 a month or €490 a year, excluding VAT. The connection goes through that service, which stores the credentials encrypted and emails you if the synchronisation fails. You can see the module on the FlexigoTech page or on the Odoo Apps listing.
If you are implementing Odoo and want someone to go through permissions and the connector set-up with you, FlexigoTech implements Odoo 17, 18, 19 and 20 and builds custom connectors and integrations.
Keep reading
Checked in the connector's source code (version 20.0) and the linked sources
Sources
- Module source code: flexigobe_amazon_seller_connector 20.0 (8576afa5): views/amazon_spapi_account_views.xml
- Module source code: flexigobe_amazon_seller_connector 20.0 (8576afa5): models/amazon_spapi_account.py
- apps.odoo.com/apps/modules/20.0/flexigobe_amazon_seller_connector
- flexigotech.com/precios.html
- flexigotech.com/en/services.html