

 Español
 Català
 Deutsch
 Français
 Português
 Italiano
 Nederlands
 Polski
Where the button is and who sees it
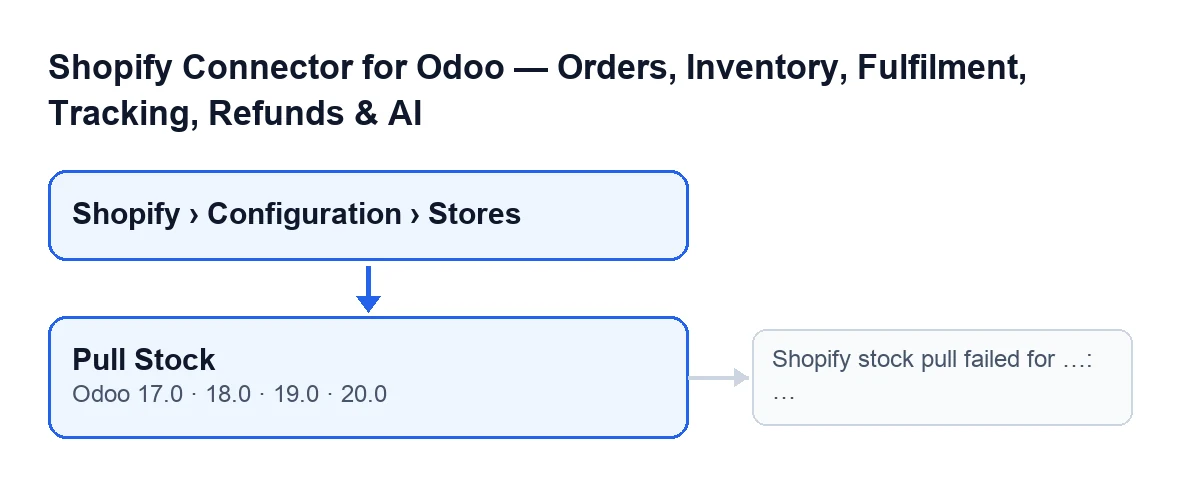
The Pull Stock button sits on each store's form, on the Shopify Instances screen. Those forms open from the menu Shopify › Configuration › Stores. If you lack the permission for a menu level, you do not see that level: Configuration asks for Operator and Shopify asks for Viewer. The button has no view condition: it is always visible, and it exists in Odoo 17, 18, 19 and 20. What follows describes the code of Odoo 20.
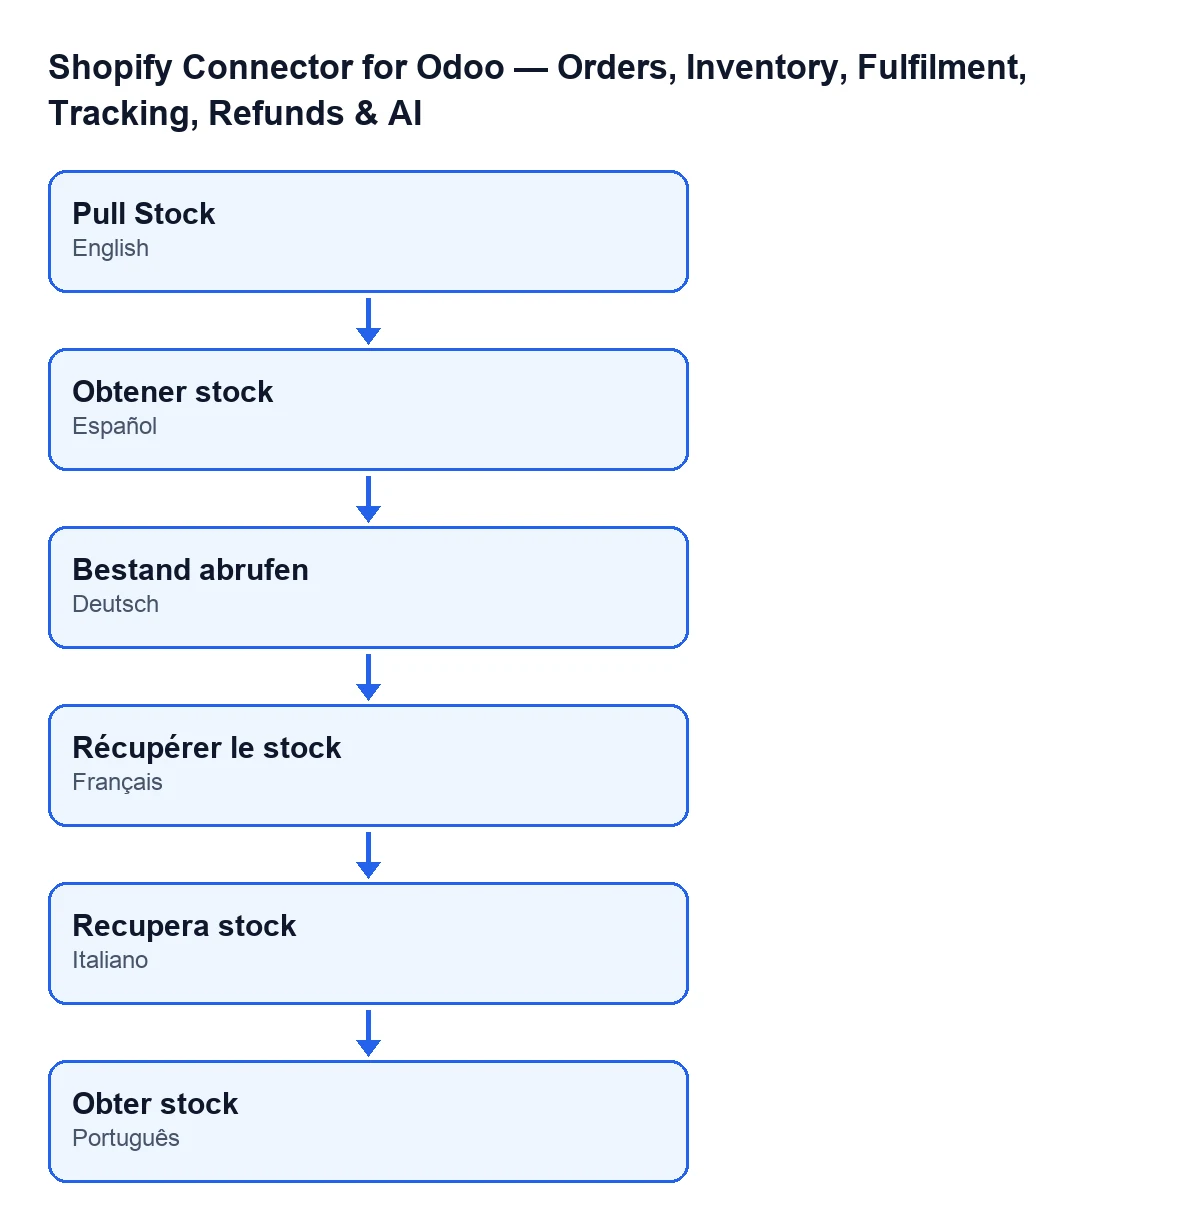
With Odoo in English the button is called Pull Stock; in Spanish, Obtener stock; in German, Bestand abrufen; in French, Récupérer le stock; in Italian, Recupera stock; and in Portuguese, Obter stock.
Steps to use it
- Open
Shopify › Configuration › Storesand go into the store's form. - Go to the
Operationstab,Sync Settingsgroup, and check thatSync Stock Enabledis ticked. With the default values it is not, and with the box unticked the button does nothing for that store. - Look at the
Companyfield on the form: the button only works with products of that company. - To know which Shopify location will be queried, look at
Default Location Gidon theWebhookstab. Its help readsShopify GraphQL location GID used for inventory synchronization.If it is empty, it is filled in with the first location Shopify returns. The button does that when you press it, and so does the scheduled taskShopify Push Stockwithout anyone pressing anything: it runs every 20 minutes and is active on install. - Press
Pull Stock. - When it finishes, check the stock of your products in the Odoo location that was used (how it is chosen is explained below).
What it does inside, in order
- If
Sync Stock Enabledis not ticked, it moves on to the next store without opening any log entry. - It opens a sync log entry of the stock-pull kind, in progress.
- It looks for that store's products linked to Shopify: active ones, with a Shopify inventory item identifier, whose product belongs to the store's company. If there are none, it closes the log entry as finished, with a note, and goes no further.
- It picks the Odoo location: the Shopify location marked as primary and mapped to an Odoo location. If there is none, it uses the store's warehouse or, if the store has none, the company's first warehouse, and that warehouse's stock location. If it finds none, the log entry is marked as failed and that store stops, without raising the error message further down.
- It works out the Shopify location: the one in
Default Location Gidor, if empty, the first one Shopify returns, which is also saved in that field. - It asks Shopify for the available quantity of each item at that location, in batches of up to 100 items.
- For each product Shopify returned a quantity for, it adjusts the Odoo location's stock by the difference between Shopify's quantity and what Odoo currently holds there, and records the last stock sync date on that link. Products with no quantity returned are skipped. If one fails, it counts as an error and the rest carry on.
- It closes the log entry with the products updated and the errors: success if there were no errors, partial if there were errors and also updates, failed if there were errors and no updates.
What changes and what does not
Odoo's stock changes: each product's quantity at the chosen location becomes the available quantity Shopify reports. The button reads from Shopify and applies in Odoo.
The scheduled task Shopify Push Stock goes the other way: every 20 minutes, active on install, it sends quantities from Odoo to Shopify, and what it sends is the free quantity (what is on hand minus what is already reserved). Keep that in mind when you decide which system rules over stock.
The error it can raise
When you press Pull Stock, the action can stop with Shopify stock pull failed for …: ….
- When it appears: when something fails while the store's run is under way. A failure on a single product does not raise it: it is counted as an error and the rest carry on.
- What it contains: the first gap is the store's
Shop Domainfrom the form; after the colon comes the text of the original error. - What is left behind: the log entry for that run is marked as failed with the error.
- What to do: read the reason after the colon and fix that. To tell which store it is, compare with
Shop Domain, whose help asks for your exact Shopify domain (for exampleflexigobe.myshopify.com).
If the connection goes through FlexigoTech Cloud and the service refuses the call and pauses, that run's log entry is deleted instead of being left as failed.
Price and help from FlexigoTech
The module is a one-off payment per Odoo version (17, 18, 19 and 20) and needs the FlexigoTech Cloud subscription, Connector plan: €49 a month or €490 a year excluding VAT, up to 3 accounts on the platform. The price for each version is on the Odoo Apps page and the module page. With the subscription, the module for newer Odoo versions is included if you bought it on flexigotech.com; on the Odoo App Store, each version is bought there.
If you are implementing Odoo and want Shopify stock connected properly, FlexigoTech implements Odoo 17, 18, 19 and 20 and builds custom connectors and integrations.
Keep reading
Checked in the connector's source code (version 20.0) and the linked sources
Sources
- Module source code: flexigobe_shopify_seller_connector 20.0 (d7e627b4): views/shopify_instance_views.xml
- Module source code: flexigobe_shopify_seller_connector 20.0 (d7e627b4): models/shopify_instance.py
- Module source code: flexigobe_shopify_seller_connector 20.0 (d7e627b4): models/fgt_cloud.py
- apps.odoo.com/apps/modules/20.0/flexigobe_shopify_seller_connector
- flexigotech.com/en/services.html
- flexigotech.com/precios.html