

 Español
 Català
 Deutsch
 Français
 Português
 Italiano
 Nederlands
 Polski
What the message means and when it appears
The message Set a cancellation reason first. is an error: the action stops. It appears when you press the Request Cancellation button on an outbound shipment form, and only if the Cancellation Reason field of that shipment is empty. That is the literal condition in the code: if the reason has no content, the module stops there. As soon as the field has content, that check is passed.
The message is in the published code of Odoo branches 17, 18, 19 and 20.
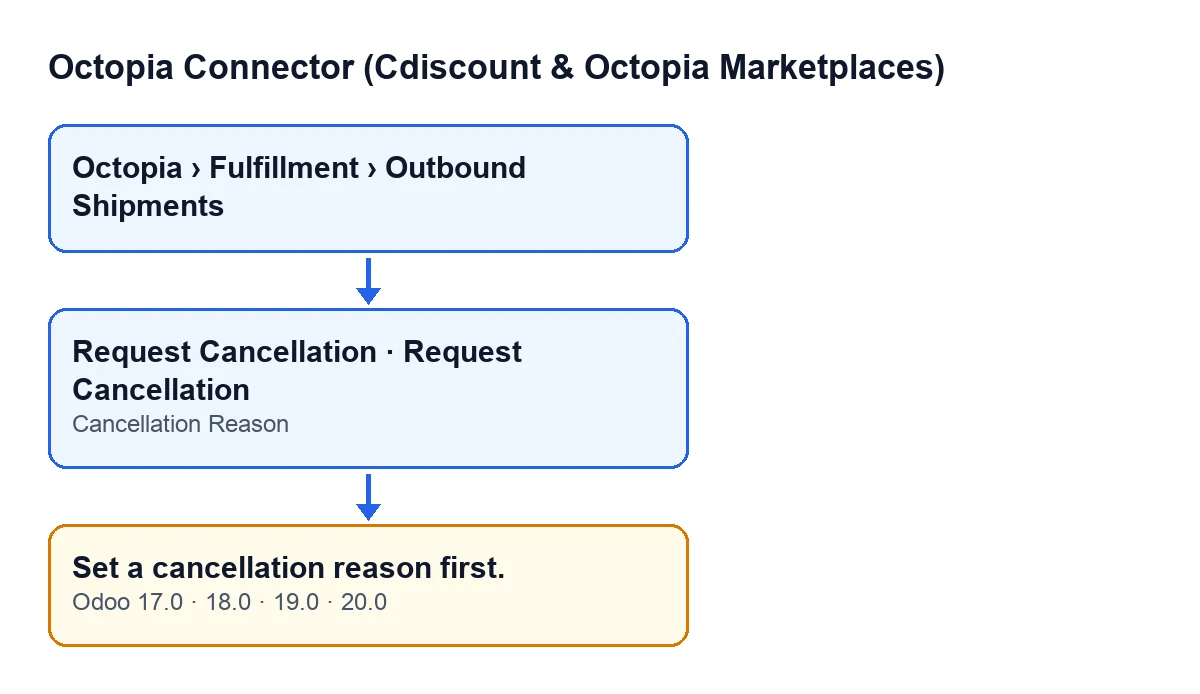
The code checks the reason first, before getting the module's client or passing it anything. If you see the message, the action has stopped there and nothing it was going to change has been saved on that shipment.
Before you press the button
These checks tell you whether you are about to hit the message, and why.
- Open the shipment form from the menu
Octopia › Fulfillment › Outbound Shipments. If you cannot see theOctopiabranch of the menu, you are missing theOctopia Userpermission.
- Check that you can see the
Request Cancellationbutton. With default values it is visible. It is hidden when theStatusfield of the shipment isShipped,DeliveredorCancelled, or when theCancellation Statusfield already has a value. That condition is the same in Odoo 17, 18, 19 and 20.
- Find the
Cancellation Reasonfield on theOutbound Shipmentsform. It is the field the code looks at.
- Check whether the field has content. If it is empty, the message will appear as soon as you press the button.
- Enter the reason before pressing. The check that raises this message is only that the field is not empty.
When you press the button and when you see the message
- Press
Request Cancellation. Odoo asks for confirmation with the textRequest cancellation of this outbound shipment?.
- If the reason is empty,
Set a cancellation reason first.appears and the action stops. The code goes through the shipments it is working with and stops at the first one that has no reason.
- Close the notice, go back to the form and fill in
Cancellation Reason.
- Press
Request Cancellationagain and confirm.
Depending on the language of your Odoo, the message looks like this:
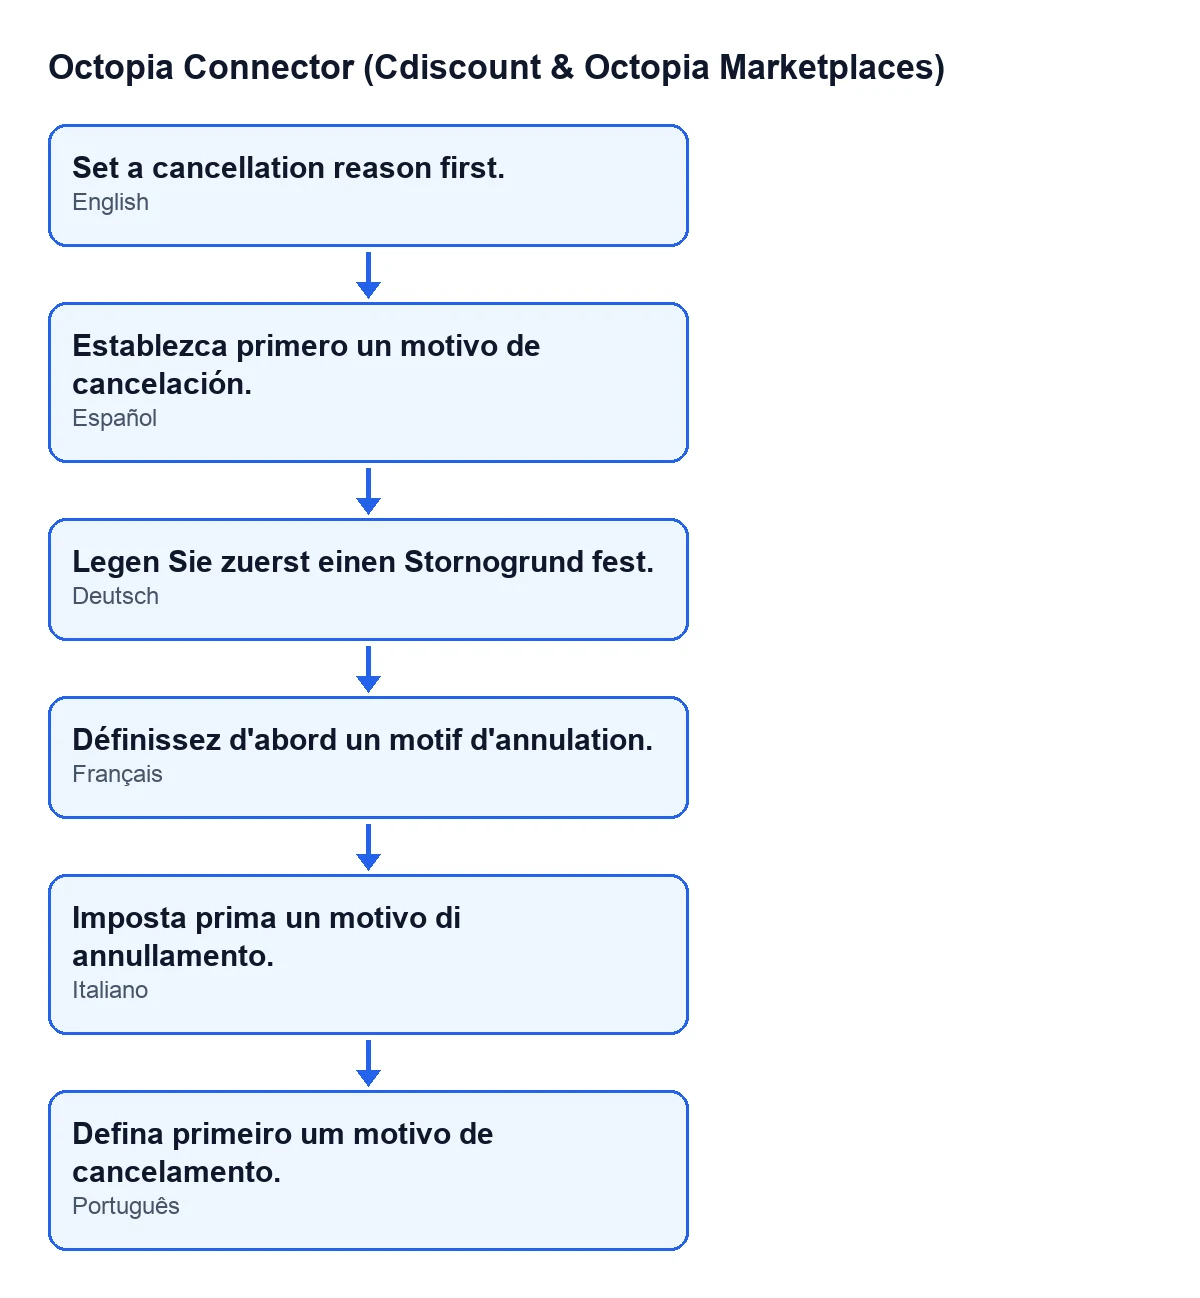
Establezca primero un motivo de cancelación.; in German, Legen Sie zuerst einen Stornogrund fest.; in French, Définissez d'abord un motif d'annulation.; in Italian, Imposta prima un motivo di annullamento.; in Portuguese, Defina primeiro um motivo de cancelamento.What the button does once the reason is there
Once the check is passed, the method follows this order for each shipment:
- It gets the module's client from the shipment's account.
- It passes that client the cancellation request, with the shipment's external identifier and the reason you entered.
- It saves a value in
Cancellation Status(the code writesCreated) and, if the response it receives includes a reference for the request, it saves that reference on the shipment too.
Because the button is hidden when Cancellation Status has a value, once a request has been saved you will no longer see the button on that shipment.
After requesting the cancellation
- Open the shipment form again and check that
Cancellation Statusnow has a value.
- Check that the
Request Cancellationbutton has gone from that shipment. That is expected, given its visibility condition.
- If the shipment's
StatusisShipped,DeliveredorCancelled, do not expect to see the button: it is hidden in those cases.
How FlexigoTech can help
FlexigoTech implements Odoo 17, 18, 19 and 20 and builds custom connectors and integrations. Octopia Connector is published on Odoo Apps for those four versions. It is a one-off purchase per version and needs the FlexigoTech Cloud subscription, Connector plan: €49 a month or €490 a year, excluding VAT. The connection goes through FlexigoTech Cloud, which stores the credentials encrypted, monitors synchronisation and emails you if it fails. If you would like to review your cancellation flow with us, get in touch.
Keep reading
Checked in the connector's source code (version 20.0) and the linked sources
Sources
- Module source code: flexigobe_octopia_connector 20.0 (4848da6a): models/octopia_fulfillment.py
- Module source code: flexigobe_octopia_connector 20.0 (4848da6a): views/octopia_fulfillment_views.xml
- apps.odoo.com/apps/modules/20.0/flexigobe_octopia_connector
- flexigotech.com/en/services.html
- flexigotech.com/precios.html