

 Español
 Català
 Deutsch
 Français
 Português
 Italiano
 Nederlands
 Polski
Where the button is
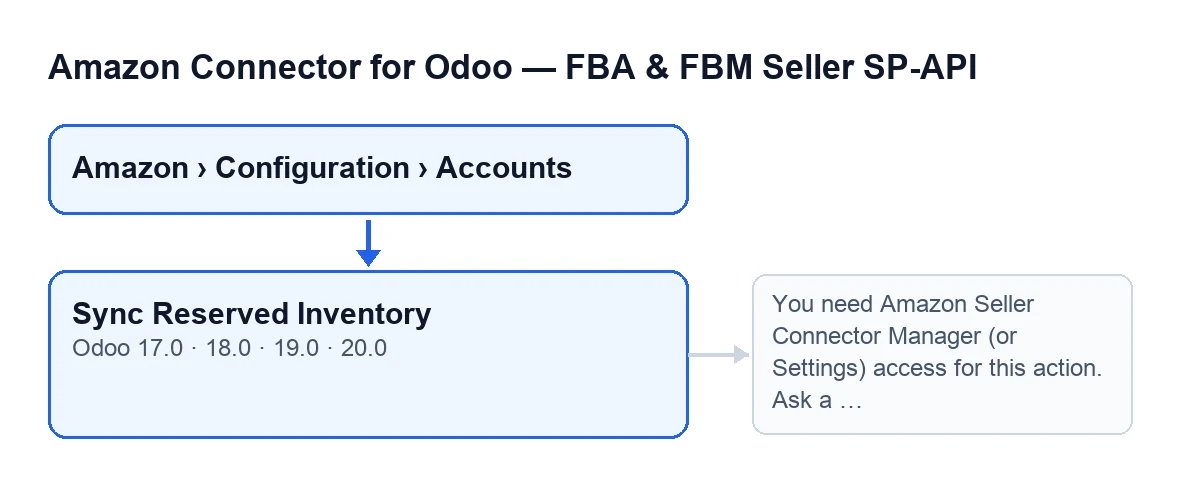
The Sync Reserved Inventory button is on the Accounts screen, which you reach through Amazon › Configuration › Accounts. The menu asks for permissions section by section: Amazon asks for Viewer, while Configuration and Accounts ask for Manager. If you do not have one of those permissions, you do not see that section. The button exists in the 17, 18, 19 and 20 branches of Odoo and is always visible. In Odoo 20.0 the button works like this:
Myth: «You can only bring in reserved inventory by pressing the button»
In reality, what the button does, Odoo can also do on its own. The scheduled task Amazon SP-API - Sync reserved inventory report (opt-in) runs once a day and is active on installation. It goes through the active accounts that have the reserved inventory sync enabled and runs the same process on each one, with the source recorded as CRON.
There are two differences compared with pressing the button. The task does not leave the summary in the account's chatter. And if an account raises an error that reaches the task, it is logged as a warning on the server and the task carries on with the next account. The button is therefore for running the sync by hand when you do not want to wait for the day's task.
Myth: «Anyone who gets to the form can press it»
The first thing the button does is check your permissions on the server. It lets through anyone with the connector's Manager access or Settings access, and it also checks that you can write to that account. The module checks again on its own because restricting a button in the view is only a convenience of the interface, not a real security barrier.
If you do not have that access, the action stops with this message:
You need Amazon Seller Connector Manager (or Settings) access for this action. Ask a manager to grant Manager access.
It appears when you press the button. What to do is what the message itself says: ask a manager to give you Manager access.
Myth: «It is one click and done»
What happens after the click has several phases, all inside the same action. Once the permission check has passed, the module asks Amazon to create the reserved inventory report. It then checks the report's status several times, pausing between checks, and stops asking as soon as the status is DONE, CANCELLED or FATAL.
If the final status is not DONE, the summary says so, and the text depends on the case:
- With
CANCELLEDorFATALit readsAmazon did not generate a usable reserved inventory report.In other words, Amazon has not left a usable report. - If the checks run out without a final status, it reads
Report polling timed out. Try again in a few minutes.Only here is it time to press the button again after a few minutes.
If the report reaches DONE but has no downloadable document, the summary notes that too with DONE report without reportDocumentId. And if there is a document, the module downloads it and imports it into Odoo. The final summary counts the report rows (Report rows), the processed ones, and those created, updated, skipped and with an error.
Myth: «It syncs all my accounts at once»
The button works on a single account, the one on the screen where you press it. The scheduled task is what goes through several accounts, and only the ones that are active and have the reserved inventory sync enabled. If you sell through more than one Amazon account and want to run them by hand, press the button on each one.
Myth: «If something goes wrong, nothing is left to show for it»
In three outcomes the module keeps a record: a report that does not reach DONE, a DONE report without a document, and a completed import. In all three it saves the date of the last run and the result text on the account. When you press the button, it also posts that text as a message in the account's chatter.
The summary includes the account name, the source (Manual when you launched it), and the report's identifier and status. After pressing the button, that chatter is the first place to look. Read which of the texts above came up: only in the timeout one does the summary itself ask you to try again after a few minutes.
Myth: «The button has the same name in every Odoo»
The module ships with translations, so the label depends on your user's language. With Odoo in English the button is called Sync Reserved Inventory; in another language you will see that language's label. If you cannot find it under the name you expect, check your user's language first.
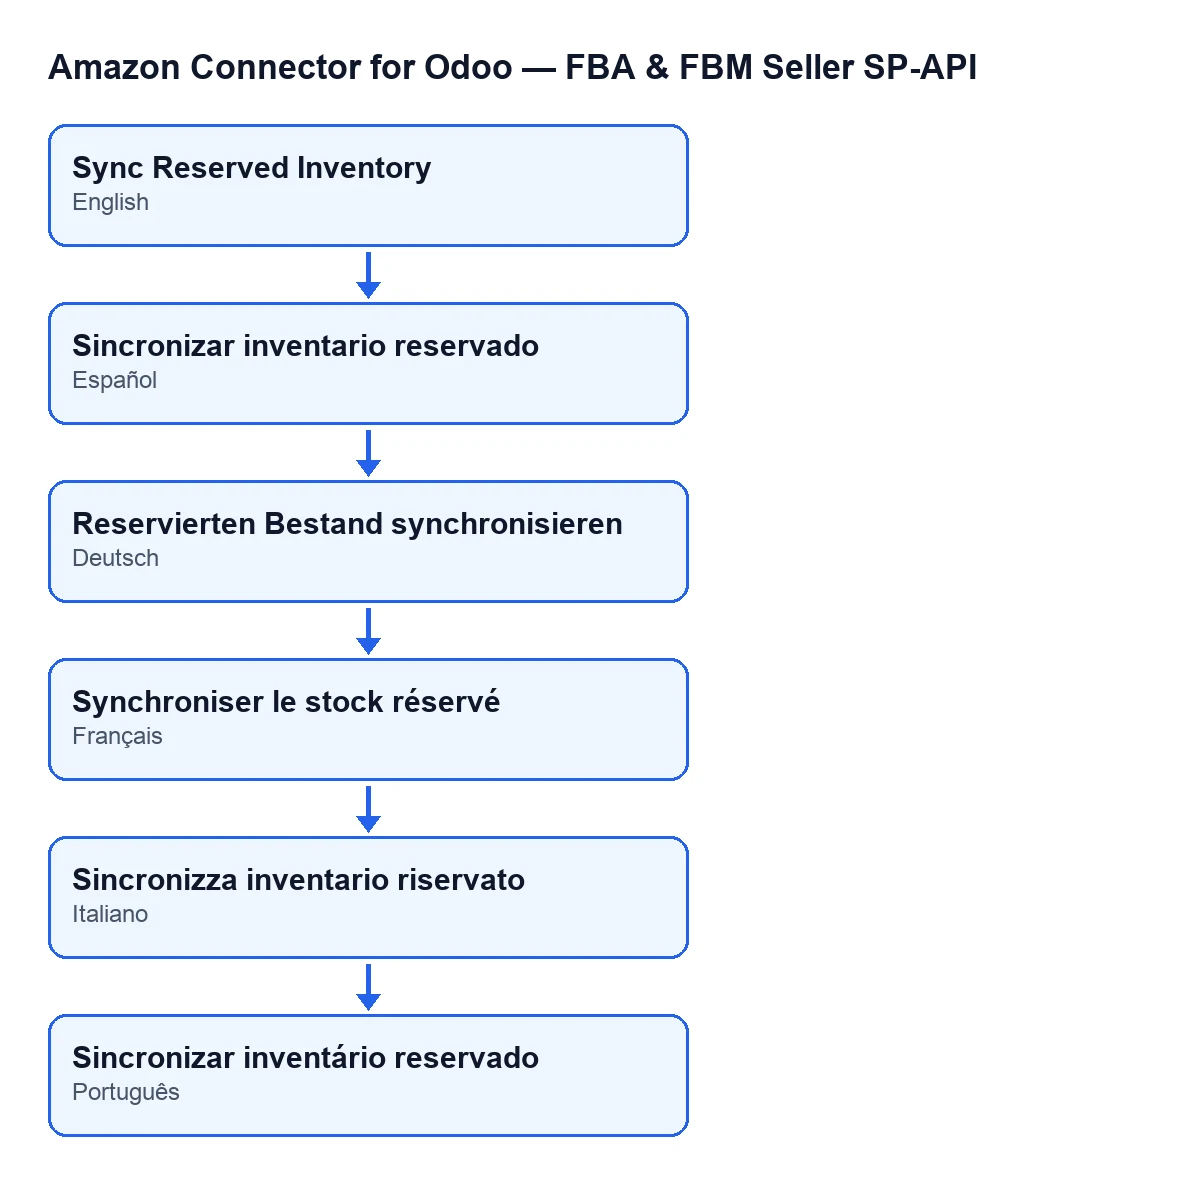
Sync Reserved Inventory.
How it fits with the subscription
The connection to Amazon goes through FlexigoTech Cloud, which stores the credentials encrypted, watches the sync and emails you if it fails. The module is a one-off purchase per Odoo version and needs a FlexigoTech Cloud subscription on the Connector plan, which costs €49 a month or €490 a year, excluding VAT. It is published for Odoo 17, 18, 19 and 20, and you can see its listing on Odoo Apps and its page on flexigotech.com.
How FlexigoTech can help
If you are implementing Odoo and need to decide which accounts to sync, who holds the Manager role or what to do with what gets imported, FlexigoTech implements Odoo 17, 18, 19 and 20 and builds connectors and custom integrations.
Keep reading
Checked in the connector's source code (version 20.0) and the linked sources
Sources
- Module source code: flexigobe_amazon_seller_connector 20.0 (8576afa5): views/amazon_spapi_account_views.xml
- Module source code: flexigobe_amazon_seller_connector 20.0 (8576afa5): models/amazon_spapi_account.py
- apps.odoo.com/apps/modules/20.0/flexigobe_amazon_seller_connector
- flexigotech.com/precios.html
- flexigotech.com/en/services.html