

 Español
 Català
 Deutsch
 Français
 Português
 Italiano
 Nederlands
 Polski
Before you press it: where it is and what it needs
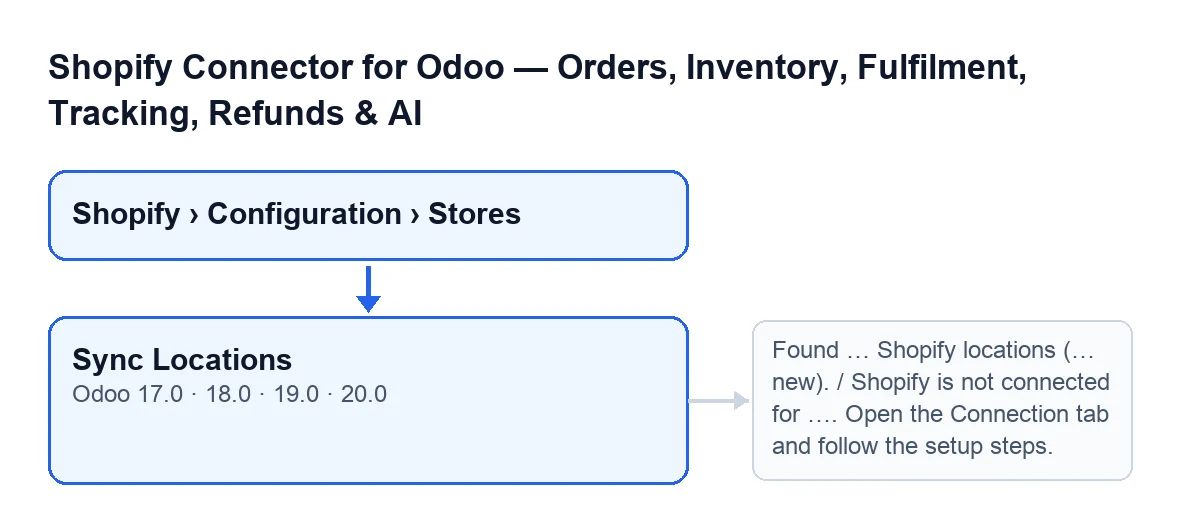
The Sync Locations button is in Odoo 17.0, 18.0, 19.0 and 20.0. In Odoo 20.0, the button brings a store's Shopify locations into Odoo.
- Open the menu
Shopify › Configuration › Stores. If a menu level is missing, you lack a permission:Shopifyasks forViewerandConfigurationasks forOperator.
- Find the
Sync Locationsbutton on theShopify Instancesscreen. It is always visible, with no condition, in Odoo 17, 18, 19 and 20.
- Be clear about how the store connects. If it goes through FlexigoTech Cloud, the call to Shopify passes through the service and Odoo does not connect to the store directly. If the store connects directly, the module first tries to obtain an access token; if it still has none afterwards, the button stops with the notice
Shopify is not connected for …. Open the Connection tab and follow the setup steps.
When you press it: what it does, in order
- It asks Shopify, in a single query, for the first 50 locations, leaving out legacy ones. For each one it reads the identifier, the name, whether it is active and the address.
- It skips locations that arrive without an identifier. For the rest, it looks in that same store for a location with the same Shopify identifier: if one exists, it updates its name, whether it is active in Shopify and its address; if not, it creates it. Because the search is made within the store, locations of another store are left alone.
- If Shopify sends no name, the module uses the identifier as the name. The address is saved joined with commas when Shopify sends it as a list; otherwise it stays empty.
- If no location of that store is marked as primary, it takes the first one that is active in Shopify and marks it as primary: it clears the mark on the others and stores that location in the store as the default, with its identifier and name. If a primary one already existed, it leaves it alone.
- It ends with a success notice. It only creates or updates the locations that Shopify returns in that query.
After you press it: what to check
- Read the notice: title
Locations Syncedand messageFound … Shopify locations (… new).The first number is the total Shopify returned; the second is how many did not exist in Odoo and have been created.
- If you press again with no changes in Shopify, the existing ones are updated and only those that were not there count as new.
- If you change a location's name, address or whether it is active in Shopify, press again: the button updates those three details on the locations that already exist.
- Check that the store has a primary location: if it already had one it is respected, and if there was none the first active one is marked. If no location is active in Shopify, there is nothing to mark.
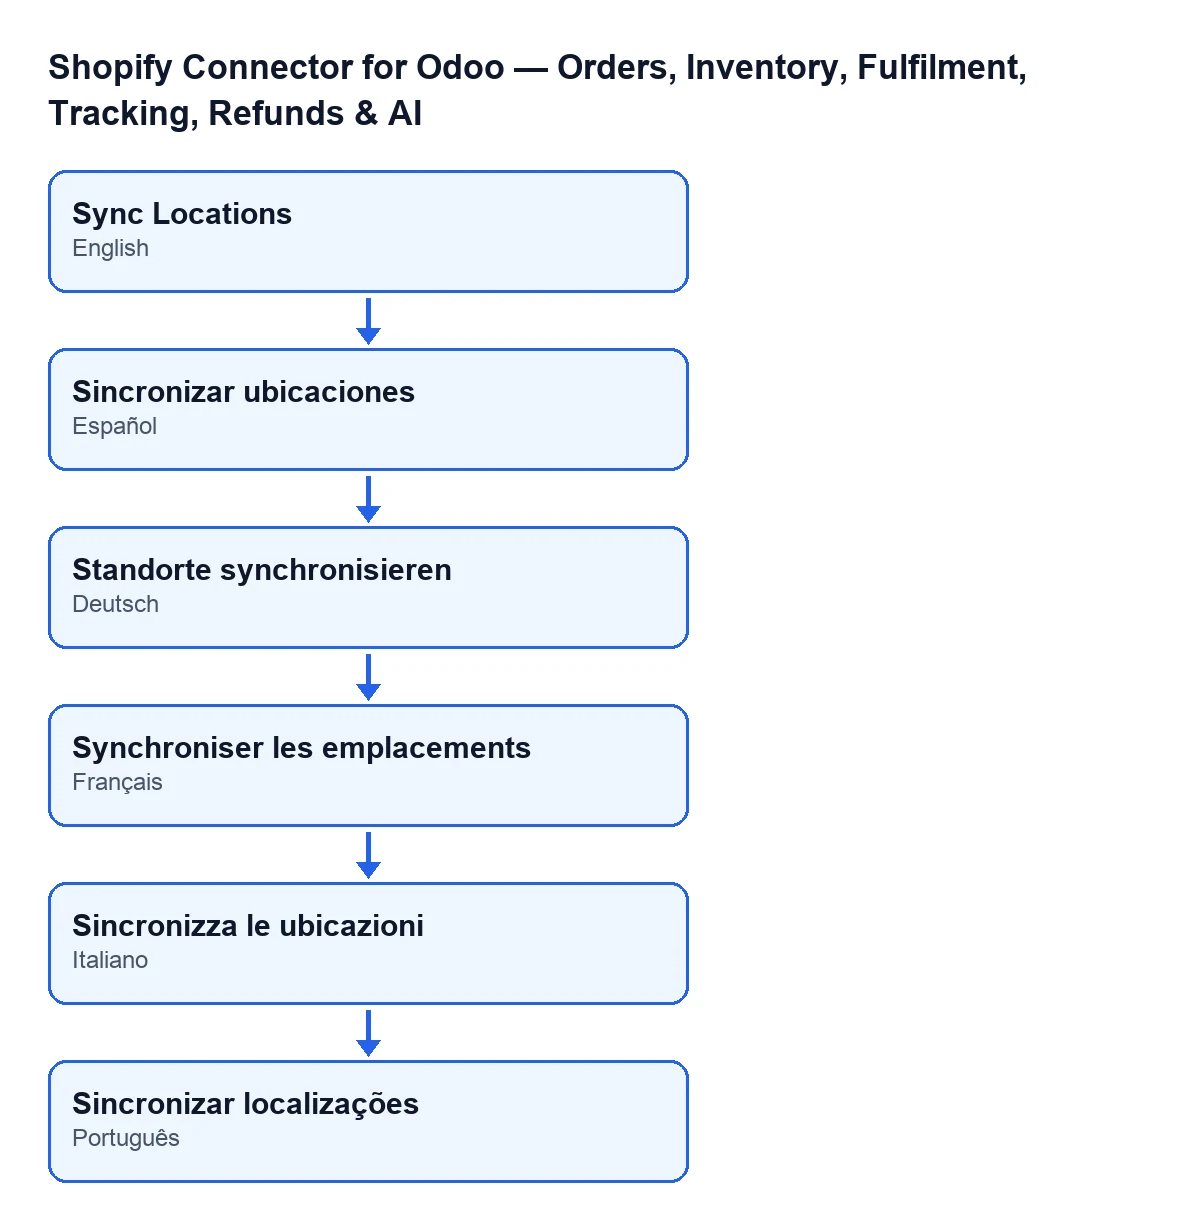
Sync Locations; in German, Standorte synchronisieren; in French, Synchroniser les emplacements; in Italian, Sincronizza le ubicazioni; in Portuguese, Sincronizar localizações. In English it is Sync Locations.If the button stops with an error
The messages below come from the call to Shopify that the button makes. When one appears, the action stops and nothing it was going to change is saved.
Shopify is not connected for …. Open the Connection tab and follow the setup steps.It appears when the store does not use FlexigoTech Cloud and still has no access token after the module has tried to obtain one. The dots are the name Odoo shows for the store. What to do: what the message says, open theConnectiontab of the store and follow the setup steps.
Shopify GraphQL call failed (…): …. It appears when Shopify answers with an error code. The message carries that code and the start of the response. Before getting there, if Shopify says there are too many requests, the module waits and tries again. What to do: read the code and the text that come with the message.
Shopify GraphQL returned errors: …. It can appear when you press the button. What to do: read the detail after the colon.
Shopify GraphQL call exhausted retries.It can appear when you press the button. What to do: press it again.
That same function for calling Shopify is also used, without pressing this button, by the scheduled task Shopify Sync Payouts (every six hours, disabled on install) and by what the module does when a transfer is saved or validated with Odoo's standard button, which the module extends.
How FlexigoTech can help
The module is a one-off payment per Odoo version and needs the FlexigoTech Cloud subscription, Connector plan: €49 a month or €490 a year, excluding VAT, up to 3 accounts of the platform. The connection goes through FlexigoTech Cloud, which keeps the credentials encrypted, watches the synchronisation and emails you if it fails. It is published on Odoo Apps for 17.0, 18.0, 19.0 and 20.0 (see the listing and the module page). If you are implementing Odoo and want to connect your store, FlexigoTech implements Odoo 17, 18, 19 and 20 and builds custom connectors and integrations.
Keep reading
Checked in the connector's source code (version 20.0) and the linked sources
Sources
- Module source code: flexigobe_shopify_seller_connector 20.0 (2950bdc0): views/shopify_instance_views.xml
- Module source code: flexigobe_shopify_seller_connector 20.0 (2950bdc0): models/shopify_instance.py
- Module source code: flexigobe_shopify_seller_connector 20.0 (2950bdc0): models/fgt_cloud.py
- apps.odoo.com/apps/modules/20.0/flexigobe_shopify_seller_connector
- flexigotech.com/en/services.html
- flexigotech.com/precios.html