

 Español
 Català
 Deutsch
 Français
 Português
 Italiano
 Nederlands
 Polski
Where the button is and when you see it
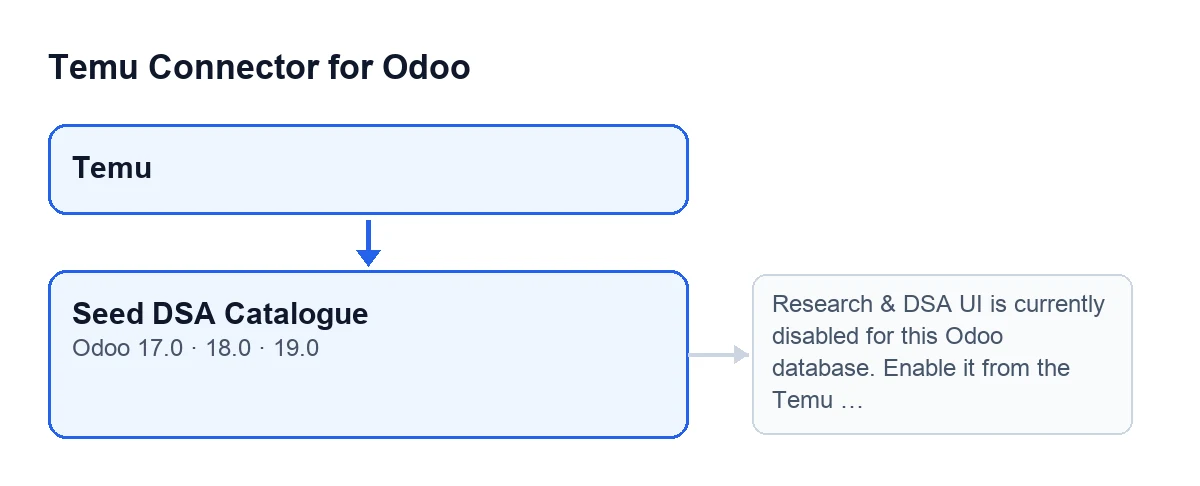
The Seed DSA Catalogue button sits on the Temu instance form, the Temu Dashboard screen, which you reach from the Temu menu. According to the published code, the button is always visible: it does not depend on any state or checkbox. It is present in the 17.0, 18.0 and 19.0 branches of the module.
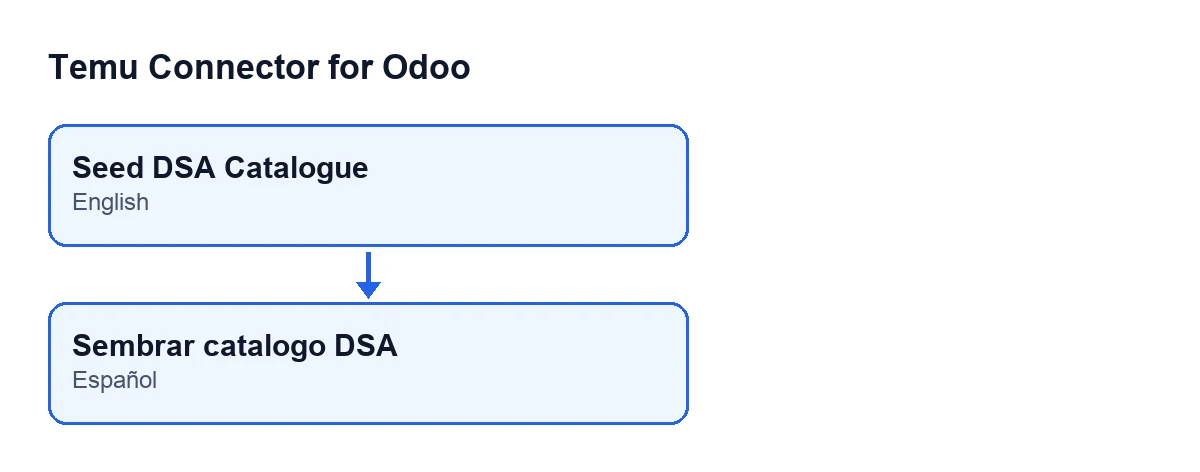
The label changes with your Odoo language: with Odoo in Spanish, the button is called Seed DSA Catalogue.
Seed DSA Catalogue.
Step by step: what happens when you press it
- Open the
Temumenu and go into the instance form, inTemu Dashboard. TheNamefield is visible both on the form and in theTemu Dashboardlist: it is the instance name that will later appear in the result summary. - Press
Seed DSA Catalogue. The first thing the module does is check that the Research & DSA interface is enabled for the database. If it is not, the action stops here (the message is below) and nothing is saved. - If the check passes, the module goes through the instances the action was launched on. For each one it works through the default DSA catalogue rows and, row by row, looks for one with the same code already on that instance.
- If there is none, it creates the row, linked to that instance and flagged as a default entry, and adds one to the created count.
- If one already exists, the module compares its values with those of the default catalogue and writes only the ones that differ. If any value was different, it adds one to the updated count. If everything matched, it leaves the row alone and does not count it.
- With that instance's result, the module also saves a DSA catalogue synchronisation entry, with the user who pressed the button and the counts of rows created and updated.
- At the end, Odoo shows a success notification that does not stay pinned on screen. It carries one line per instance with its name, how many rows were created and how many were updated.
The error it can raise
When you press Seed DSA Catalogue, you may see this message:
Research & DSA UI is currently disabled for this Odoo database. Enable it from the Temu instance before using this option.
It comes up in the second step, before any data is touched. Because the action stops, no row is created or updated and the synchronisation entry is not saved. What to do: the message itself says it, enable that interface from the Temu instance and press the button again.
What changes in your data and what to check afterwards
On an instance that has no rows with those codes yet, the button creates them all. On an instance that already has them, it only touches the ones that differ from the default catalogue. These are the useful checks after pressing it:
- Read the notification. The created and updated figures tell you whether the button did anything or whether everything already matched the default catalogue.
- Remember that edited rows go back to the default value. Before creating anything, the code searches by instance and by code, so repeating the action does not duplicate rows with the same code on the same instance. But if someone has changed a value on a row that already exists with that code, pressing the button again rewrites that value with the one from the default catalogue and the row counts as updated.
- Do not expect it to touch other instances. It only goes through the ones the action is launched on, and each has its own line in the summary.
Versions and subscription
Temu Connector for Odoo is published on Odoo Apps for versions 17.0, 18.0, 19.0 and 20.0, and the button appears on the Temu Dashboard screen in the 17.0, 18.0 and 19.0 branches. You can see the listing on Odoo Apps or the module page on flexigotech.com.
The connection to Temu goes through FlexigoTech Cloud, which stores the credentials encrypted, watches the synchronisation and emails you if it fails. That is why, besides the module's one-off payment, you need the Connector plan: €49 a month or €490 a year, excluding VAT. Without a subscription, or with the service suspended, whatever the subscription provides stops; your data stays in your Odoo.
If you need help getting started
FlexigoTech implements Odoo 17, 18, 19 and 20 and builds custom connectors and integrations. If you are setting up Temu in your Odoo and want to review how the instance is configured, you can write to us from the module page.
Keep reading
Checked in the connector's source code (version 19.0) and the linked sources
Sources
- Module source code: flexigobe_temu_connector 19.0 (455b3f0f): views/temu_instance_views.xml
- Module source code: flexigobe_temu_connector 19.0 (455b3f0f): models/temu_ads.py
- Module source code: flexigobe_temu_connector 19.0 (455b3f0f): models/temu_instance.py
- Module source code: flexigobe_temu_connector 19.0 (455b3f0f): models/fgt_cloud.py
- apps.odoo.com/apps/modules/19.0/flexigobe_temu_connector
- flexigotech.com/en/services.html
- flexigotech.com/precios.html