

 Español
 Català
 Deutsch
 Français
 Português
 Italiano
 Nederlands
 Polski
Where the button is and when you see it
Inbound plan records open from the menu Amazon › FBA › Inbound / Send to Amazon. Each level of that menu asks for the Viewer permission: if you do not have one, you do not see that level.
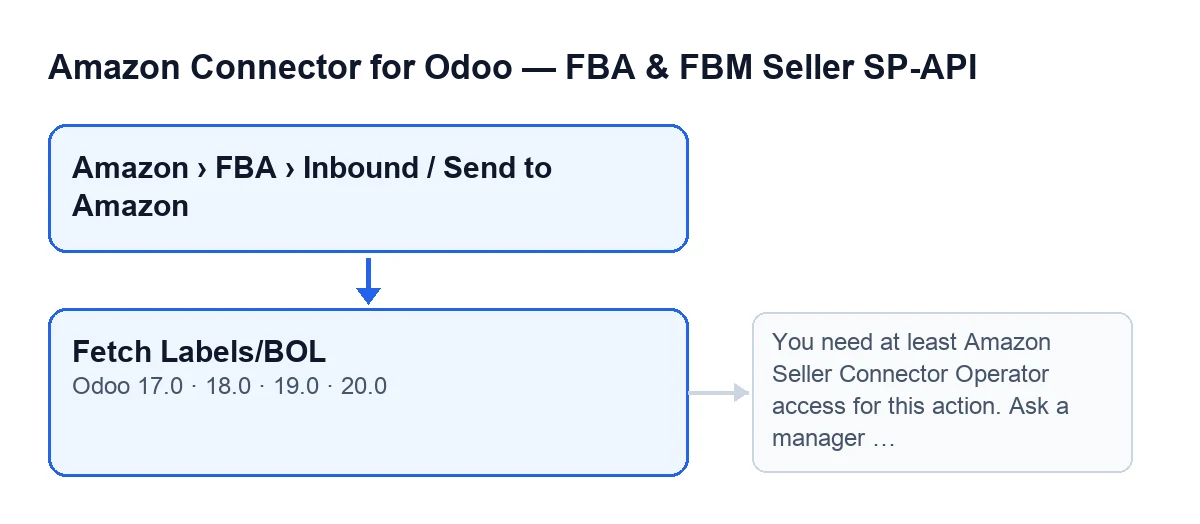
The Fetch Labels/BOL button is on the Send to Amazon screen in Odoo 17, 18, 19 and 20. It is hidden when the Shipments field is empty, so with default values you do not see it. That field is on the record, in the Placement & Transportation tab.
The scheduled task Amazon SP-API - Refresh open FBA inbound plans runs every hour and is active on installation. It calls the plan refresh, and the code of that refresh creates or updates the plan's shipments from what Amazon returns, and marks as inactive those Amazon no longer returns.
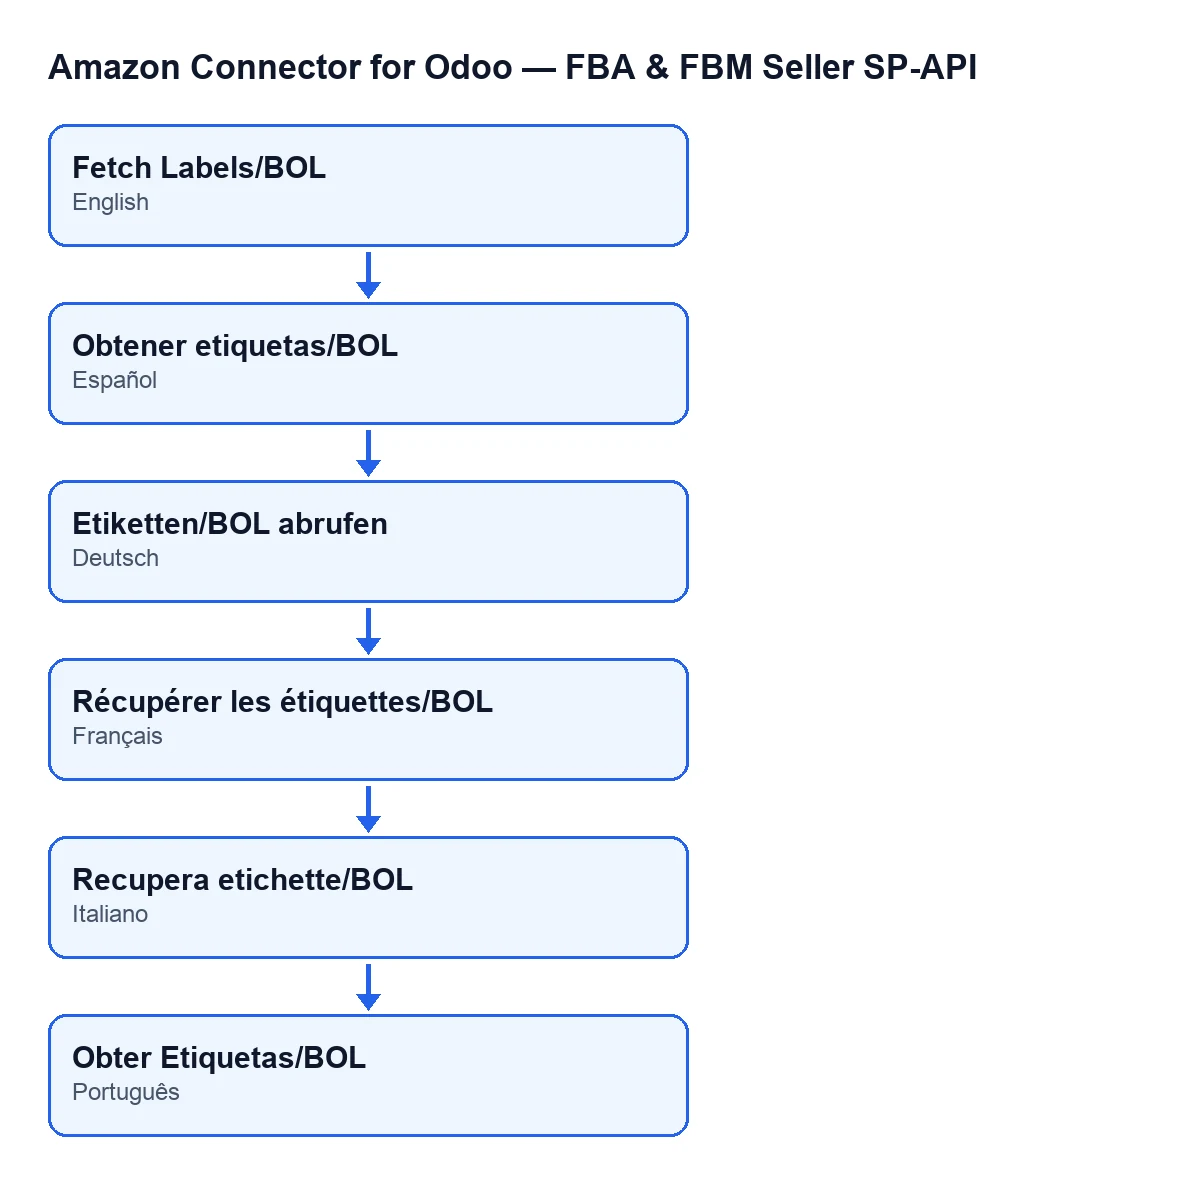
With Odoo in English the button reads Fetch Labels/BOL; in Spanish, Fetch Labels/BOL; in German, Etiketten/BOL abrufen; in French, Récupérer les étiquettes/BOL; in Italian, Recupera etichette/BOL; and in Portuguese, Obter Etiquetas/BOL.
A worked case, step by step
Example Illustrative case: the company and its figures are made up to explain the flow.
Casa Alba is an invented company that sends goods to an Amazon warehouse from its Odoo. Marta, in logistics, has Operator access. This is how she goes through the button:
- Marta opens
Amazon › FBA › Inbound / Send to Amazonand enters the plan she wants to prepare. - She goes to the
Placement & Transportationtab and looks atShipments. If it is empty, the button does not appear. The hourly refresh creates the plan's shipments from those Amazon returns, and as soon as there is one the button shows. - She presses
Fetch Labels/BOL. Before anything else, the module checks her permissions. Marta has them, so it carries on. - The module goes through the plan's active shipments. Shipments that have been deactivated are left out.
- For each shipment it asks Amazon for the labels, using the plan's account (the
Accountfield). It tries first with the shipment's confirmation identifier and, if there is no response, with the shipment's Amazon identifier. Empty ones are discarded, and it stops as soon as an attempt returns a response. - If there is a response, it stores it as text on the shipment.
- If the shipping mode starts with
FREIGHT, it also asks for the BOL document and stores that on the shipment too.
What it checks before asking for anything
The first line of the button is a permissions check, before any shipment is touched. If your user does not have at least Operator access, the action stops with this message:
You need at least Amazon Seller Connector Operator access for this action. Ask a manager to grant Operator or Manager access.
It appears when you press Fetch Labels/BOL, and nothing is saved. The fix is what the message says: a manager gives you Operator or Manager access.
Having the group is not enough: the module also checks that your user can write to the plan, and that check can also stop the action for lack of permissions.
What it asks Amazon for and what changes
Each active shipment produces a labels request built from three details on the shipment itself: the page type, the label type and the number of packages. If the shipment has no page type or label type, the module uses default values. The number of packages is only sent if the shipment has one.
The button's code only writes to the shipment:
- The labels response is stored as text, only if there was a response. It is cut to the first 20000 characters.
- On
FREIGHTshipments, the BOL response is stored the same way, with the same cut. It is requested with the shipment's confirmation identifier or, if there is none, with the Amazon one.
The BOL request is made even if the labels request failed, because they are two independent blocks inside each shipment.
What happens when a request fails
The labels request and the BOL request each sit inside a block that catches errors. If one fails, the module writes a warning in the server log and moves on to the next identifier or the next shipment, without stopping the button. So if a shipment still has no stored response after you press the button, the clue is in that log, which whoever administers the server can read. For labels, the warning includes the identifier that failed.
What to take from the case
- The button depends on the plan having shipments. If it does not appear, look at
Shipmentsfirst. - Only active shipments count.
- If the permissions check stops the action, nothing has been requested from Amazon.
- The result lives on the shipment, as text.
How FlexigoTech can help
The module is published on Odoo Apps for Odoo 17, 18, 19 and 20 (listing, module page). It is a one-off payment per version and needs the FlexigoTech Cloud subscription, Connector plan: €49 per month or €490 per year, excluding VAT. FlexigoTech implements Odoo 17, 18, 19 and 20 and builds connectors and custom integrations, in case you need to fit this flow to your inbound process.
Keep reading
Checked in the connector's source code (version 20.0) and the linked sources
Sources
- Module source code: flexigobe_amazon_seller_connector 20.0 (8576afa5): views/amazon_spapi_inbound_plan_views.xml
- Module source code: flexigobe_amazon_seller_connector 20.0 (8576afa5): models/amazon_spapi_inbound_plan.py
- apps.odoo.com/apps/modules/20.0/flexigobe_amazon_seller_connector
- flexigotech.com/en/services.html
- flexigotech.com/precios.html