

 Español
 Català
 Deutsch
 Français
 Português
 Italiano
 Nederlands
 Polski
Before you open the screen
The Save button on the "Configure Automatic Amazon Invoicing" screen exists only in Odoo 19 and 20. The module is published for Odoo 17, 18, 19 and 20, but the button on this screen is not in 17 or 18.
| Odoo version | Save button on "Configure Automatic Amazon Invoicing" |
|---|---|
| 17 | Not there |
| 18 | Not there |
| 19 | Yes, always visible |
| 20 | Yes, always visible |
Save button.The button label depends on the language of your Odoo. With Odoo in German the button is Speichern, in French Enregistrer, in Italian Salva and in Portuguese Guardar.
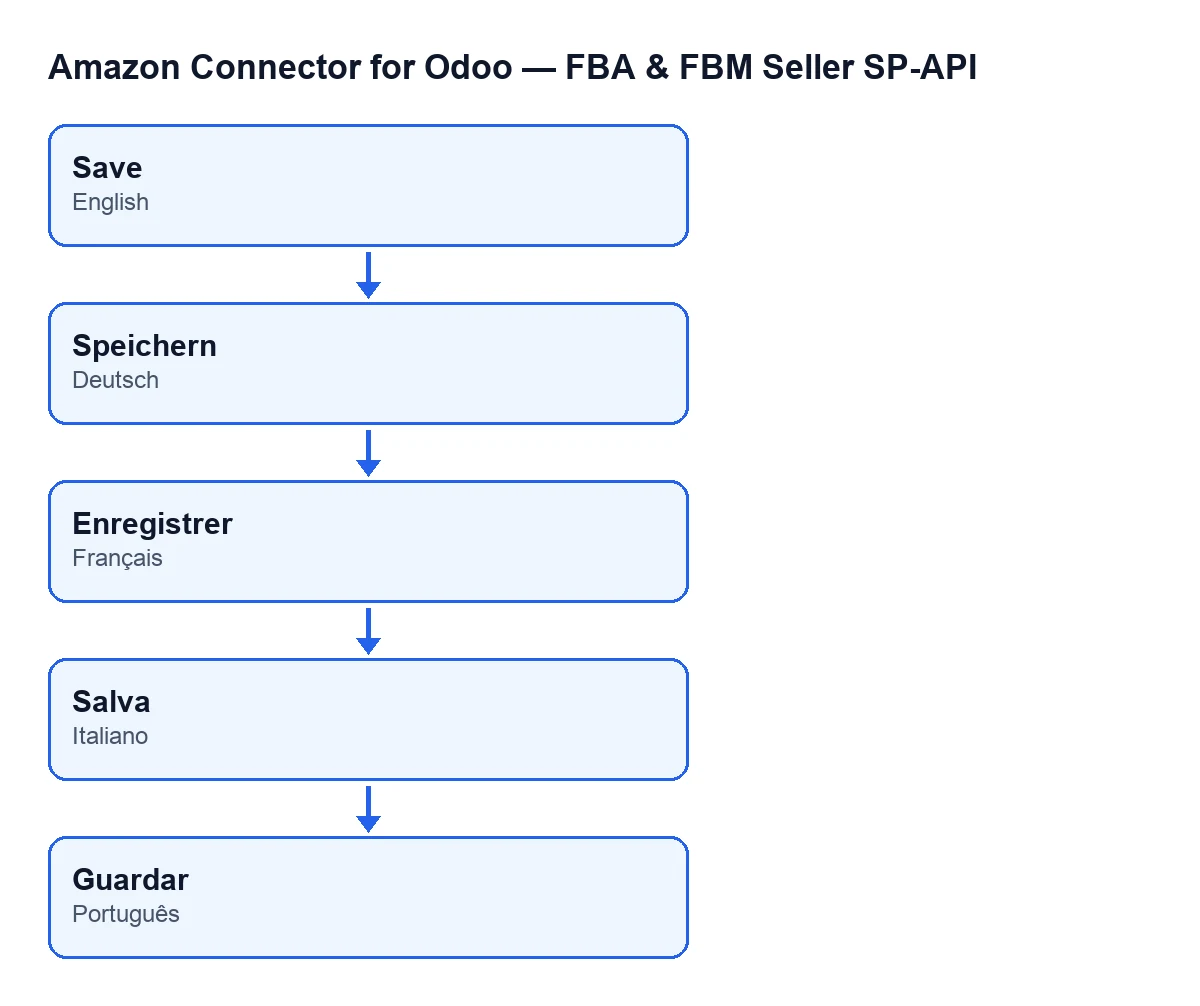
Speichern, Enregistrer, Salva and Guardar.Before you start, tick these off:
- Your Odoo is 19 or 20. In 17 and 18 you will not find this button on that screen.
- You have the FlexigoTech Cloud subscription (Connector plan), which the module needs.
- You know which journal and which account you are going to choose. The button stores whatever is on the form, and both are fields you pick yourself.
While you fill in the form
The "Configure Automatic Amazon Invoicing" form has four fields that the button stores. Activate is on the form from the moment you open it. The other three (Journal, Clearing account and Auto-post entries) are hidden while Activate is unticked, and with the default values it is unticked. If you cannot see them, nothing is wrong: tick Activate first.
| Field | When it shows | What Save does with it |
|---|---|---|
Activate | It is on the form | Writes it to the Amazon account |
Journal | Hidden while Activate is unticked | Writes it to the Amazon account |
Clearing account | Hidden while Activate is unticked | Writes it to the Amazon account |
Auto-post entries | Hidden while Activate is unticked | Writes it to the Amazon account |
- Tick
Activate. Until you do,Journal,Clearing accountandAuto-post entriesdo not appear.
- Choose the
Journal.
- Choose the
Clearing account.
- Decide whether to tick
Auto-post entries.
When you click Save
The button's code does two things, in this order:
- It writes the four values on the form to the Amazon account:
Activate,Journal,Clearing accountandAuto-post entries. - It closes the window.
The four values are always written together, exactly as they stand on screen at that moment. The button does not store a single field on its own: if you have changed only one, the other three are still written with whatever the form shows.
- Review the four values before you click.
- Click
Save. In Odoo 19 and 20 it is always visible, with no tick box deciding it.
- Check that the window closes: it is the last thing the button does.
After saving
If you want to change something later, open the form again, edit what you need and click Save again. Each click writes all four values once more.
- If you change the
Journalor theClearing account, clickSaveagain: the button is what writes the values to the account.
- If you untick
Activate, bear in mind that the button also writesJournal,Clearing accountandAuto-post entriesas they stand on the form at that moment.
Questions about the button
Why can I not see Journal, Clearing account or Auto-post entries?
They are hidden when Activate is unticked, and by default it is. Tick it and they appear.
Why can I not find Save in Odoo 17 or 18?
The button on the "Configure Automatic Amazon Invoicing" screen exists only in Odoo 19 and 20.
Is there a condition for the button to show?
In Odoo 19 and 20, no: it is always visible.
What exactly does it store?
The four values on the form, on the Amazon account, and then it closes the window.
What is the button called in other languages?
With Odoo in German it is Speichern, in French Enregistrer, in Italian Salva and in Portuguese Guardar.
What happens to my data if I drop the subscription?
Without a subscription, or with the service suspended, whatever the subscription provides stops; your data stays in your Odoo.
Cost and how we can help
The module is a one-off payment per Odoo version and needs the FlexigoTech Cloud subscription: the Connector plan costs €49 a month or €490 a year, excluding VAT, with up to three accounts on the platform. With the subscription, the module for newer Odoo versions is included if you bought it on flexigotech.com; on the Odoo App Store, each Odoo version is bought there. You can see the module on its Odoo Apps listing or on its page at flexigotech.com.
If you are implementing Odoo and want someone to review the journal and the account with you before you save, FlexigoTech implements Odoo 17, 18, 19 and 20 and builds custom connectors and integrations.
Keep reading
Checked in the connector's source code (version 20.0) and the linked sources
Sources
- Module source code: flexigobe_amazon_seller_connector 20.0 (8576afa5): views/amazon_spapi_vat_invoice_sync_views.xml
- Module source code: flexigobe_amazon_seller_connector 20.0 (8576afa5): wizard/amazon_spapi_issued_invoice_wizard.py
- apps.odoo.com/apps/modules/20.0/flexigobe_amazon_seller_connector
- flexigotech.com/precios.html
- flexigotech.com/en/services.html