

 Español
 Català
 Deutsch
 Français
 Português
 Italiano
 Nederlands
 Polski
Where they open and which permissions they need
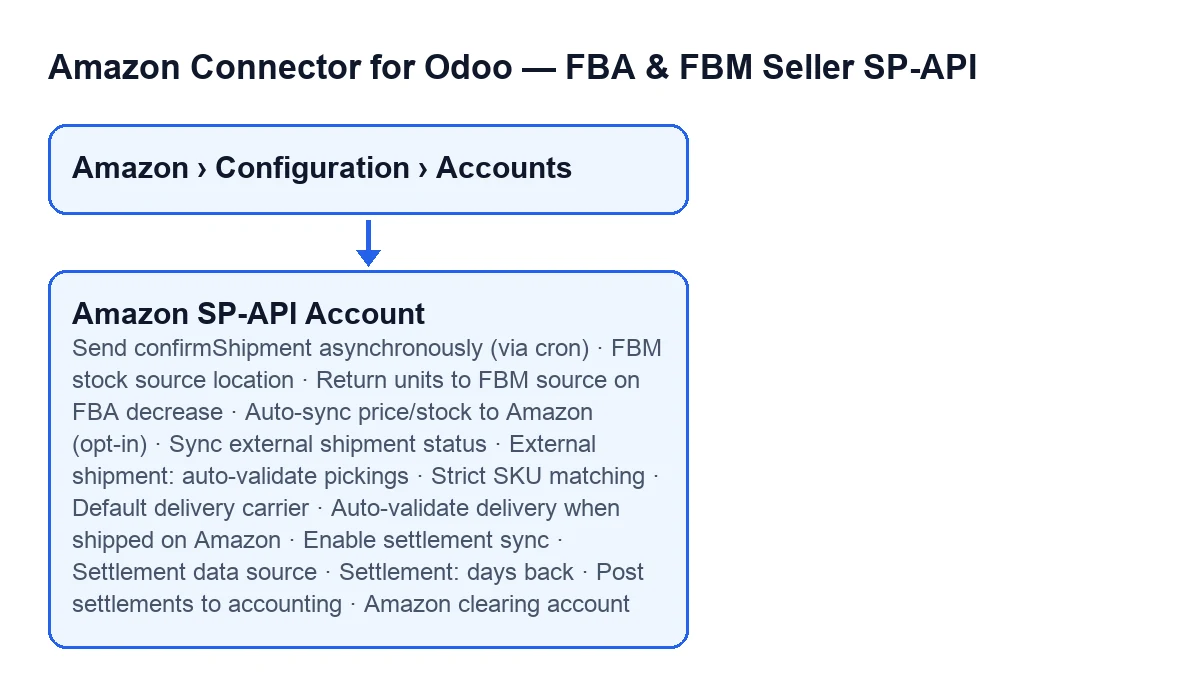
The forms open from the menu Amazon › Configuration › Accounts. The Configuration and Accounts levels require the Manager permission; the Amazon level requires Viewer. If you lack one of them, you do not see that level of the menu.
The fields in this glossary sit on the tabs Orders & Fulfillment, FBA & Stock and Payments & Accounting of the account form.
Shipping and orders (Orders & Fulfillment tab)
Send confirmShipment asynchronously (via cron)- In the
Order Syncgroup. It is off by default: confirmShipment is sent synchronously when you validate the delivery. If you switch it on, validation only queues the picking (state «pending») and the scheduled retry job becomes the sole sender, so a slow or hung Amazon API can never block your delivery validation. The help requires the «retry pending shipments» scheduled action to be active and says it is protected against double-sending by the per-delivery latch. What to set: leave it as it is unless you want validating a delivery not to depend on Amazon answering; if you switch it on, check that scheduled action first.
Auto-sync price/stock to Amazon (opt-in)- Also in
Order Sync. If enabled, Odoo automatically queues or synchronises price changes and stock changes (the latter when validating the picking) to Amazon. By default it stays manual and the field is off. What to set: switch it on only if you want that automatic push.
Strict SKU matching- In
Order Sync. If enabled, it fails when not all picking SKUs can be mapped. It is on by default.
Sync external shipment status- In the group
External Shipment Sync (ON by default). It pulls the shipped order status from Amazon and updates the Odoo deliveries. It is on by default.
External shipment: auto-validate pickings- Same group. If enabled, pending outgoing pickings are validated when Amazon reports them as shipped. It is on by default, so keep it in mind before wondering why a delivery validates itself.
Default delivery carrier- In the group
FBM Delivery (seller-fulfilled). It is the carrier pre-set on the delivery order of every imported FBM (seller-fulfilled) Amazon order, so you can ship from Odoo without setting it by hand. Leave it empty to not assign a carrier automatically. What to set: the carrier you ship your FBM orders with, if you want to skip that step on each delivery.
Auto-validate delivery when shipped on Amazon- Same group. When an FBM order is marked Shipped on Amazon (for example, you bought the label in Seller Central), it automatically validates its Odoo delivery so stock and status stay in sync. The Amazon shipment confirmation is not re-sent, because Amazon already shipped it. It is off by default for safety.
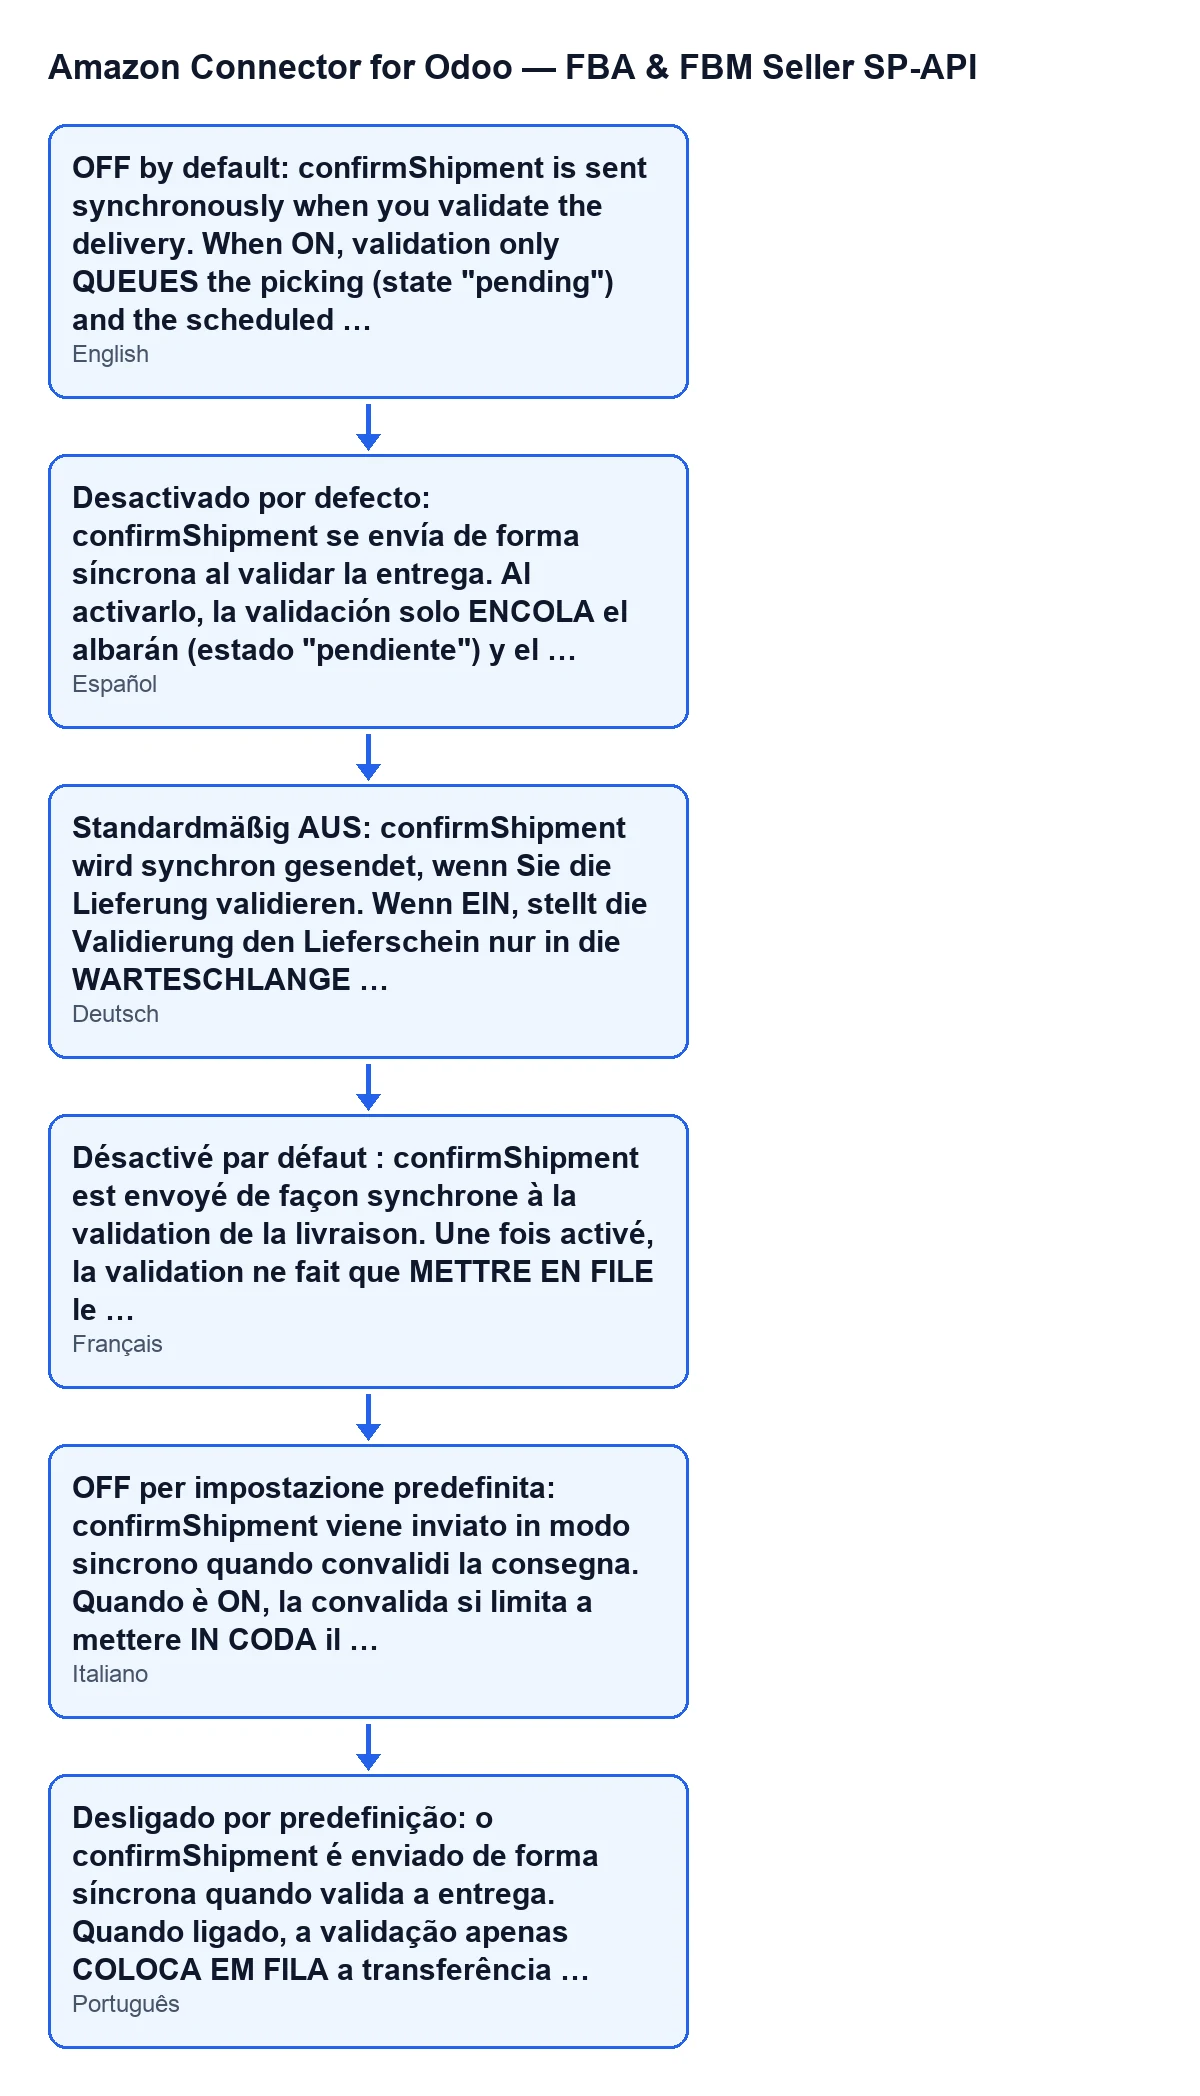
Send confirmShipment asynchronously (via cron) according to the language of Odoo.Stock and locations (FBA & Stock tab)
FBM stock source location- In the
Locationsgroup. If configured, Odoo -> Amazon stock is computed only from this internal location. What to set: the internal location whose stock you want to count for Amazon.
Return units to FBM source on FBA decrease- Same group. When off (the default), sending units to FBA deducts them from the FBM source location, but a later FBA decrease (Amazon reports fewer units) does not add them back, so over oscillating snapshots the FBM source can drift low. When on, the FBM<->FBA exchange is symmetric: a confirmed FBA decrease returns the same units to the FBM source, conserving total stock. It is opt-in, so the existing one-way behaviour does not change until you enable it. What to set: switch it on if you want the symmetric exchange.
Settlements and accounting (Payments & Accounting tab)
Enable settlement sync- In the group
Settlement Sync (payouts & fees). It imports Amazon settlements (payouts and fees) for reconciliation. It is off by default; the help says to turn it on when ready.
Settlement data source- Same group. It offers
Finances API (recommended)andSettlement Report (flat file). According to the help, the Finances API works whenever the app has the Finance & Accounting role, while the Settlement Report often returns 403 for many seller accounts even with the role; that is why the Finances API is the default. What to set: leave it as it comes.
Settlement: days back- Same group. How far back to look for financial event groups (Finances API). It defaults to 90. What to set: the number of days you want to look back.
Post settlements to accounting- On the
Payments & Accountingtab. When on, a settlement can be posted as one journal entry (clearing, fees and net deposit). It is off by default so the connector never writes to your books unattended.
Amazon clearing account- On the same tab, but it only appears once
Post settlements to accountingis on: with the default values you do not see it. It is a reconcilable account that sales and refunds clear against (netting the invoices). What to set: a reconcilable account from your chart of accounts, and only when you decide to post.
What you need to use these fields
The module is a one-off purchase per Odoo version (published on Odoo Apps for 17, 18, 19 and 20) and needs the FlexigoTech Cloud subscription, Connector plan: €49 a month or €490 a year, excluding VAT (the Pro plan is €98 a month or €980 a year). The Connector plan covers up to 3 accounts of the platform and Pro up to 10. The connection goes through FlexigoTech Cloud, which stores the credentials encrypted, monitors the synchronisation and emails you if it fails. You can see the module and its purchase on the Amazon Connector page.
If you are implementing Odoo and want to decide with someone what to switch on for each account, FlexigoTech implements Odoo 17, 18, 19 and 20 and builds connectors and custom integrations.
Keep reading
Checked in the connector's source code (version 20.0) and the linked sources
Sources
- Module source code: flexigobe_amazon_seller_connector 20.0 (8c5900d9): models/amazon_spapi_account.py
- apps.odoo.com/apps/modules/20.0/flexigobe_amazon_seller_connector
- flexigotech.com/en/services.html
- flexigotech.com/precios.html