

 Español
 Català
 Deutsch
 Français
 Português
 Italiano
 Nederlands
 Polski
When the notice appears, and why it is not an error
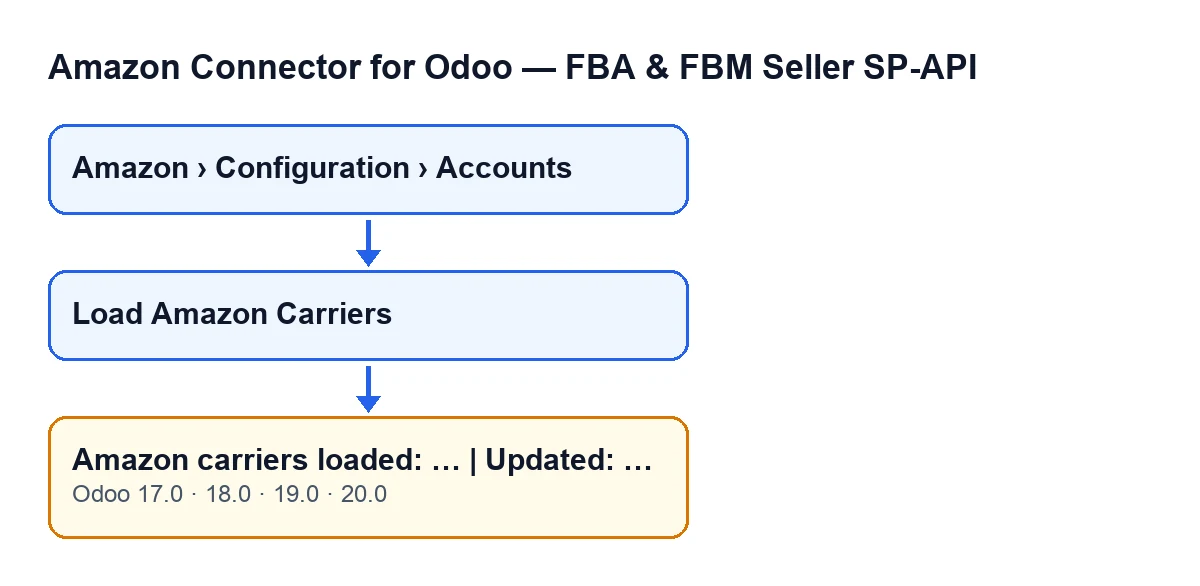
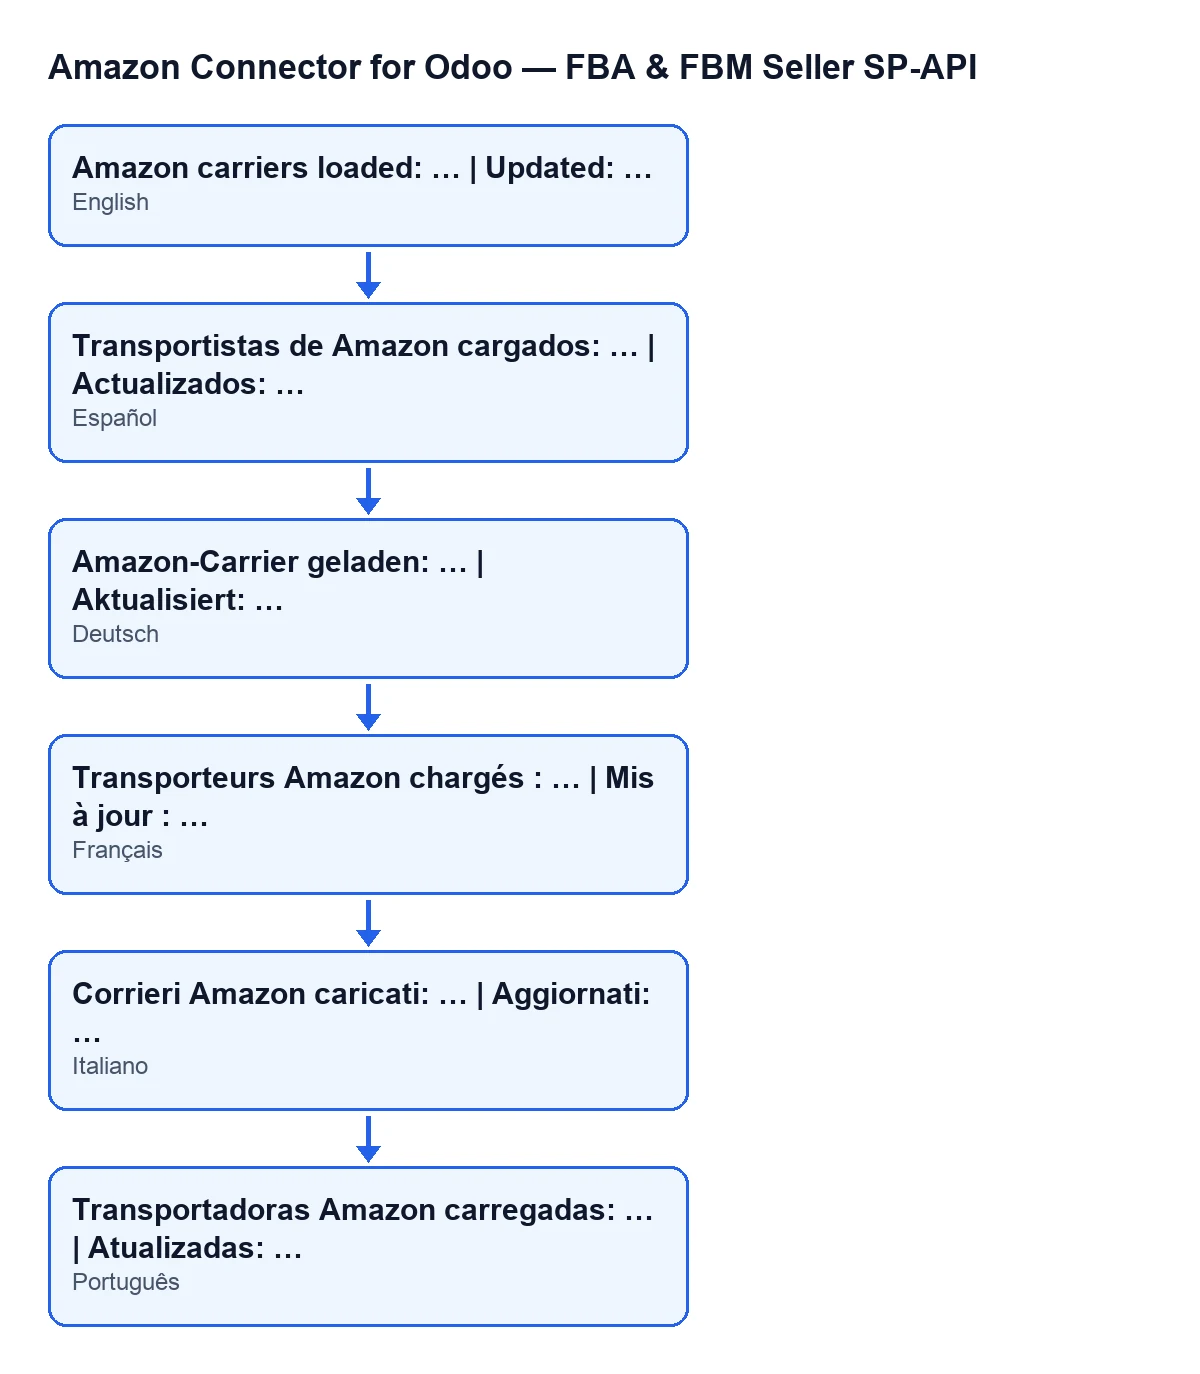
It appears when you press Load Amazon Carriers on the form of an Amazon account, and it is the last thing the button does: once the load has finished, Odoo shows a success notification titled Amazon SP-API with the text Amazon carriers loaded: … | Updated: …. It blocks nothing. The ellipses stand for two numbers, explained below.
Account forms open from the menu Amazon › Configuration › Accounts. Each step of the menu asks for a permission: Amazon asks for Viewer, and Configuration and Accounts ask for Manager. If you lack the permission for a step, you do not see that step. The button is always visible, in Odoo 17, 18, 19 and 20.
What each number counts
- Loaded (the first): the entries in the carrier catalogue that ships with the module, after empty or repeated ones are discarded. It comes from that catalogue, not from the account, so it does not change with what you already had loaded.
- Updated (the second): the carrier maps of that account in which the load has written a change (the assigned Amazon carrier, its code or its name). A map that finds no match in the catalogue is left alone and not counted, and neither is one that was already up to date.
That is why Updated: 0 is not a failure: it only says that the load changed none of the account's carrier maps. It happens, among other cases, when all of them were already up to date, when none found a match in the catalogue, when some find no match and the rest were already up to date, or when the account has no carrier maps.
What the button does before it notifies you
This is what the Odoo 20.0 code does, in this order:
- It takes the module's carrier catalogue and, for each entry, creates the available carrier for that account if it does not exist. If it already exists, it updates its order and name. Either way it leaves the carrier active.
- It deactivates the account's available carriers whose code is no longer in the catalogue.
- It goes through the account's carrier maps and looks for an active available carrier for each one. It tries, in this order, the Amazon carrier name on the map, the name of the Odoo delivery carrier and the Amazon code. With each value it first tries an exact match against a code or a name in the catalogue and, if it finds none, makes a second, alternative search. The first value that finds a match decides.
- If there is a match, it writes to the map only what differs (Amazon carrier, code and name). A map counts as updated when something on it has changed.
- It records a message on the account reading
Amazon carrier catalog loaded: … available. … … carrier map(s) updated., where the ellipses hold, in order, the number of carriers, the list of codes and the number of maps updated. Then it shows the notice.
Checklist
Before pressing
- You can see the menu
Amazon › Configuration › Accounts. If a step is missing, you lack the permission for that step (ViewerorManager). - You have opened the form of the account whose catalogue you want to load: the button works on the account of that form.
- You know the load deactivates the account's available carriers that are no longer in the catalogue, and leaves active those that are.
When you press
- You press
Load Amazon Carriers. - You read the two numbers in
Amazon carriers loaded: … | Updated: …: the first is the catalogue and the second is the maps changed.
After the load
- If you expected an update and it did not happen, remember that a map is only updated if one of its three values (Amazon carrier name, Odoo delivery carrier name or Amazon code) matches a carrier in the catalogue, either exactly or in the second search the module makes.
- If a map ended up with a carrier you did not expect, review the order: the Amazon carrier name counts first, then the Odoo delivery carrier name and finally the code. The first one that finds a match decides.
- If you see
Updated: 0, remember that it means no map has changed, not that the load has failed. - The message recorded on the account carries the list of loaded codes, in case you need to see which carriers the catalogue left you with.
If you work with another Odoo version
- The notice is in the published code of Odoo 17, 18, 19 and 20, and the button is always visible in all four. The order of steps above is that of the Odoo 20.0 code: if you use another version, try it in a test environment first.
If you need help with the implementation
FlexigoTech implements Odoo 17, 18, 19 and 20 and builds custom connectors and integrations. The connector is on the Odoo Apps page for 17, 18, 19 and 20 and on flexigotech.com. The connection goes through FlexigoTech Cloud, which stores the credentials encrypted, monitors synchronisation and emails you if it fails. The Connector plan costs €49 a month or €490 a year, excluding VAT. With the subscription, the module for newer Odoo versions is included if you bought it on flexigotech.com; on the Odoo App Store, each Odoo version is bought there.
Keep reading
Checked in the connector's source code (version 20.0) and the linked sources
Sources
- Module source code: flexigobe_amazon_seller_connector 20.0 (8576afa5): models/amazon_spapi_account.py
- Module source code: flexigobe_amazon_seller_connector 20.0 (8576afa5): views/amazon_spapi_account_views.xml
- apps.odoo.com/apps/modules/20.0/flexigobe_amazon_seller_connector
- flexigotech.com/en/services.html
- flexigotech.com/precios.html