

 Español
 Català
 Deutsch
 Français
 Português
 Italiano
 Nederlands
 Polski
Before you add your first carrier
Setup comes down to a few places: each carrier's record, the record kept for each request and the status fields you will see in the lists. These are the details worth being clear on before you touch anything. For the overall picture of menus and flow, see how the module works under the hood.
The credentials belong to your account with each carrier
Adding a carrier involves Carrier Name, Carrier Type (a selection field), Enabled and Company. Alongside them sit the credentials. The module itself describes API Key as «API key of the carrier account» and API Secret as «API secret of the carrier account». Account Number is each carrier's own account number, and the field gives «FedEx account, UPS account, etc.» as examples.
The practical reading: those three items come from your account with each carrier, so have them to hand before you sit down to configure anything. And as each carrier record has its own Company, if you run several companies in the same database, check which one each carrier is assigned to.
Custom Endpoint URL is optional and has a specific case
Among the carrier fields is Custom Endpoint URL. Its description defines it as an optional custom API endpoint URL for «non-standard carriers». If your carrier does not fall into that case, you do not have to fill it in.
Check Enabled and Connection Status separately
Enabled is a checkbox; Connection Status is a separate selection field. They are two different pieces of information and are worth reviewing separately. Next to them you have Last Sync Time, with the date and time of the last sync, and Last API Response, holding the most recent API response. The same record also keeps Created and Created By, with the date it was added and the user who added it.
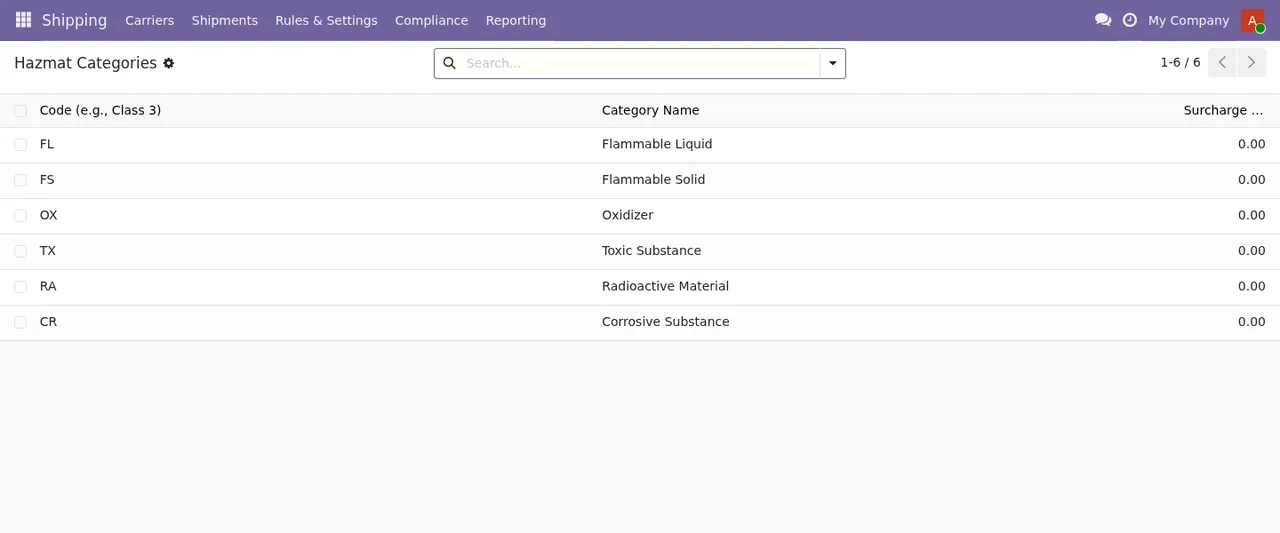
Hazmat Categories, with six categories and their surcharge at zero.Every request is stored field by field
The module keeps a record with these fields: Carrier, Request Type, Status, Timestamp, HTTP Status Code, Response Snippet, Error Message, Request Payload and Company. When something does not add up, that is where to look:
Request Type: what kind of request it was.Request Payload: what was sent.HTTP Status Code: the HTTP code of the response.Response Snippet: an extract of the response.Error Message: the error text.Timestamp: when it happened.
With Carrier and Timestamp you quickly narrow down which carrier and which moment you are dealing with. To interpret each specific message, see the module's errors and warnings guide.
There are several status fields and they do not mean the same thing
In the module you will come across several fields called status or state, each with its own set of values:
statuswithSuccess,FailedandTimeout.statuswithSuccess,ErrorandLabel Exists.statuswithDraft,Generated,PrintedandFailed.statuswithActive,DegradedandDown.statuswithDraft,In Progress,Completed,FailedandPaused.statuswithDraft,Completed,FailedandPartial.statewithOpen,Submitted,Approved,RejectedandPaid.statewithDraftandDone.status_filterwithDraft,Ready-to-ShipandAll.
Note that Failed and Draft turn up in several of them. When you filter, or when someone on the team tells you something is Failed, ask which list they saw it in before you go looking for the cause.
The longest state field runs from Draft to Cancelled
One of the module's state fields goes through these values: Draft, Blocked, Cost Quoted, Ready to Ship, In Transit, Out for Delivery, Delivered, Attempted Delivery, Returned to Sender, Lost, Damaged and Cancelled. There are also two fields, status and current_status, with Pre-Label, In-Transit, Out-for-Delivery, Delivered, Exception and Returned.
Watch the spelling: one says Out for Delivery and the other Out-for-Delivery; the same goes for Ready to Ship and the Ready-to-Ship in status_filter. Bear it in mind when searching or creating saved filters.
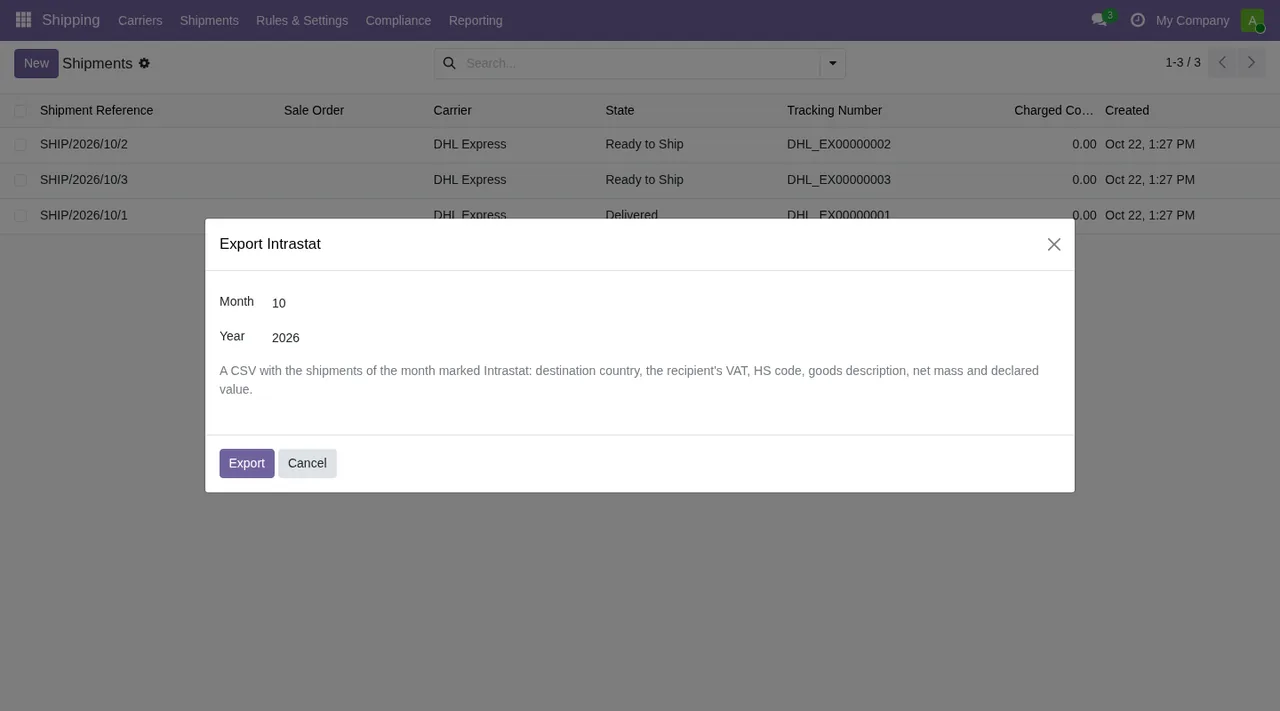
Export Intrastat wizard over the shipments list (Shipping › Shipments), with DHL Express shipments in Ready to Ship and Delivered.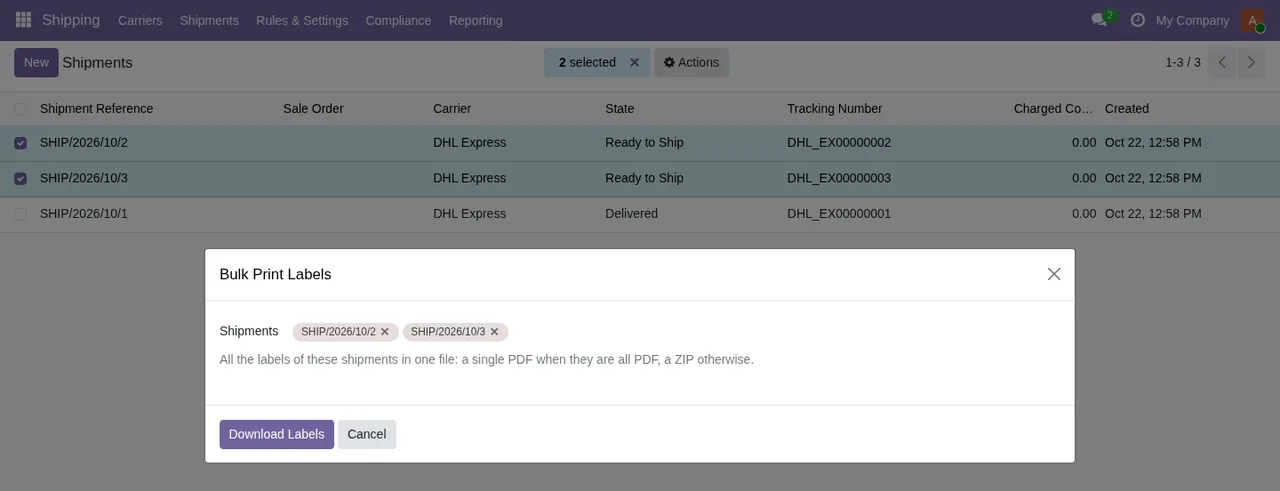
Bulk Print Labels with two DHL Express shipments selected; the wizard text mentions a single PDF or a ZIP.
Create Return dialog (with original shipment, carrier, service type, Email Customer and return notes) and on to recording the carrier's invoice with Record Carrier Invoice.last_health_check_status has three values
The last_health_check_status field takes Success, Failed or Unknown. During the first week, note which of the three it shows each day and compare it with the carrier's Last Sync Time and Last API Response.
What to check during the first week
Putting the above together, the review for the first few days looks like this:
- Each carrier has the
API Key,API SecretandAccount Numberfrom its account, and the rightCompany.
Custom Endpoint URLis only filled in where the «non-standard carriers» case applies.
- Each carrier's
EnabledandConnection Status, checked separately.
Last Sync TimeandLast API Response, daily.
- The value of
last_health_check_status.
- For each failed request:
HTTP Status Code,Error Message,Response SnippetandRequest Payload.
- Which records are in
Blocked,ExceptionorAttempted Delivery.
What it costs and how FlexigoTech can help
The module costs €9 excluding VAT per Odoo version, as a one-off payment, for 17, 18, 19 and 20; on Odoo 19 and 20 it also needs the FlexigoTech Cloud subscription, whose Connector plan costs €49/month or €490/year excluding VAT (Pro: €98/month or €980/year), with up to 3 platform accounts (Pro: 10). That connection through FlexigoTech Cloud stores the credentials encrypted, monitors synchronisation and emails you if it fails; without a subscription, or with the service suspended, whatever the subscription provides stops and your data stays in your Odoo.
You will find the details on the Odoo Apps listing and on the module page at flexigotech.com.
At FlexigoTech we implement Odoo 17, 18, 19 and 20 and build bespoke connectors and integrations. If you need a hand adding your carriers, reviewing the first failures or fitting the shipping flow to the way you work, tell us about your case.
Keep reading
Checked in the connector's source code (version 20.0) and the linked sources
Sources
- Module source code: flexigo_advanced_shipping_carrier_integration 20.0 (ffa31c5f): models/carrier_api_log.py
- Module source code: flexigo_advanced_shipping_carrier_integration 20.0 (ffa31c5f): models/carrier_config.py
- Module source code: flexigo_advanced_shipping_carrier_integration 20.0 (ffa31c5f): models/carrier.py
- Module source code: flexigo_advanced_shipping_carrier_integration 20.0 (ffa31c5f): models/carrier_batch_job.py
- Module source code: flexigo_advanced_shipping_carrier_integration 20.0 (ffa31c5f): models/carrier_label.py
- Module source code: flexigo_advanced_shipping_carrier_integration 20.0 (ffa31c5f): models/claim.py
- Module source code: flexigo_advanced_shipping_carrier_integration 20.0 (ffa31c5f): models/cost_reconciliation.py
- Module source code: flexigo_advanced_shipping_carrier_integration 20.0 (ffa31c5f): models/rate_lookup.py
- Module source code: flexigo_advanced_shipping_carrier_integration 20.0 (ffa31c5f): models/shipment.py
- Module source code: flexigo_advanced_shipping_carrier_integration 20.0 (ffa31c5f): models/tracking.py
- Module source code: flexigo_advanced_shipping_carrier_integration 20.0 (ffa31c5f): wizards/batch_processing_wizard.py
- apps.odoo.com/apps/modules/20.0/flexigo_advanced_shipping_carrier_integration
- apps.odoo.com/apps/modules/17.0/flexigo_advanced_shipping_carrier_integration
- apps.odoo.com/apps/modules/18.0/flexigo_advanced_shipping_carrier_integration
- apps.odoo.com/apps/modules/19.0/flexigo_advanced_shipping_carrier_integration
- flexigotech.com/en/services.html
- flexigotech.com/precios.html